Rear Dash Cam Through Tinted Window: Will Yours See in 2026?
Tinted rear glass can gut your dash cam's night footage. Here's how much light you lose, which rear-camera specs compensate, and 5 setups worth buying in 2026.
Reader-supported: we may earn a commission from links on this page, at no extra cost to you. It never affects our picks. Learn more.
The short version
- Best overall for tinted rear glass: Viofo A229 Pro 3CH
- Best interior-mounted alternative: Viofo A329 2CH
- Best for Teslas and EVs without a usable rear window: Thinkware U3000 2CH
- Best budget rear-channel setup: Vantrue N4 Pro
- Best plug-and-play cabin+rear hybrid: Garmin Dash Cam Live
 Best plug-and-play cabin+rear hybrid · Garmin Dash Cam Live — Check price on Amazon →
 Best budget rear-channel setup · Vantrue N4 Pro — Check price on Amazon →
 Best for Teslas and EVs without a usable rear window · Thinkware U3000 2CH — Check price on Amazon →
 Best interior-mounted alternative · Viofo A329 2CH — Check price on Amazon →
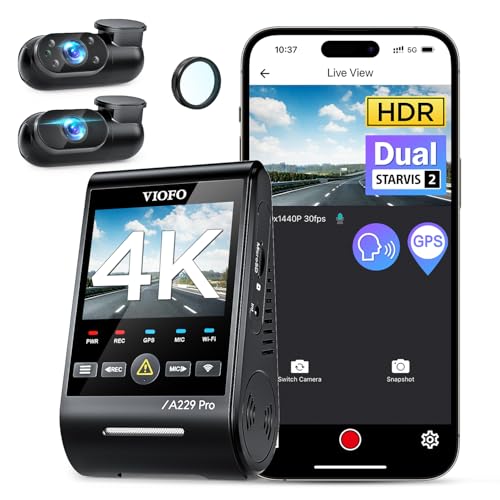 Best overall for tinted rear glass · Viofo A229 Pro 3CH — Check price on Amazon →
Here's the uncomfortable truth most dash cam listings skip: the headline "4K rear camera" spec assumes clear glass. Put that same sensor behind factory privacy glass, a 20% aftermarket film, and a grid of defroster lines, and you can lose the plate you actually needed. This guide explains what tint does to a rear dash cam, how much light you're really losing, and which sensor and mounting choices claw it back.
Why a rear dash cam through a tinted window struggles
A dash cam is a small-sensor camera working in bad conditions already. At night it is trying to resolve a reflective license plate lit by your own tail lights and the headlights of the car behind. That's a narrow exposure window to begin with.
Now stack the losses:
Tint eats light before the sensor sees it
Tint is rated by VLT — visible light transmission. A 70% VLT film passes 70% of visible light; a 20% film passes 20%. Factory "privacy glass" on SUVs, trucks and wagons is typically dyed glass in the rough 15–30% VLT range, and plenty of owners then add film on top of it. Two layers multiply, not average: 25% factory glass plus a 50% film is roughly 12.5% transmission.
At 12–20% transmission, the camera's auto-exposure compensates by raising gain (ISO) and lengthening shutter time. Higher gain means visible noise. Longer shutter means motion blur on a plate that is moving relative to you. Both of those are exactly what kills plate legibility.
Tint is not colour-neutral
Many dyed films skew warm or green; ceramic and metallised films can shift colour and cut specific wavelengths. Dash cams rely on infrared-cut filters and auto white balance tuned for normal glass. The result through film is often a muddy colour cast and reduced contrast, which hurts plate-character separation more than it hurts the overall picture.
Defroster lines and antenna traces sit in the light path
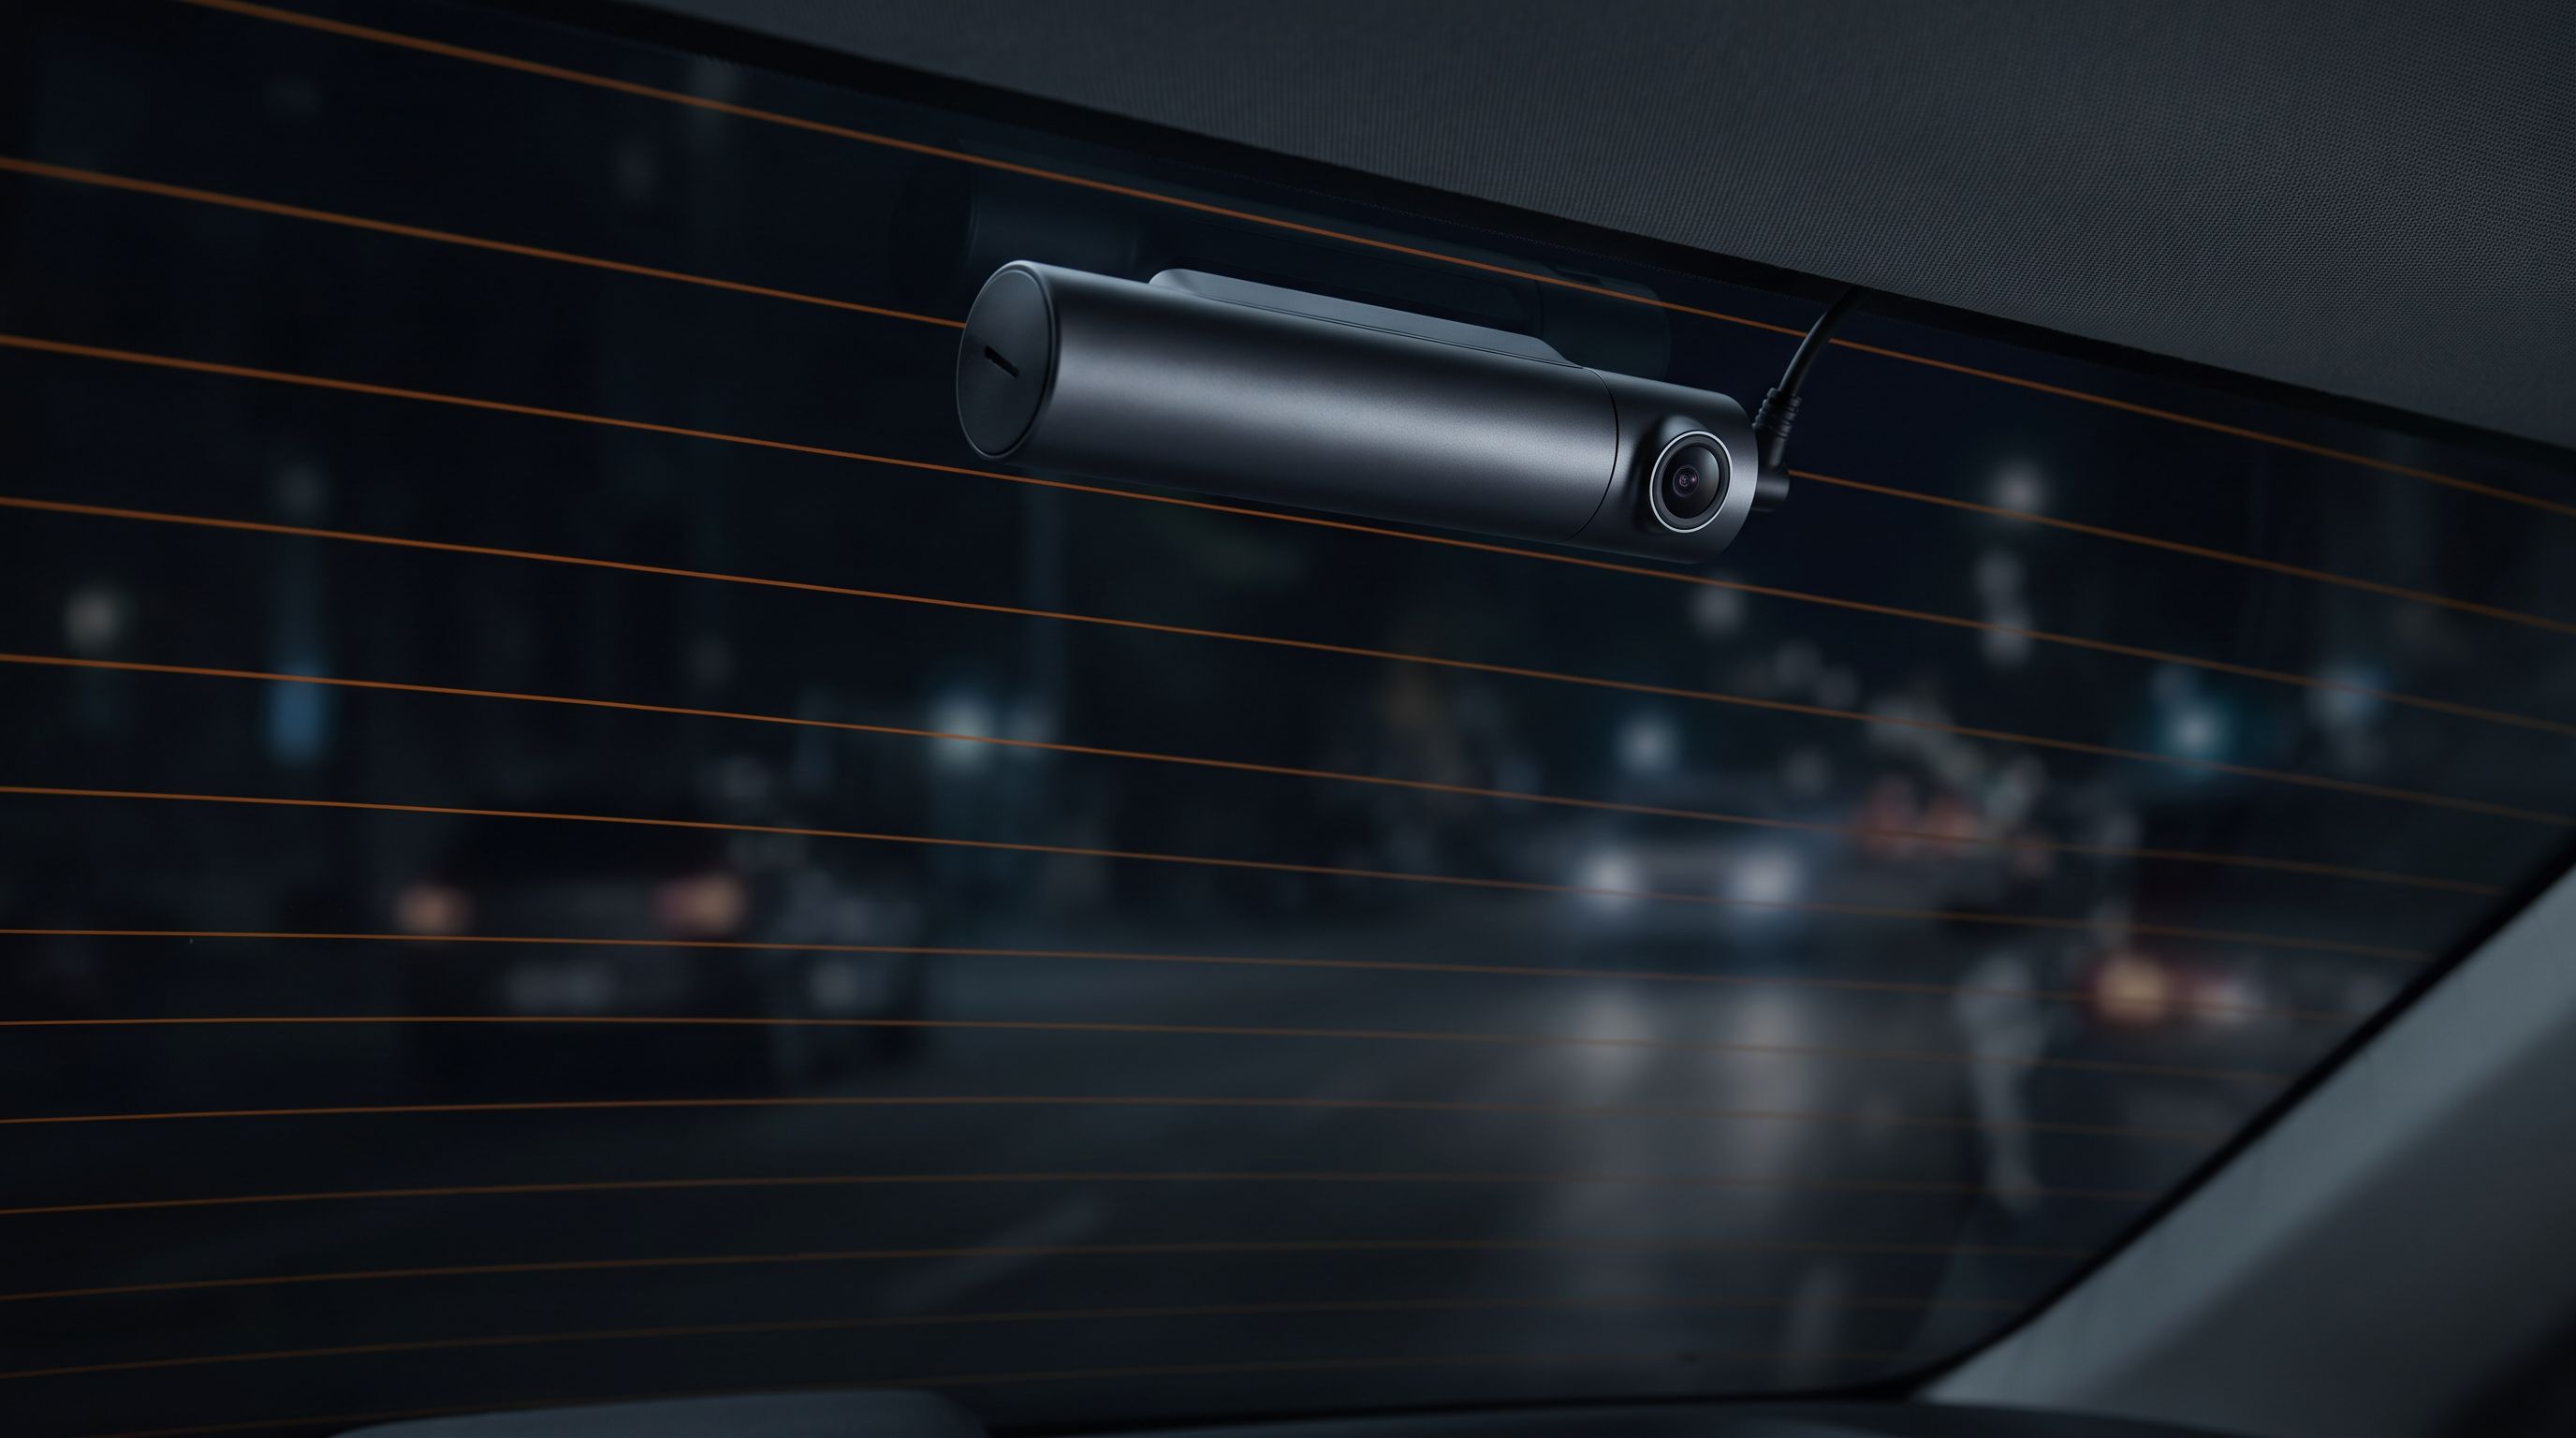
Rear glass is the one window with wires baked into it. Mount a camera flat against it and the heating grid lands a few millimetres from the lens, where it can appear as soft dark bands or, at night, as bright reflective streaks catching your own cabin light.
Rake angle makes it worse
As BMW G80/G82 owners have noted in forum threads, a heavily raked rear window means the camera isn't looking through the glass perpendicularly — it's looking through it at an angle, which increases the effective path length through the tint and amplifies both light loss and reflections. Modern coupes, fastbacks and most EVs have the steepest rake.
Reflections from inside the cabin
Dark glass is also a better mirror from the inside. Dome lights, infotainment screens, phone screens and light-coloured parcel shelves all bounce back into the lens. On clear glass you'd barely notice. On 15% film it can wash out a third of the frame.
Roughly how much are you losing?
No camera manufacturer publishes a tint derating chart, so treat this as a practical framework rather than a spec. The pattern is consistent across owner reports and the general physics of exposure:
| Rear glass situation | Approx. transmission | Daytime impact | Night impact |
|---|---|---|---|
| Clear glass, no film | ~85–90% | None | Baseline |
| Light film (70% VLT) over clear glass | ~60% | Negligible | Slight noise increase |
| Factory privacy glass only | ~20–30% | Mild contrast loss | Plates readable closer in; more noise |
| Privacy glass + 35% film | ~8–10% | Noticeable darkening | Plates often only at very short range |
| Privacy glass + 20% "limo" film | ~4–6% | Clearly dark footage | Largely unusable for plates at night |
The practical cutoff most owners run into: below roughly 20% total transmission, night plate capture goes from "works at a couple of car lengths" to "you can see headlights and nothing else."
Day footage almost always survives. That matters — a rear camera that only documents daytime impacts is still worth having, and the vast majority of rear-end collisions happen in traffic, in daylight, at low speed. Just set expectations honestly before you buy a 4K rear channel expecting miracles at 11pm.
How to choose
Prioritise sensor and aperture over resolution numbers
Through heavy tint, a bright lens and a sensitive sensor beat raw pixel count every time. A 2K rear camera on a large modern STARVIS 2 sensor with an f/1.6-class aperture will out-resolve a 4K rear camera on a tiny budget sensor with an f/2.0 lens in low light, because the 4K unit is spreading less light over more pixels and then amplifying noise to compensate.
Look for: Sony STARVIS or STARVIS 2 branding on the rear channel specifically (many kits use a good front sensor and a cheap rear one), stated aperture of f/1.8 or wider, and HDR/WDR on the rear channel rather than front-only.
Decide where it's actually mounting
This is the decision that matters most, and it's vehicle-specific:
- On the rear glass, high and centred — standard approach. Place it in the upper centre area, just below the top of the glass, where defroster lines are usually more widely spaced. Avoid the third brake light's glow path.
- Interior-mounted, behind the glass but not on it — a popular workaround. Mounting on a trim piece or parcel shelf, or using a small spacer, avoids adhesive contact with the film entirely, which matters because adhesive failure or removal can lift aftermarket tint. One widely shared community fix is a small rigid spacer plate between mount and glass.
- Cabin-facing instead of rear-facing — on vehicles with hopeless rear glass (Model 3 and Model Y owners run into this constantly, plus any van or SUV with a cargo barrier), a cabin camera plus an exterior-mounted or license-plate-area camera is the realistic answer.
Check how the rear camera handles reflections
Some rear cameras ship with a small rubber or foam light shroud; others benefit from a stick-on lens hood. A polarising filter is often suggested but costs you roughly a stop of light — on already-dark glass that trade is usually a loss. Better to kill the source: keep the cabin dark, avoid light-coloured items on the parcel shelf, and mount the lens as close to perpendicular to the glass as the rake allows.
Think about cable routing and parking mode
Rear channels need a long cable run down the headliner and across the tailgate hinge. On hatchbacks, SUVs and liftgate vehicles, that cable flexes thousands of times — buy a kit with a proper rear cable (and keep the spare), and route it through the factory rubber boot rather than pinching it in the gap. If you want parking surveillance, you also need a hardwire kit with voltage cutoff; a rear channel running in buffered parking mode is where tint hurts least, because parked cars are usually under some ambient light.
Confirm fitment before you buy
Rear camera mounting is genuinely vehicle-dependent. Before ordering, check: Does your rear glass have a wiper that sweeps the camera's view? Is there a factory spoiler cutting the top of the glass? Is the rear window steeply raked? Do you have a cargo cover or rear headrests in the path? For Teslas and several EVs, the answer is often "mount a cabin camera instead." Search your exact year, make and model plus "rear dash cam mount" in an owners' forum before committing — fifteen minutes there saves a return.
The picks
Viofo A229 Pro 3CH — best overall for tinted rear glass
Prices last checked October 22, 2026. Amazon prices change frequently, so treat these as a guide and check the live price before you buy.
Viofo A229 Pro 3CH
STARVIS 2 sensors on all three channels, so the rear camera isn't the weak link behind dark film.
The A229 Pro is the pick most often recommended for difficult rear glass because Viofo puts STARVIS 2 sensors on all three channels rather than just the front. The rear camera is a genuinely capable low-light unit, not an afterthought, which is exactly what tint demands. The three-channel configuration also hedges your bet: if the rear channel struggles through heavy film, the interior camera still captures the cabin and some of what's visible through the side windows. What you give up: it's a bigger install with more cable to route, parking mode needs a hardwire kit sold separately, and the rear unit is a reasonably chunky puck on the glass. For most owners with privacy glass, this is the sensible default.
Viofo A329 2CH — best interior-mounted alternative
Viofo A329 2CH
Compact rear module and strong low-light tuning for spacer or trim mounts that never touch your tint.
Viofo's newer A329 line carries the low-light tuning forward with STARVIS 2 and a wide-aperture lens, and the rear module is compact enough to work on trim-mounted or spacer-mounted installs where you don't want adhesive touching aftermarket film. It's the one to consider if your tint shop warned you about removing stick-on mounts, or if your rear glass rake means you need to angle the camera away from flush contact. Trade-offs: two channels only, so no cabin coverage, and like all Viofo units the app and menu system is functional rather than polished. Worth checking current firmware notes before purchase.
Thinkware U3000 2CH — best for Teslas and EVs without a usable rear window
Thinkware U3000 2CH
Radar parking surveillance triggers on motion, not light — ideal when rear glass is hopeless at night.
Thinkware's U3000 pairs a 4K front with a 2K rear and leans heavily on radar-based parking surveillance, which is the feature set that makes sense when your rear glass is a lost cause at night. Radar parking mode triggers on motion rather than relying on the camera seeing clearly, so you get useful incident capture even when the rear view is dark. It's also a discreet, low-profile install — relevant on EVs where cabin aesthetics matter and headliner routing is tight. Downsides: it's a premium-priced system, and the radar parking advantage only pays off if you hardwire it properly.
Vantrue N4 Pro — best budget rear-channel setup
Vantrue N4 Pro
Three channels including an infrared cabin cam, so you're not betting everything on the tinted view.
The N4 Pro is the value play for three-channel coverage. Its rear channel is competent in daylight and acceptable at dusk, and because the system records front, cabin and rear simultaneously, you're not betting everything on the tinted view. Vantrue's infrared cabin camera is the standout here — genuinely useful for rideshare drivers and anyone who wants interior evidence regardless of what the rear glass is doing. What you give up versus the Viofo units: lower-light rear performance is a step behind STARVIS 2 systems, so if your rear window is below roughly 20% total transmission, don't expect night plates. Fine for documenting daytime rear-end hits.
Garmin Dash Cam Live — best plug-and-play cabin+rear hybrid
Garmin Dash Cam Live
Tiny, LTE-connected and the easiest install here — handy as a second rearward-facing cabin camera.
Garmin's Live is a single compact camera with LTE connectivity, and it earns a place here for an unconventional reason: some owners with hopeless rear glass simply mount a second small camera facing rearward from inside the cabin, or use it as a connected parking monitor, rather than fighting the tinted window with a wired rear channel. It's the easiest install in this group by a wide margin, the cloud access is genuinely useful for parking alerts, and the voice control works well. Trade-offs: it's a single-channel camera, LTE features need a subscription, and the field of view is narrower than a dedicated rear unit.
Practical fixes that cost nothing
Before you buy anything, try these:
- Clean the inside of the rear glass properly. Hazed film and off-gassing residue from interior plastics cut contrast more than people expect.
- Move the camera higher and more central. Defroster lines are usually widest near the top edge.
- Kill cabin light sources at night. Dim the infotainment screen, switch dome lights to off rather than door-activated, and clear the parcel shelf.
- Angle to minimise glass path length. On raked windows, tilting the camera to sit closer to perpendicular with the glass reduces how much tint the light crosses.
- Lower the rear channel's resolution one step. Counterintuitive, but on sensors that bin pixels, 1080p or 2K can be cleaner at night than maxed-out 4K.
FAQ
Will a rear dash cam work at all through factory privacy glass? Yes, in daylight — reliably. Privacy glass at 20–30% transmission typically costs you some contrast and adds noise but leaves plates readable at close range. Night is where it degrades sharply.
Does aftermarket ceramic tint hurt less than dyed film? At the same VLT rating, ceramic film usually gives better colour neutrality and less haze, which helps slightly. But VLT is VLT — a 20% ceramic film still passes only about 20% of the light. Ceramic's advantage is heat rejection, not camera performance.
Can I cut a hole in the tint for the camera? Some installers will cut a small lens-sized aperture in aftermarket film. It works, and it's the single most effective fix. It's also permanent, visible, and not possible on factory dyed glass where the tint is in the glass itself, not a film.
Should I use a polarising filter to cut reflections? Generally no on heavily tinted glass. A CPL costs roughly a stop of light, which you can't spare. On clear or lightly tinted glass it's a reasonable tool; through 20% film it trades one problem for a worse one.
What about mounting the camera outside the vehicle? Exterior rear cameras exist and are common on trucks and vans, and they sidestep tint entirely. Make sure the unit is rated IP67 or better, plan for the cable gland, and accept that it's exposed to weather, road salt and theft.
Does removing the mount damage my tint? It can. Adhesive mounts on aftermarket film have been known to lift the film on removal, especially on older or cheaper installs. If this worries you, use a spacer or trim mount so nothing adheres to the film directly, and warm the adhesive gently before removal.
Get the best car care deals in your inbox
Join the GarageProof newsletter for hand-picked car care deals and new buying guides. No spam, unsubscribe anytime.
Related reads
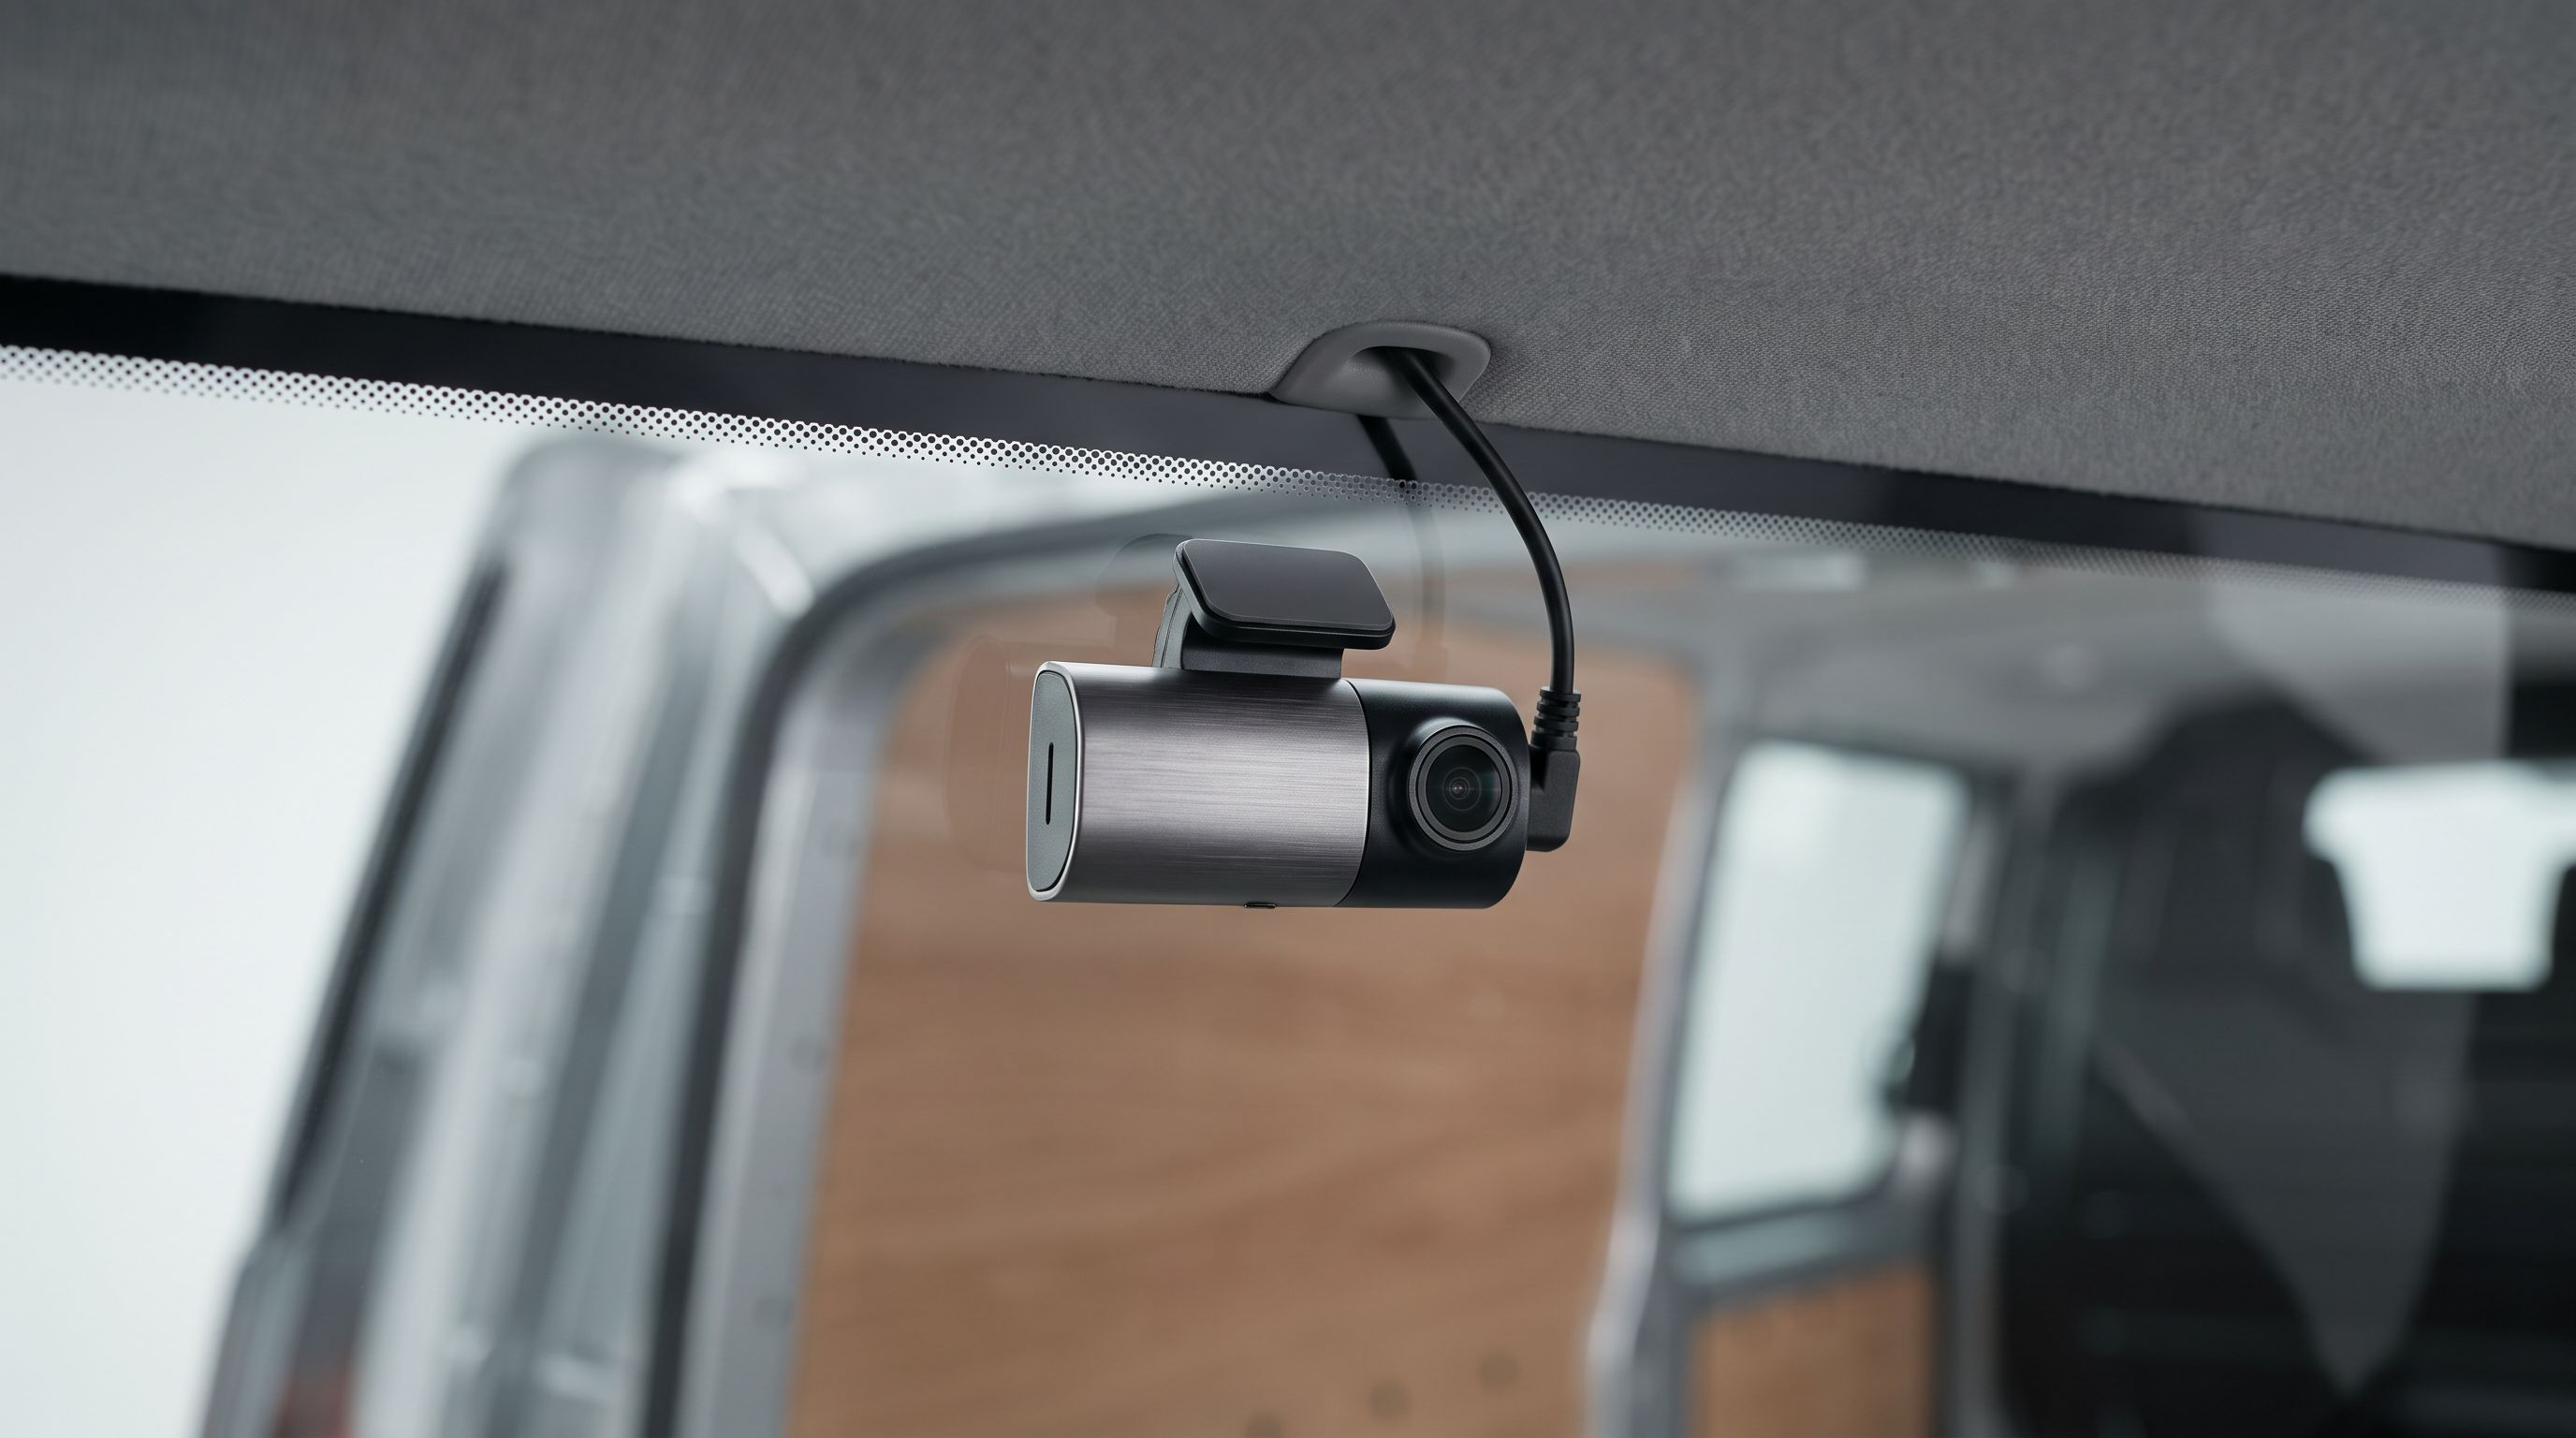
Dash Cam Rear Camera Cable Length in 2026: Sedan vs Van
How long a dash cam rear camera cable do you need in 2026? Compare bundled cable lengths, connector types and extension options for sedans, SUVs and vans.
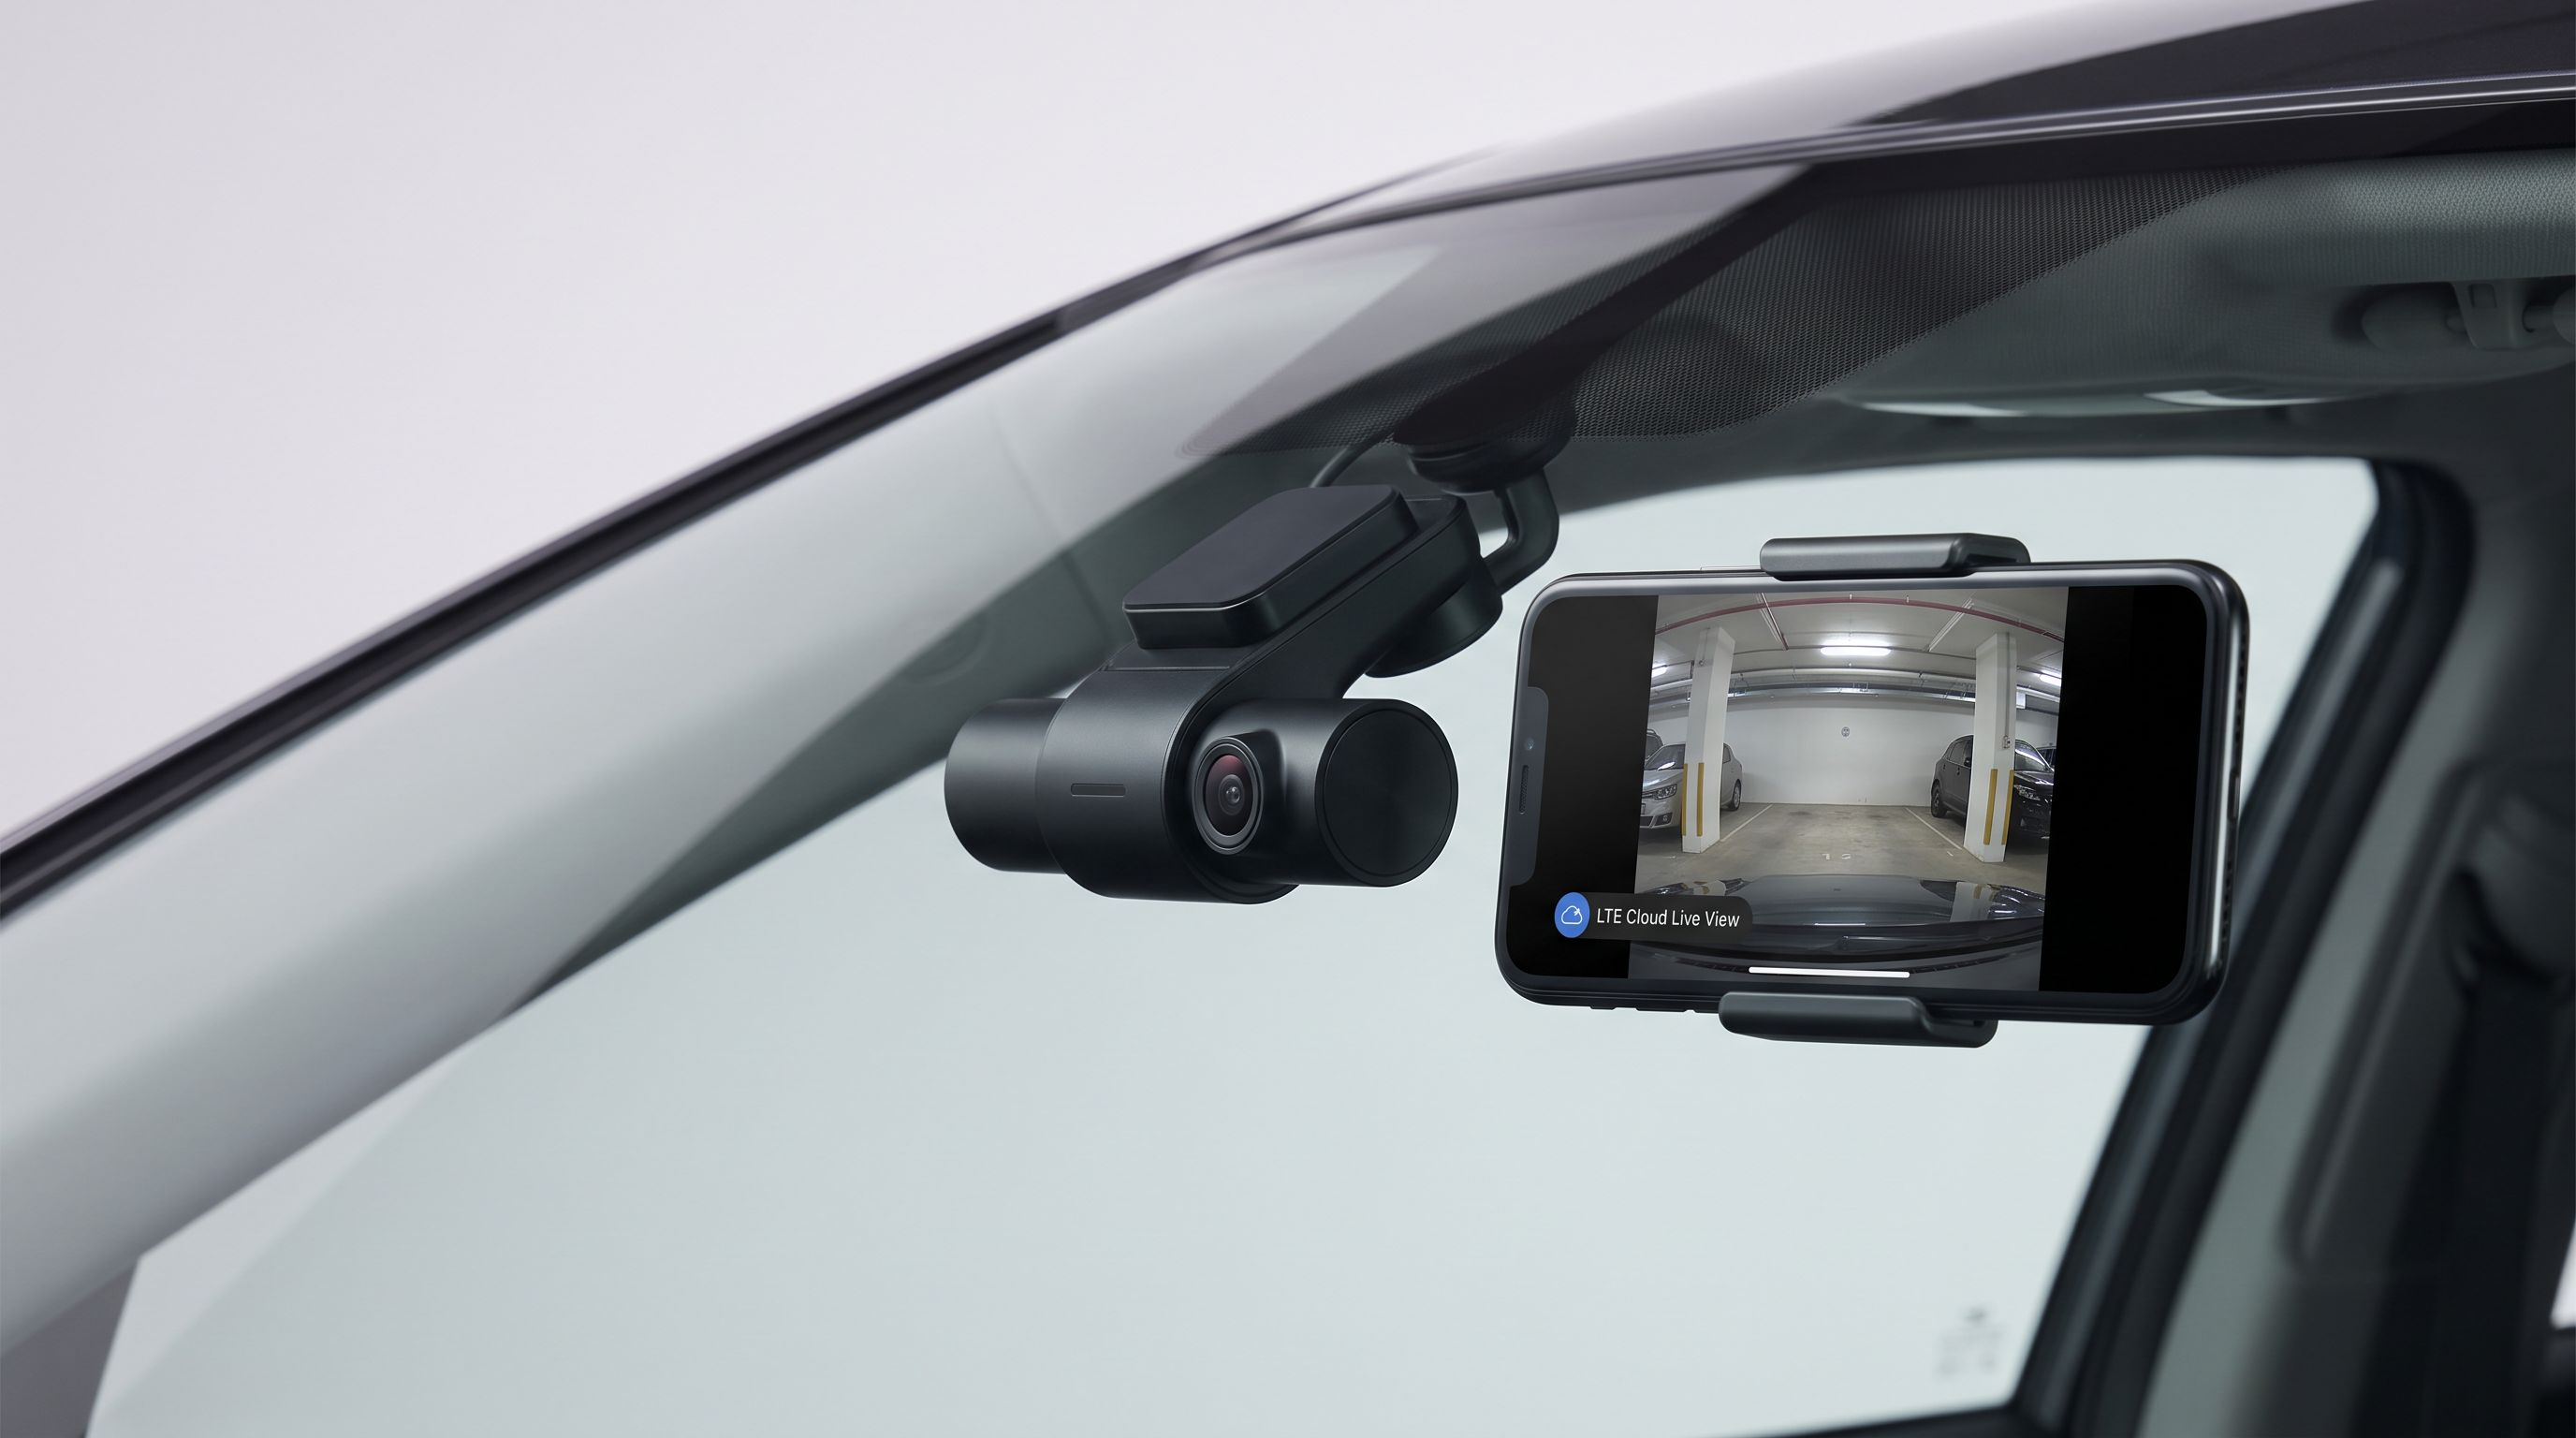
LTE Cloud Dash Cam in 2026: Is the Subscription Worth It?
We compared LTE cloud dash cams in 2026 on hardware cost, monthly plan fees, live-view limits and parking alerts — and when a plain SD card cam is smarter.
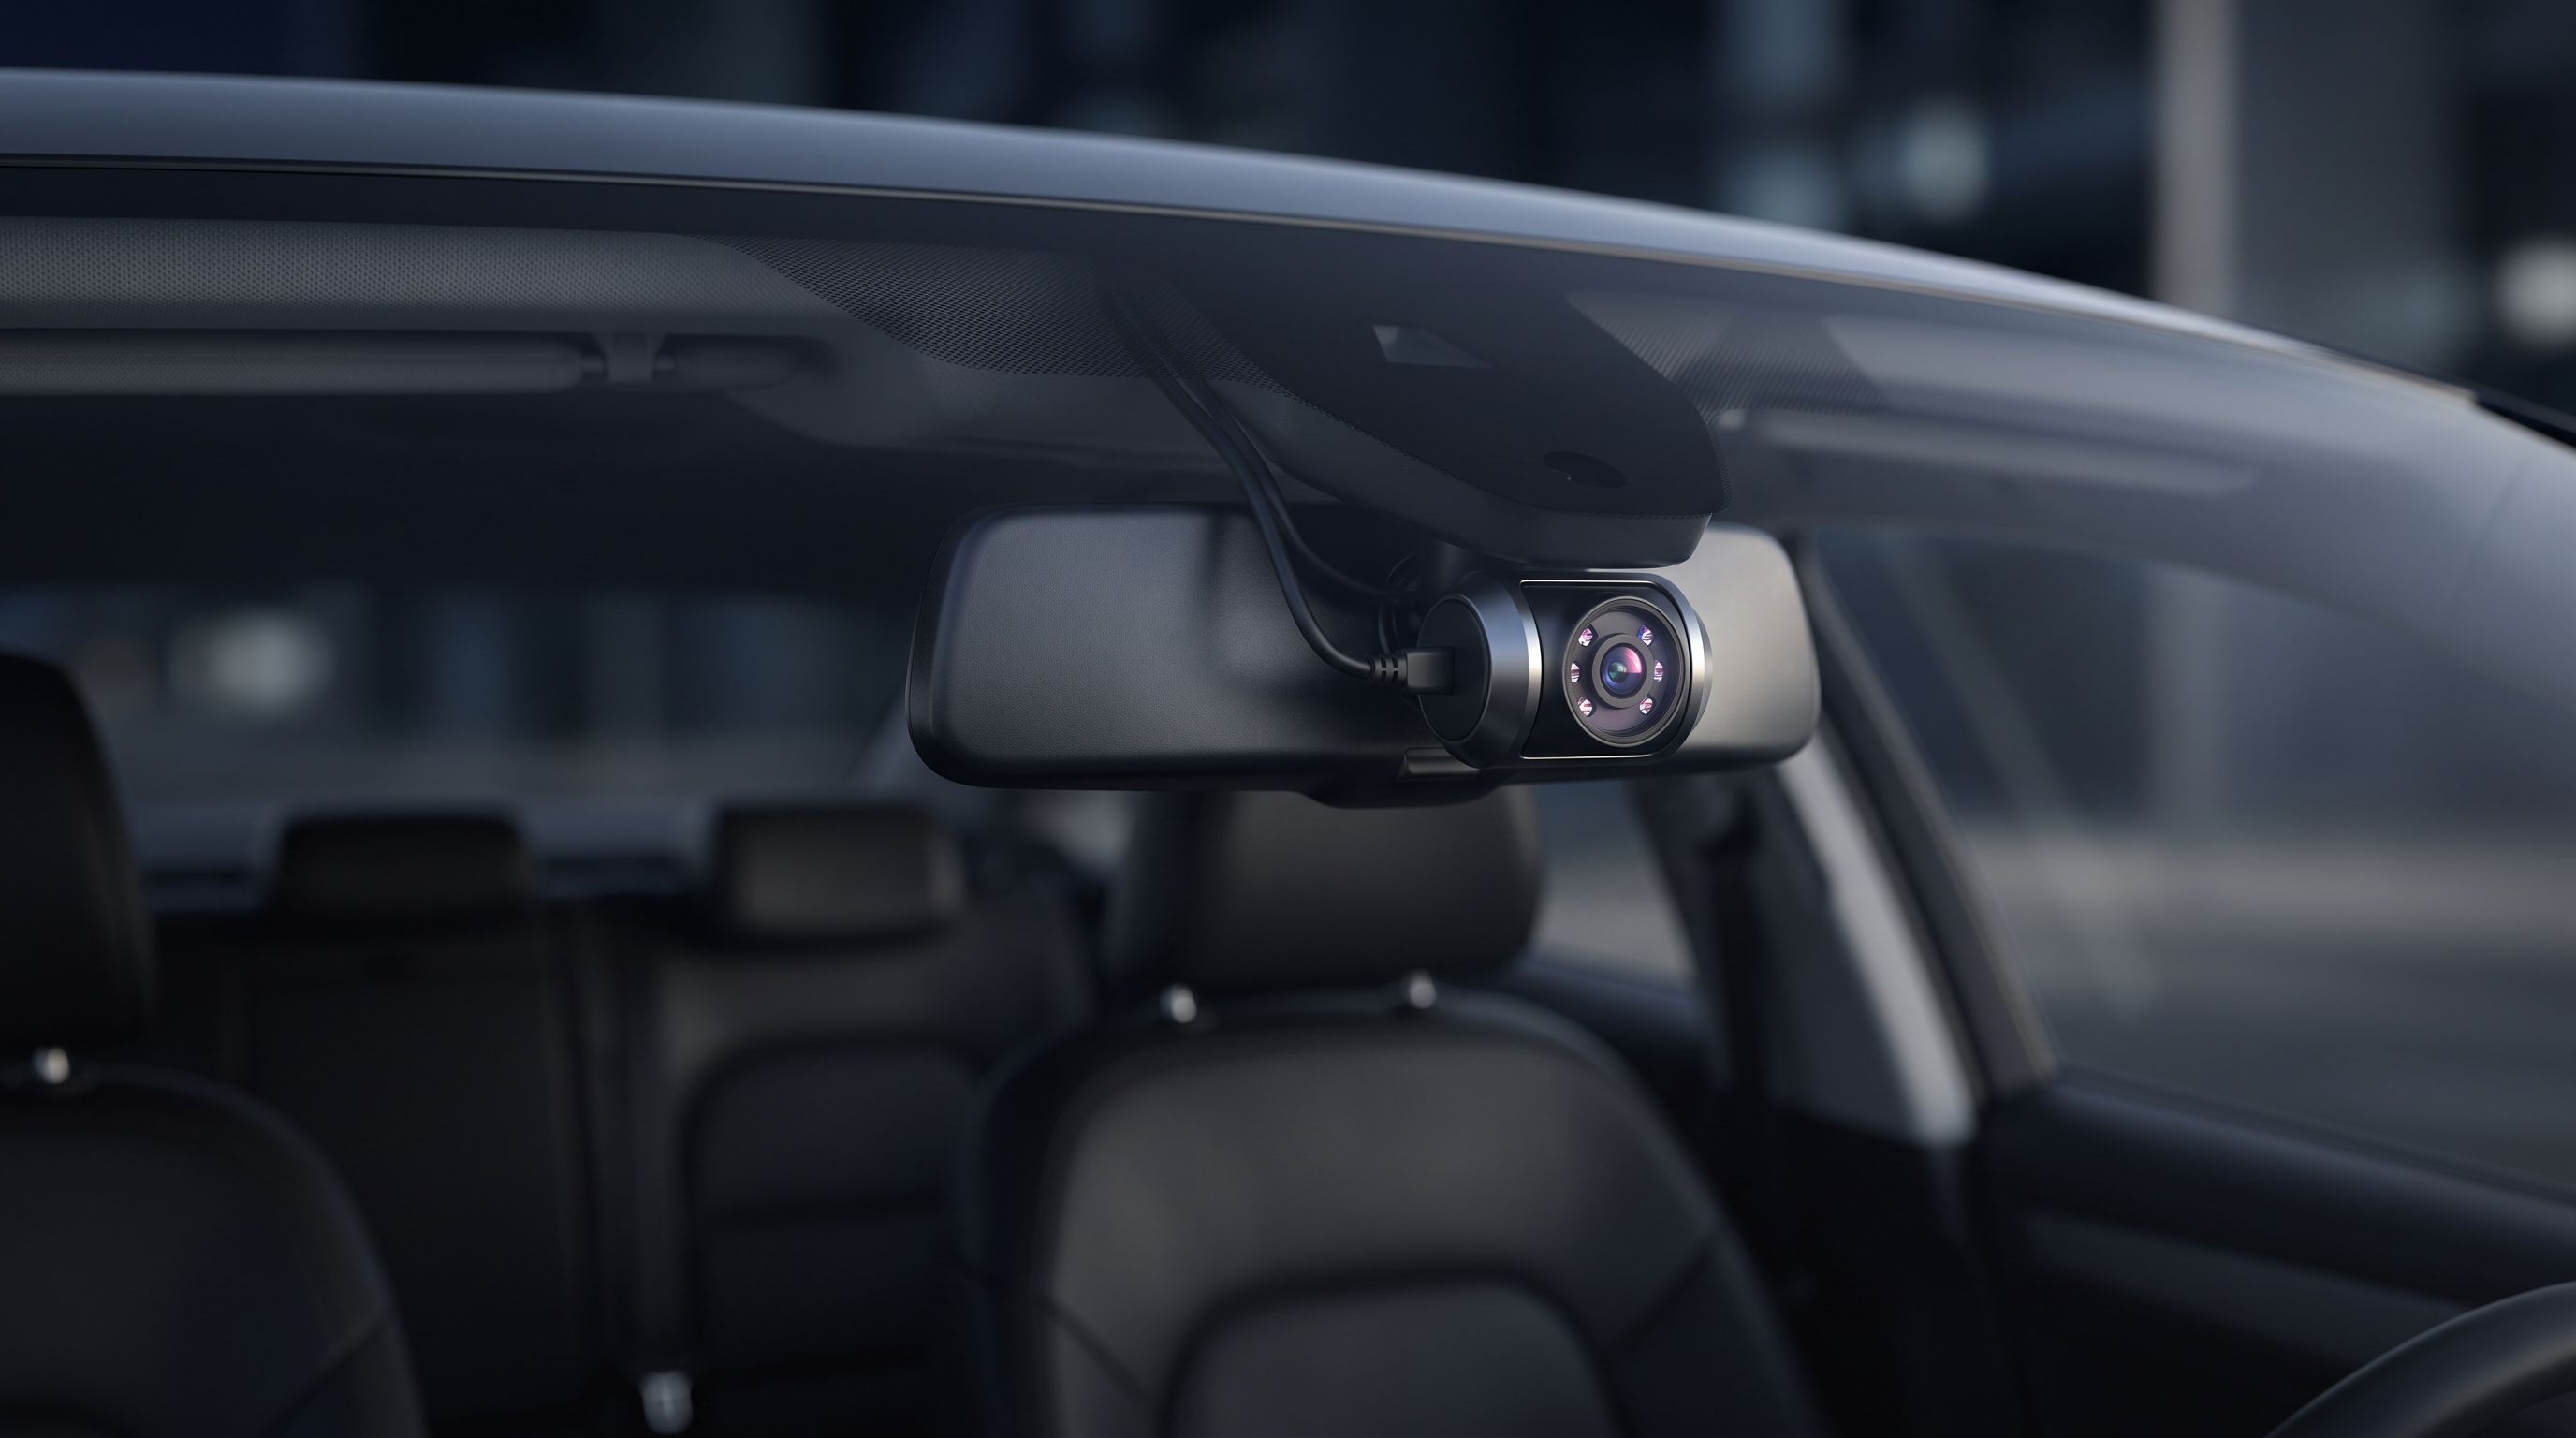
Dash Cam for Uber Drivers 2026: 3 Channels or 2?
The best dash cam for Uber drivers in 2026 depends on cabin IR, mounting room, and parking power. We compare 2- vs 3-channel picks from Vantrue, Viofo and more.