Rear Dash Cam for Hatchback Rear Wiper: 2026 Mount Map
Rear wipers and defroster grids ruin rear dash cam placement. Our 2026 guide maps mount spots and cable routing by body style, plus four picks that fit.
Reader-supported: we may earn a commission from links on this page, at no extra cost to you. It never affects our picks. Learn more.
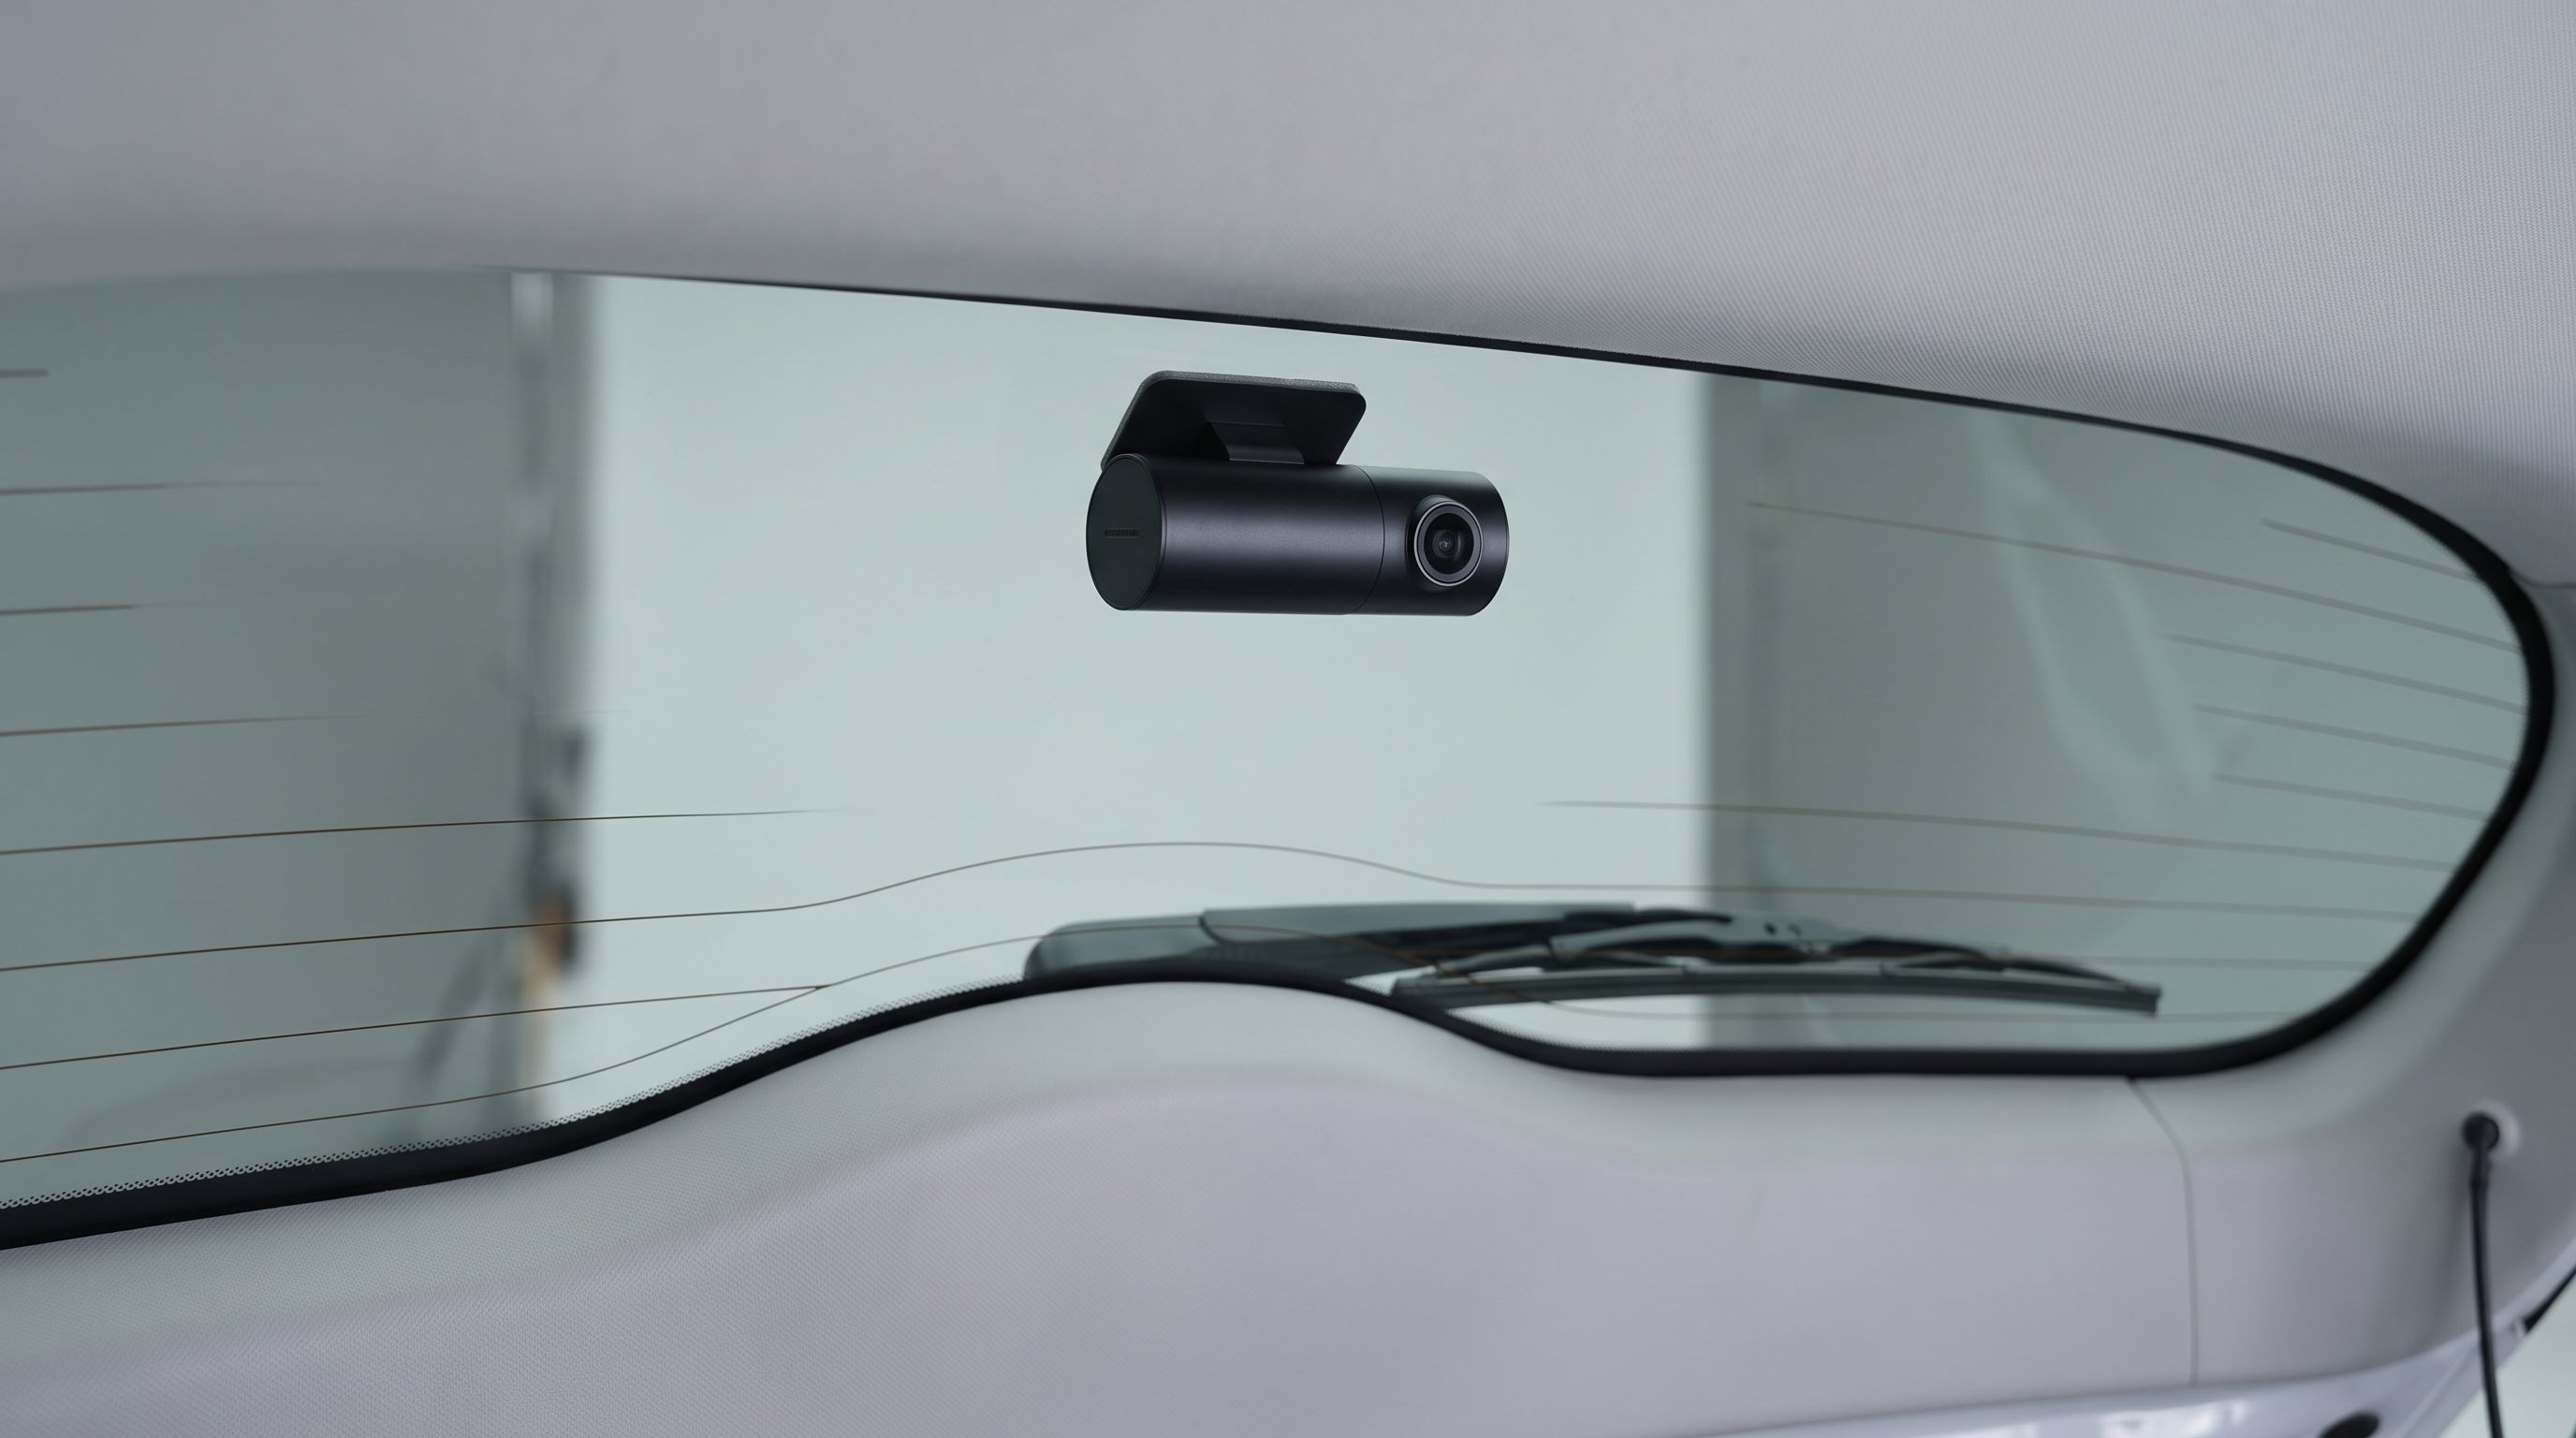
If your car has a rear wiper, it almost certainly also has a heated defroster grid, a high-mount brake light, a hatch spoiler that cuts into the glass, and a tailgate hinge that flexes every time you open it. That's four separate problems a sedan owner never thinks about — and it's why so many hatchback, SUV and minivan owners end up with a rear camera that films wiper smear, grid lines, or the inside of their own cargo cover.
This guide works backwards from the install. Figure out where the camera can physically live on your body style, how the cable gets there, and then pick hardware that fits that spot.
The short version
- Best overall: Viofo A229 Pro 2CH
- Best image quality: Viofo A329S 2CH
- Best for tight glass space: Vantrue E1 Pro
- Budget pick: Rove R2-4K Dual
- Best for vans and shuttles: Vantrue N4 Pro 3CH
 Best for vans and shuttles · Vantrue N4 Pro 3CH — Check price on Amazon →
 Budget pick · Rove R2-4K Dual — Check price on Amazon →
 Best for tight glass space · Vantrue E1 Pro — Check price on Amazon →
 Best image quality · Viofo A329S 2CH — Check price on Amazon →
 Best overall · Viofo A229 Pro 2CH — Check price on Amazon →
Why rear wipers wreck rear-cam placement
A rear wiper sweeps an arc — usually from a pivot at the bottom centre or bottom corner of the glass. Inside that arc, the glass gets cleaned. Outside it, road film, salt and dust build up permanently. Most owners instinctively mount the rear camera high and centre, directly below the brake light, which on a lot of hatchbacks is just outside the wiper's reach. The result: crisp footage in a dry summer, useless grey mush in February.
Then there's the defroster grid. Those horizontal conductive lines sit on the inside glass surface. Mount a lens too close to one and you get a hard black bar across the frame; mount it between two lines with a thick adhesive pad and you may lift the pad's edge over a grid line, which both looks bad and risks scratching the element when you remove it later.
Third problem: privacy tint. Hatchback and SUV rear glass is frequently factory-tinted far darker than the front side windows. A rear camera shoots through that tint, so night performance drops a stop or more versus the same camera on a sedan's clear rear glass. That's the single biggest argument for spending up on sensor quality at the rear.
Three rules that solve most of it
- Mount inside the wiper's swept arc, even if that means lower and off-centre than looks "right."
- Centre the lens in the gap between two grid lines, not over one. Check from outside the car before you commit the adhesive.
- Keep the lens within a few millimetres of the glass. Gap equals reflections, and reflections at night are the number one complaint in owner reviews of rear cams.
Mount spots by body style
| Body style | Best mount spot | Watch out for | Cable route |
|---|---|---|---|
| Hatchback (Golf, Civic, Corolla hatch) | Upper third of rear glass, offset to the wiper-park side so the lens sits inside the arc | Spoiler shading the top 2-3 inches of glass; high-mount brake light housing | Headliner → rear pillar → rubber hatch conduit between body and tailgate |
| Compact SUV / crossover | Centre glass, just above the wiper pivot sweep peak | Cargo cover or roller blind blocking the lower glass | Headliner → D-pillar trim → hatch conduit |
| 3-row SUV | Rear glass, or inside on the headliner facing back | Third-row headrests in frame; rear HVAC ducts in the pillar | Long run — budget 20 ft of cable minimum |
| Minivan | Rear glass low-centre, or roof-mounted behind rear seat | Power sliding-door harnesses nearby; huge glass area means more reflection | Passenger-side headliner → quarter trim → hatch conduit |
| Wagon / estate | Upper glass, slightly off-centre | Load-area tie-down hooks, roller cover rails | Same as hatchback |
| Van (panel, no rear glass) | Exterior waterproof cam above licence plate, or rear door interior | Door hinge flex; needs a weather-rated camera | Through grommet in rear door frame |
The hatch conduit is the whole ball game
On any car with a lifting tailgate, there's a flexible rubber boot (usually one per side, sometimes just one) carrying the wiper motor, defroster and brake light wiring from the body into the hatch. That boot is your cable's only sane path. Pull back the trim near the top of the D-pillar, find the boot, and feed the rear cable through it alongside the factory loom — a stiff wire or trim-tool fish wire makes this a ten-minute job instead of an hour.
Do not run the cable across the open gap between body and hatch. It'll chafe through, and it'll pinch the first time someone slams the tailgate with a grocery bag in hand.
If you simply can't get through the boot, the fallback is to mount the camera on the body side of the opening — on the headliner or on the quarter glass, shooting rearward through the hatch window. You lose some field of view and gain a little interior reflection, but you avoid routing anything across a hinge.
When to give up on the glass entirely
Some vehicles make interior rear mounting hopeless: heavy privacy tint plus a rear spoiler plus a cargo blind. In those cases an exterior rear camera mounted above the licence plate is the better answer. It sits below the wiper problem entirely, never fogs from cabin humidity, and gives a much better view of the car directly behind you. The trade-off is a weather-rated camera (check the IP rating in the spec sheet), a drilled or grommeted pass-through, and no cabin coverage at all.
How to choose
Rear cable length — check before you buy, not after
This is the number one reason rear installs get abandoned. A sedan needs maybe 15 ft of rear cable. A 3-row SUV routed up the A-pillar, along the headliner, down the D-pillar and through the hatch conduit can easily want 20 ft or more, because headliner routing is never a straight line. Confirm the supplied rear cable length in the manufacturer spec before ordering, and check whether a longer cable is sold separately for that specific model — Viofo and Vantrue both offer extended rear leads for some cameras, but the connectors are not interchangeable between brands or even between generations.
Rear camera body shape
Wedge-shaped rear cams sit flat against raked hatch glass and keep the lens close to the surface; cylindrical "bullet" cams stand off further and are more prone to reflections on steeply angled glass. Hatchback and SUV rear glass is usually far more raked than a sedan's, so the low-profile wedge style — as on the Viofo A229 Pro and A329S rear modules — generally mounts cleaner. Also check whether the rear lens rotates within its mount: on very raked glass you'll need to tilt the lens down significantly to centre the horizon.
Sensor quality at the rear, not just the front
Front channels are a marketing war; rear channels are where cheap kits cut corners. Through privacy tint at night, a second-rate rear sensor delivers a grey smear with no readable plates — which defeats the purpose, since rear-end collisions are the main thing a rear cam is there to document. Look for a modern Sony STARVIS or STARVIS 2 sensor on the rear unit specifically, and treat any listing that only quotes the front sensor as a red flag.
Parking mode and how you'll power it
If you want parking surveillance, you need constant power, which means a hardwire kit to the fuse box plus a voltage cutoff so you don't kill the battery. On hatchbacks the hardwire kit adds a second cable run (front only — the rear cable is powered by the front unit), so it doesn't complicate the tailgate routing. Some newer vehicles have fully switched fuse panels with no always-on circuits; check yours, or use an OBD-II power adapter instead.
Fitment reality check
Dash cams are near-universal, but mounts, cable routing and hardwire kits are not. Before you buy, look up your exact year, make and model for: the hatch conduit location, whether your fuse box has always-hot circuits, and whether a 12V socket in the cargo area exists (some SUVs have one, which can simplify things enormously). Owner forums for your specific model are usually more useful here than any generic install video.
The picks
Viofo A229 Pro 2CH — best overall
Prices last checked October 28, 2026. Amazon prices change frequently, so treat these as a guide and check the live price before you buy.
Viofo A229 Pro 2CH
Compact wedge-shaped rear cam, STARVIS 2 sensor and a long supplied rear cable that reaches hatch tailgates.
The A229 Pro has become the default recommendation in independent reviews for good reason, and it suits wiper-equipped cars particularly well. The rear module is a small wedge that lies almost flat against raked hatch glass, the supplied rear cable is long enough for most compact SUVs without an extension, and the rear channel uses a current-generation Sony sensor rather than a budget afterthought — which matters when you're shooting through privacy tint. Wi-Fi setup and the app are stable, GPS is built in, and parking mode works properly with a hardwire kit.
What it gives up: it's not the cheapest way to get two channels, and the front unit is a reasonably large wedge that needs to live behind the mirror.
Viofo A329S 2CH — best image quality
Viofo A329S 2CH
4K front with a sharper rear channel — the one to buy if plate reads through tinted hatch glass matter.
If your rear glass is heavily tinted, or you simply want the best shot at a readable plate at night, the A329S is the upgrade. Reviewers in 2026 consistently rank it at or near the top for sharpness and low-light behaviour, and the higher-resolution rear option is the main reason to pay the difference over the A229 Pro. Same flat-wedge rear body, same practical mounting footprint on steeply raked glass.
What it gives up: higher bitrates eat card space faster, so plan on a high-endurance card of decent capacity, and the price premium is real for a camera most people will only ever review footage from twice.
Vantrue E1 Pro — best for tight glass space
Vantrue E1 Pro
Tiny puck-style front cam with an optional rear module that hides easily on cluttered rear windows.
The E1 Pro's appeal is physical size. It's a compact puck rather than a wedge, which means on a hatchback with a deep spoiler shadow, a third brake light housing and a cargo blind rail all competing for glass real estate, you can often find a spot for it that a larger body simply won't fit. The front unit tucks neatly behind the mirror and all but disappears, and voice control is genuinely useful when you can't reach the unit.
What it gives up: the rear channel is a secondary module rather than a co-equal camera, and the round body gives you slightly less adjustment range on very raked glass than a wedge does.
Rove R2-4K Dual — budget pick
Rove R2-4K Dual
Inexpensive front-and-rear kit with a long rear lead — fine for a second car or a short-lease hatchback.
A reasonable answer for a second car, a teen driver, or a lease you're handing back in two years. The kit includes a long rear lead and a memory card, and 4K front footage is more than most people need. Owner feedback is broadly positive on daytime quality.
What it gives up: rear-channel low-light performance is the obvious compromise, and shooting through tinted hatch glass at night will show that. App and firmware polish lag behind Viofo and Vantrue. If rear coverage is the main reason you're buying, spend up.
Vantrue N4 Pro 3CH — best for vans and shuttles
Vantrue N4 Pro 3CH
Three channels, so you can cover cabin plus rear glass when a tailgate-mounted lens isn't practical.
When the cargo area or rear seats make a glass-mounted rear lens impractical — a loaded van, a rideshare minivan, a vehicle with a permanent bulkhead — three channels solve it differently. You cover front, cabin and rear from a single front unit plus one external rear cam, with infrared cabin coverage for night work. For anyone carrying passengers, the cabin channel is the one that actually gets used.
What it gives up: it's a bigger unit on the windscreen, three channels generate a lot of data, and you still face the same rear cable routing challenge as everyone else.
Installation notes that save a reinstall
- Dry-fit everything first. Tape the rear camera in place with masking tape, run the engine, and check the live view for grid lines, spoiler shadow and reflections before you peel the adhesive backing.
- Clean the glass with isopropyl alcohol, not glass cleaner — residue from ammonia-based cleaners is the usual reason 3M pads let go in hot weather.
- Leave a service loop of cable inside the hatch conduit so the tailgate can open fully without tension on the connector.
- Mind the defroster element when removing anything. If you ever need to reposition, warm the adhesive with a hair dryer and peel slowly, parallel to the glass.
- Park the wiper and mark the arc with a strip of tape on the outside of the glass. Mount inside that line. It takes two minutes and prevents the most common placement mistake.
FAQ
Does the rear wiper actually damage the camera? No — the wiper is on the outside of the glass and the camera is inside. The problem is purely optical: if your lens sits outside the swept area, you're filming through dirt the wiper never reaches.
Will the defroster grid show up in my footage? Only if the lens is directly over or very close to a grid line. Centred in the gap between two lines, with the lens close to the glass, the grid is effectively invisible. Angle matters too — a lens tilted steeply can catch a line that looked clear head-on.
Can I mount the rear camera on the inside headliner instead of the glass? Yes, and on 3-row SUVs it's sometimes the better choice because you avoid the hatch conduit entirely. You lose field of view and pick up some interior reflection, and headrests may intrude into frame. Test it with tape before committing.
How long a rear cable do I need for an SUV? Plan on at least 20 ft for a mid-size or 3-row SUV routed through the headliner and D-pillar. Confirm the supplied length in the spec sheet for your chosen model, and check whether a longer cable is available for that specific camera — leads are not cross-compatible between brands.
Is an exterior licence-plate camera better for a hatchback? It can be, especially with heavy privacy tint, a deep spoiler or a permanently installed cargo blind. You get a lower, clearer view of the car behind and no cabin reflections. In exchange you need a weather-rated unit, a grommet pass-through, and you give up any cabin coverage.
Do I need parking mode? Only if you want to capture hit-and-runs while parked. It requires hardwiring to the fuse box with a voltage cutoff, or an OBD-II power adapter. Verify your vehicle has an always-hot fuse circuit before buying the kit — some newer models don't.
Get the best car care deals in your inbox
Join the GarageProof newsletter for hand-picked car care deals and new buying guides. No spam, unsubscribe anytime.
Related reads
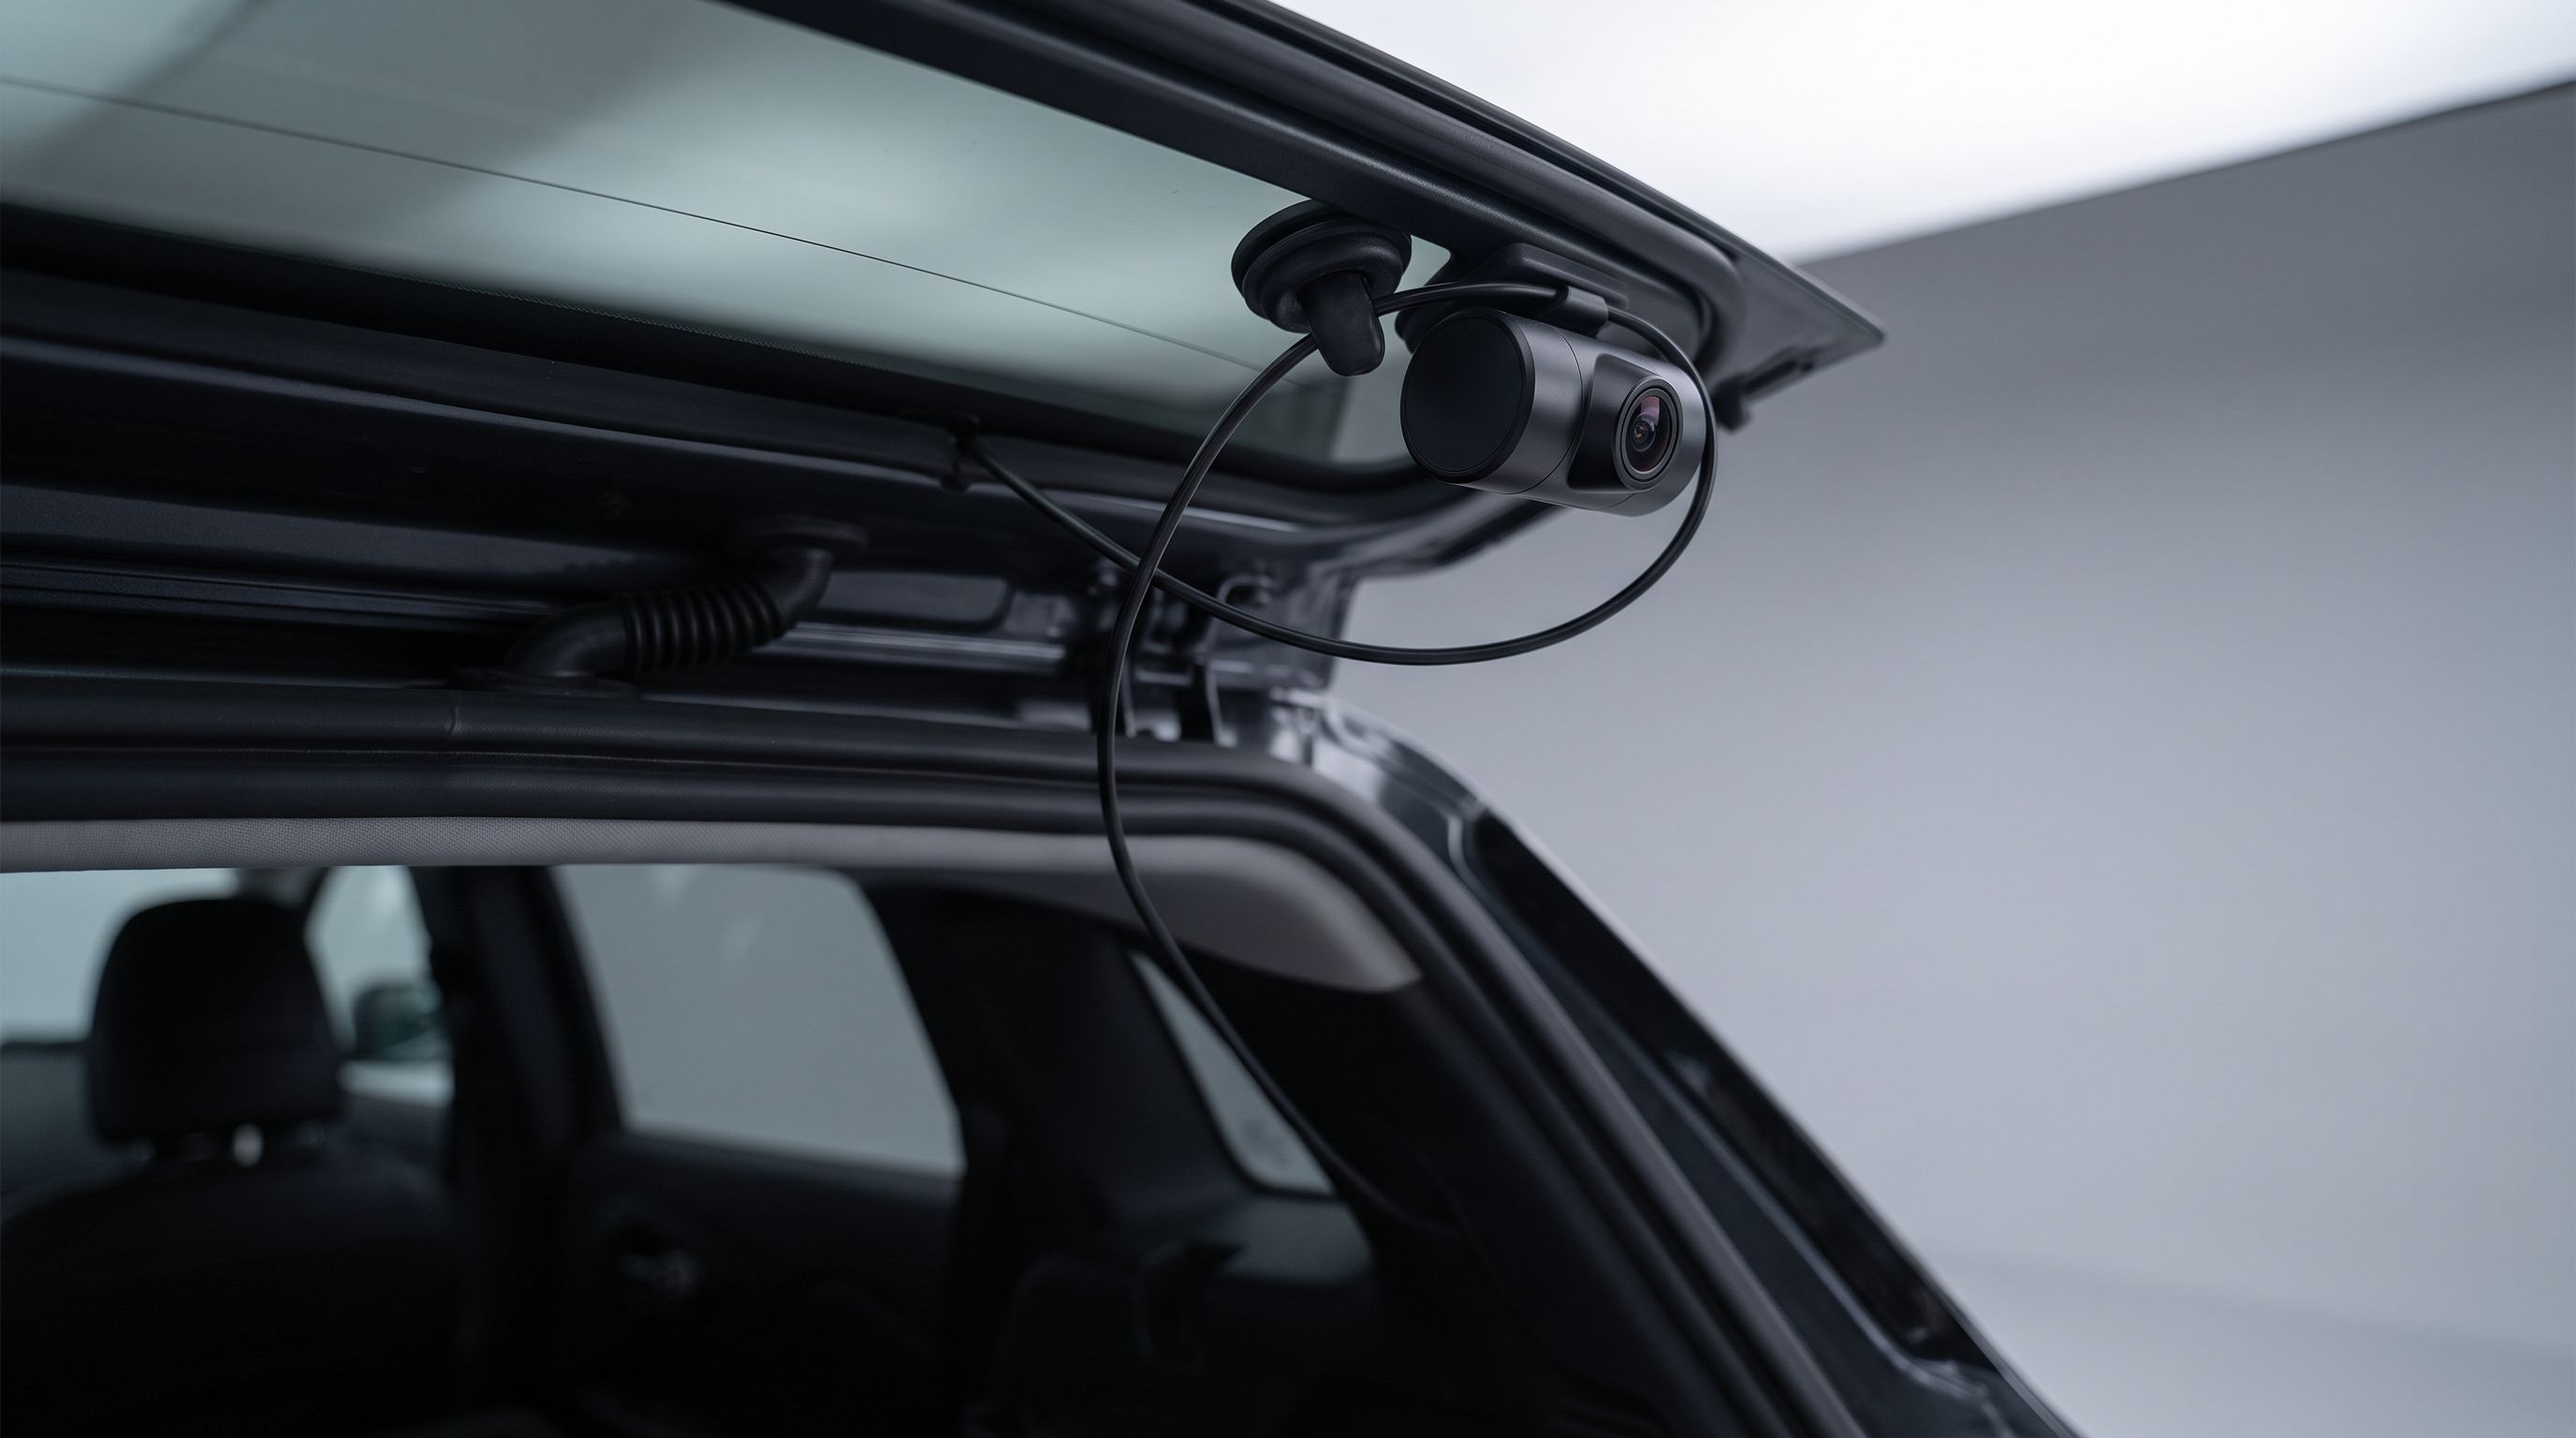
Rear Dash Cam for SUV 2026: Cable Runs That Actually Fit
Picking a rear dash cam for an SUV or hatchback? Compare 2026 cable lengths, connector styles and liftgate grommet runs so your rear camera wiring survives.
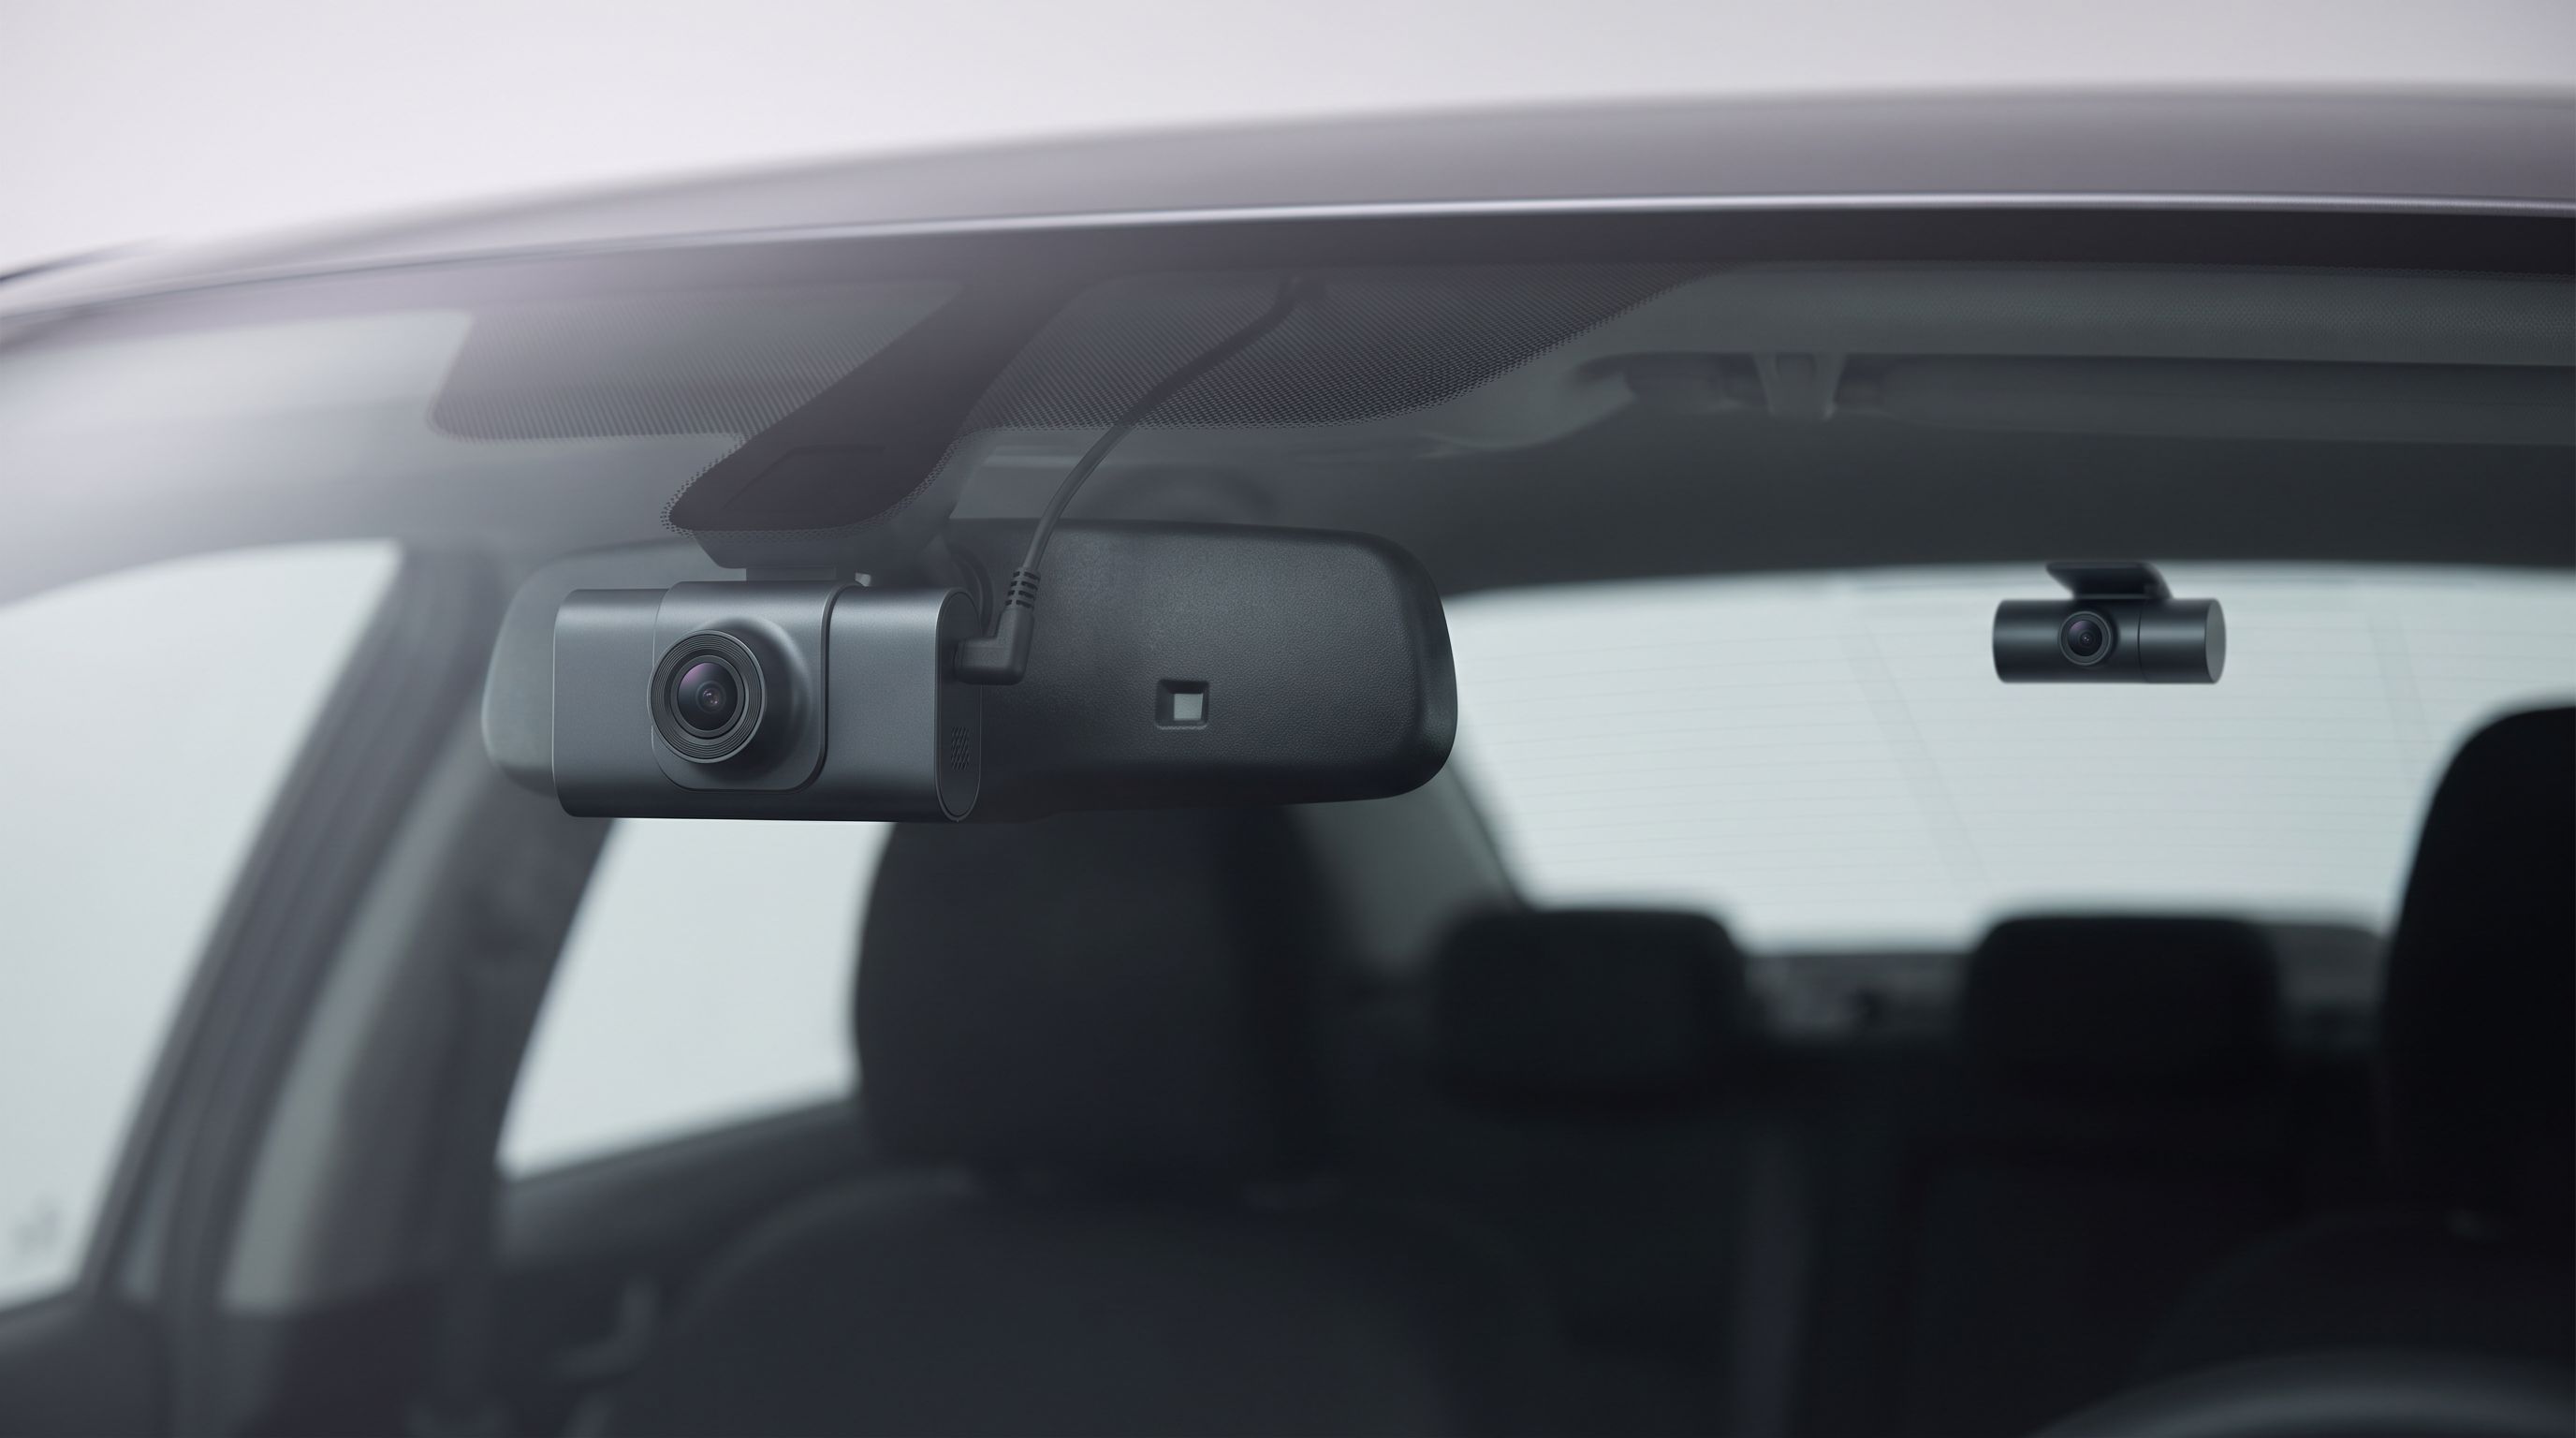
4K Dash Cams With Rear Camera: 5 Picks Worth Wiring In
We compared the best 4K dash cams with rear camera for 2026 — Viofo, Vantrue, 70mai and Rove — on rear resolution, night video, parking mode and plate legibility.
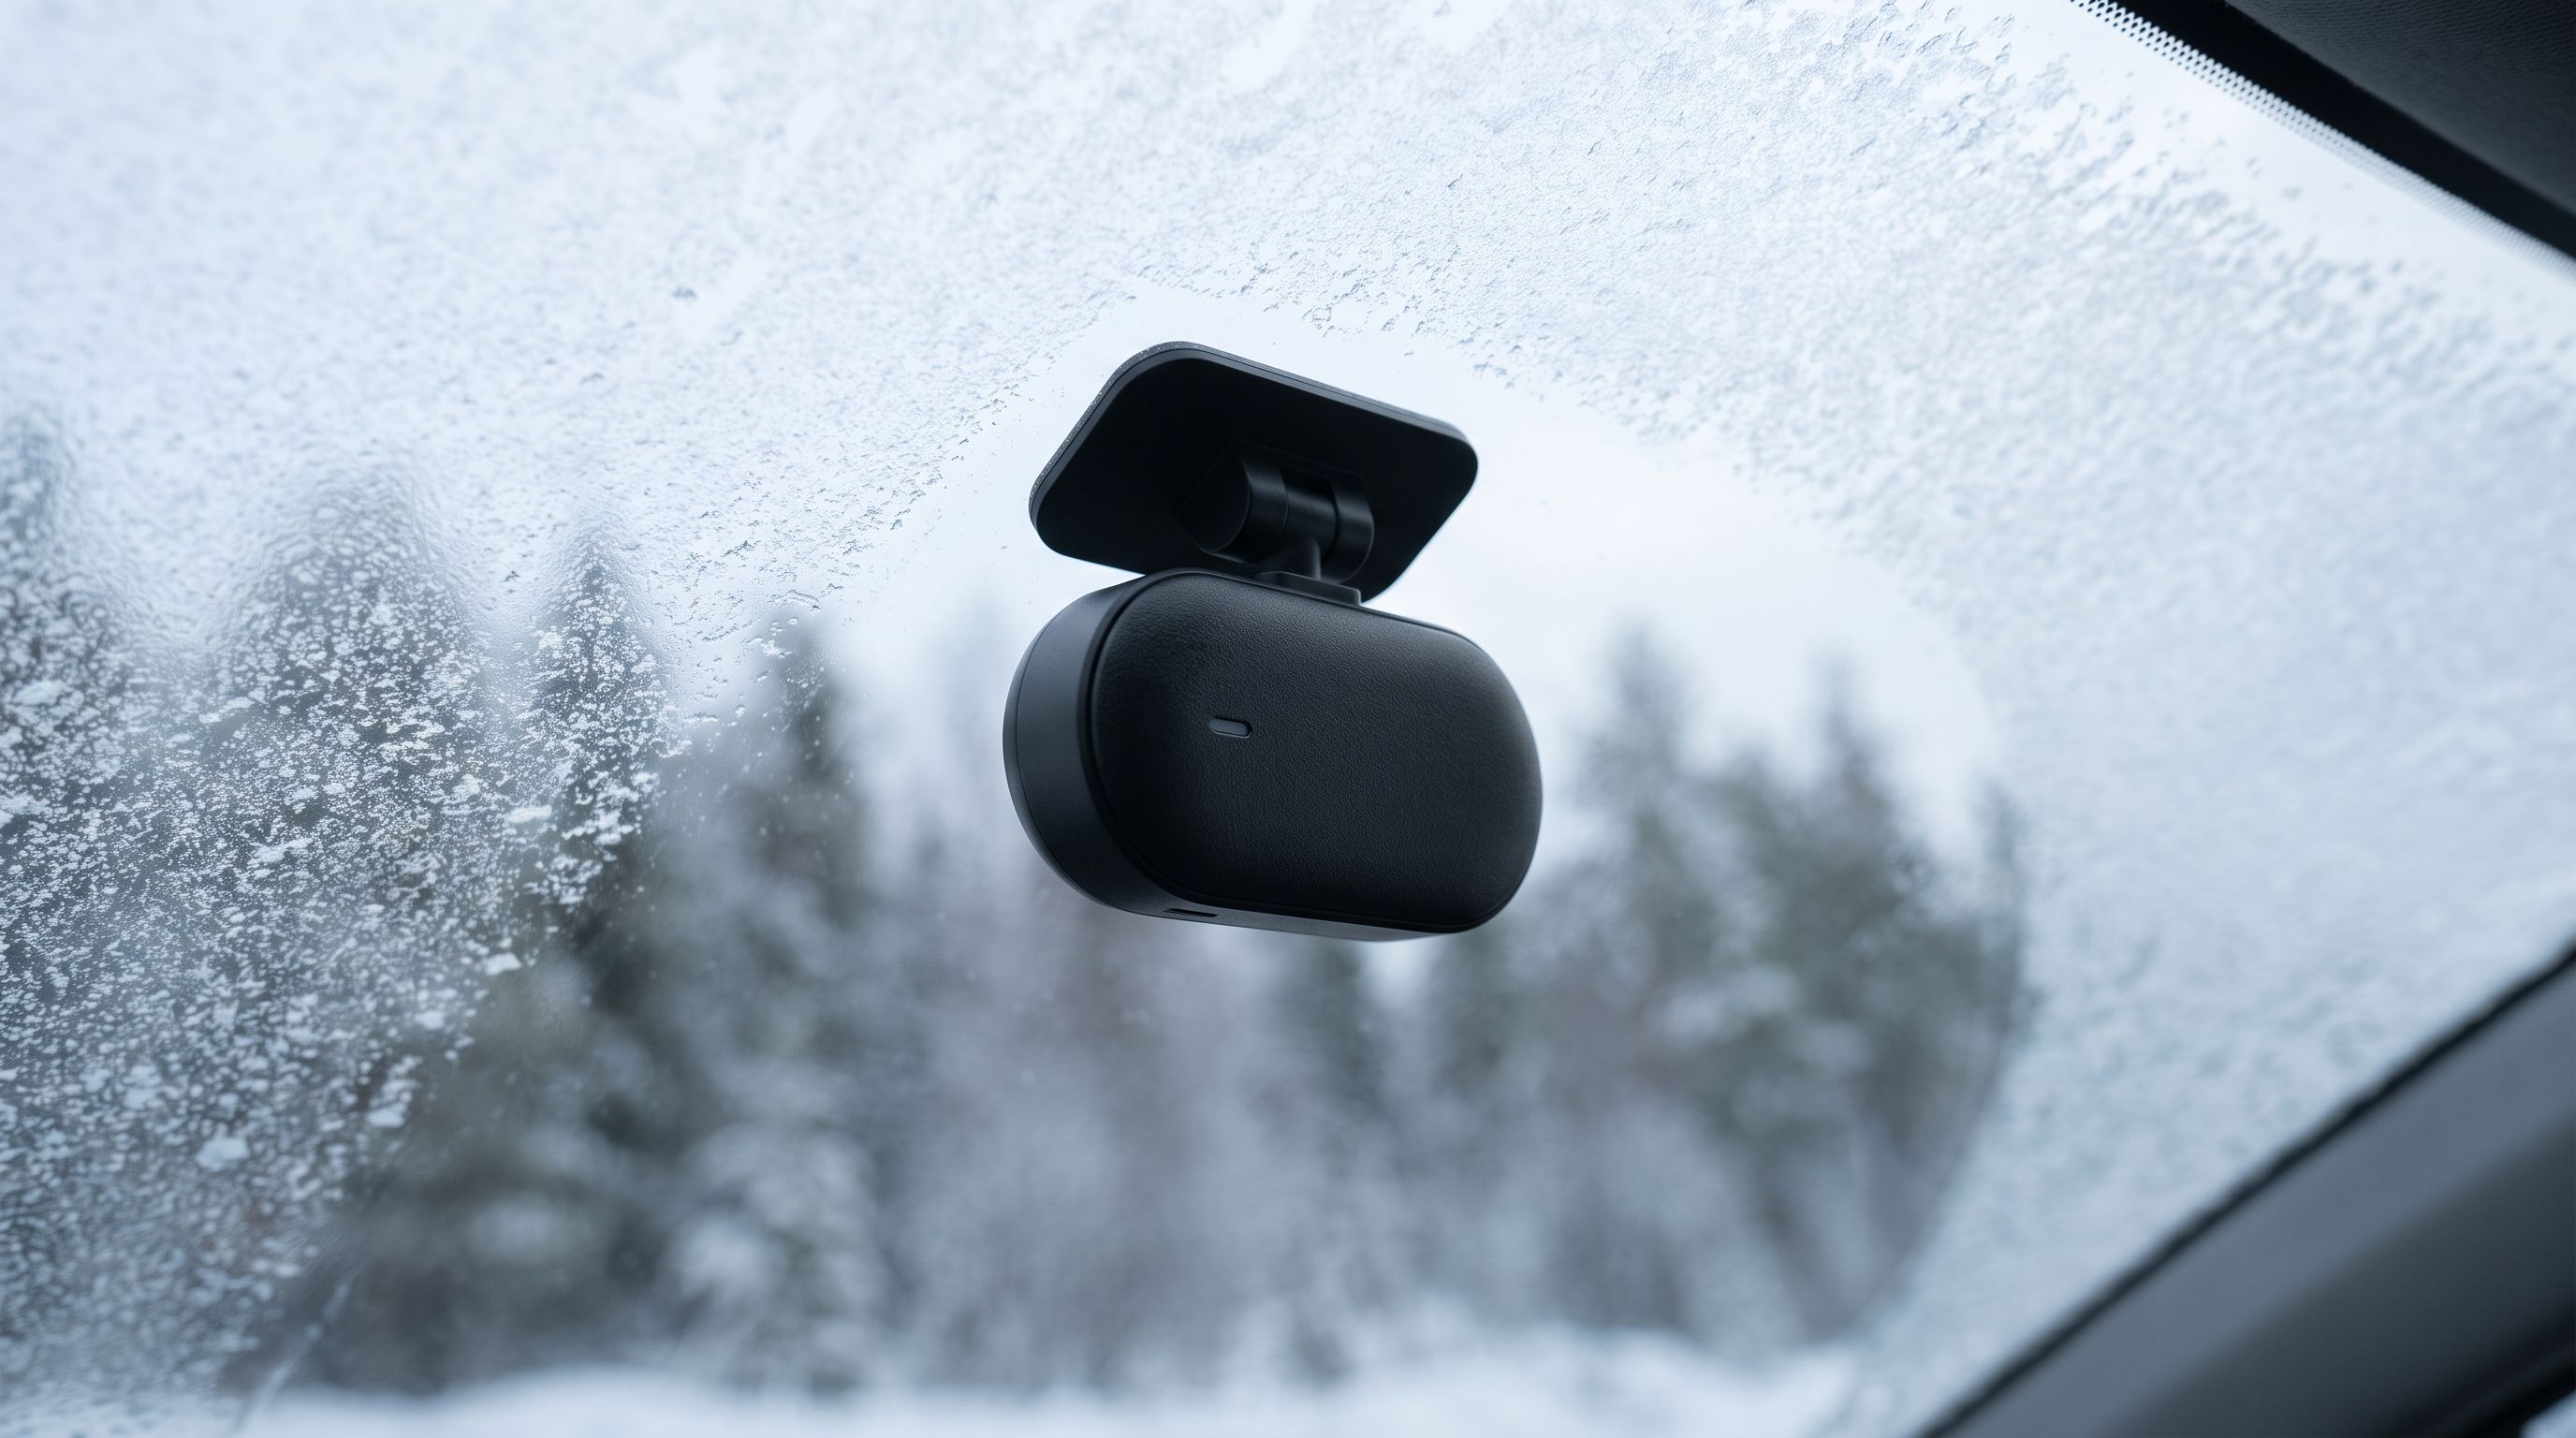
Cold Weather Dash Cam Picks for 2026 That Boot at −20°C
Supercapacitor dash cams that survive sub-zero mornings. We compare BlackVue, Viofo, Thinkware and Vantrue models on cold-rated specs and winter owner feedback.