Paint Correction Clear Coat Thickness in 2026: When to Stop
How to read a paint depth gauge, budget clear coat microns, and know when to stop polishing — plus the best paint thickness gauges and compounds for 2026.
Reader-supported: we may earn a commission from links on this page, at no extra cost to you. It never affects our picks. Learn more.
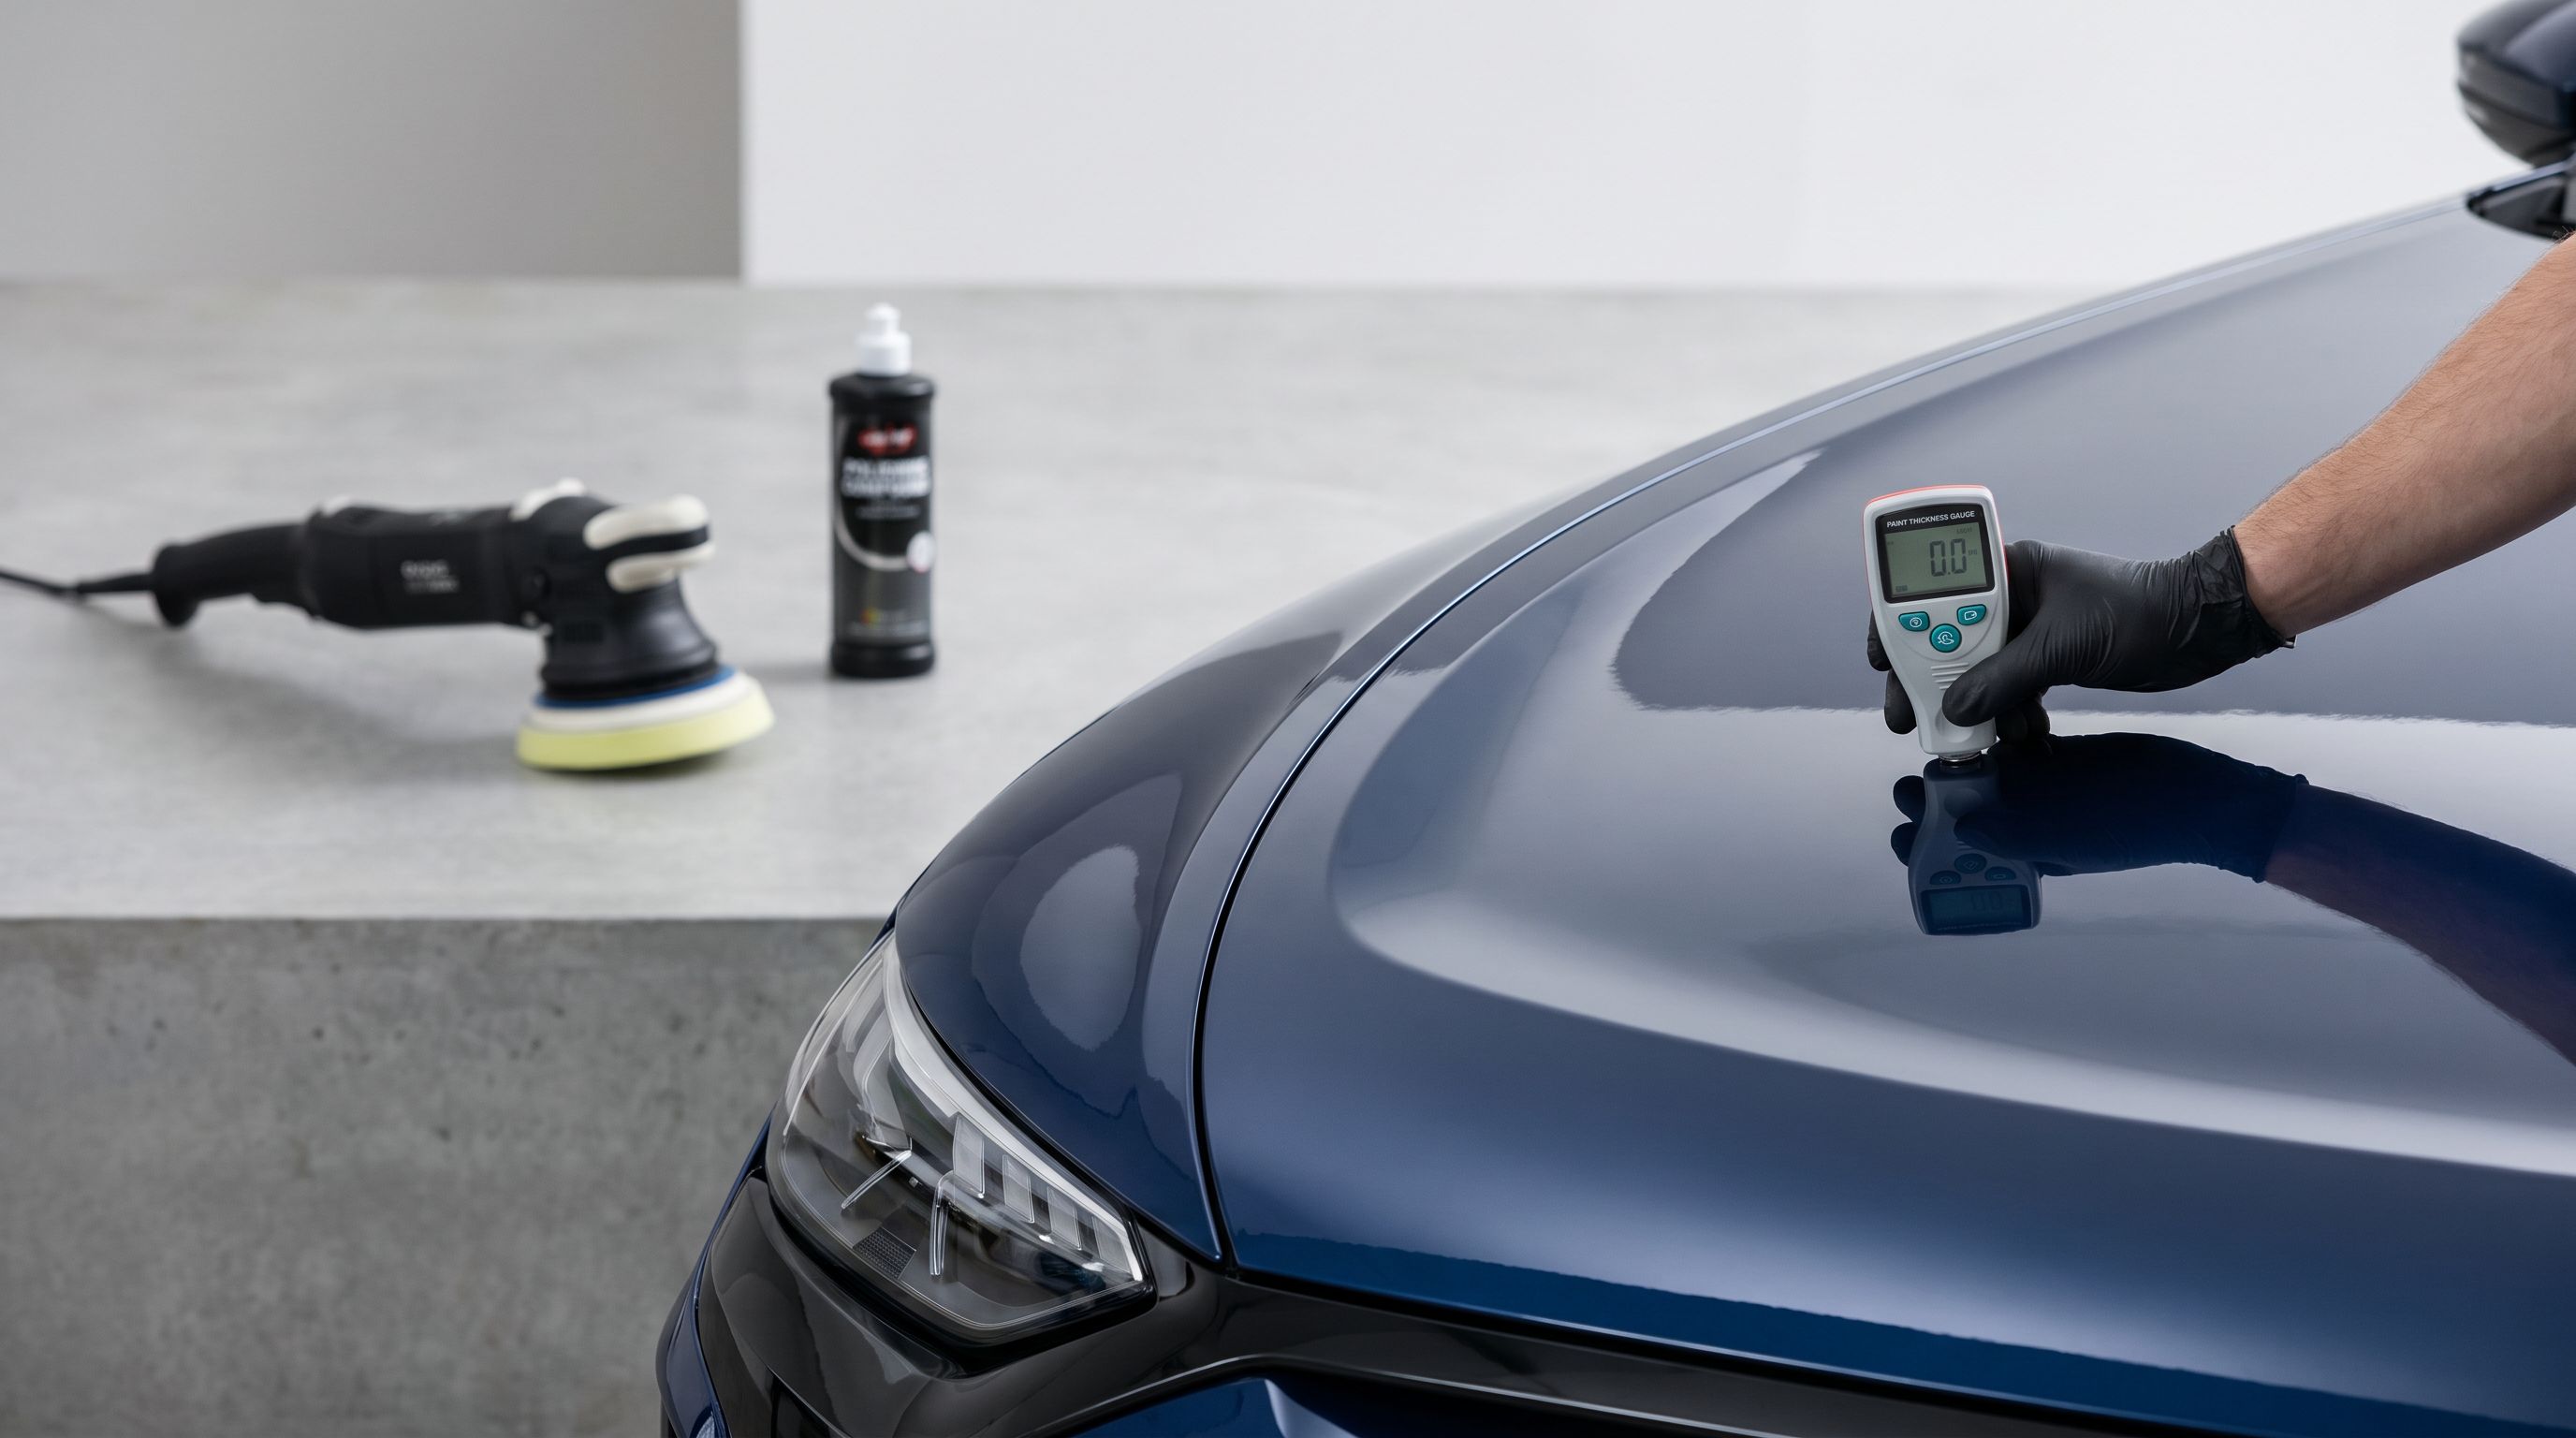
Paint correction is subtractive. Every pass of compound you make on a panel removes clear coat that the factory will never put back. The gloss you get today is borrowed from the finish's remaining life — and the only way to know how much credit you have left is to measure.
This guide explains how to read a paint depth gauge, how to build a realistic clear coat "budget" in microns, and where the stop line sits. Then it covers the gauges and compounds worth buying in 2026 to do the job without nuking a panel.
The short version
- Best overall gauge — Defelsko PosiTest DFT Combo
- Best mid-range gauge — Fowler 54-422-001 PosiTest-style Paint Meter
- Best budget gauge — VVV-Group VVV-30 Paint Thickness Gauge
- Best cutting compound — Meguiar's M110 Ultra Cut Compound
- Best one-step polish for thin paint — Menzerna Power Finish PF2500
 Best mid-range gauge · Fowler 54-422-001 PosiTest-style Paint Meter — Check price on Amazon →
 Best overall gauge · Defelsko PosiTest DFT Combo — Check price on Amazon →
What a paint gauge actually tells you
Almost every affordable automotive paint gauge measures total film build — the combined thickness of electrocoat, primer, basecoat, and clear coat sitting on top of the steel or aluminum substrate. It does not break that stack apart. A reading of 120 microns tells you the whole sandwich, not the clear layer you're about to polish.
Typical numbers on modern factory paint, based on manufacturer data and the figures detailers report consistently:
- Total film build: roughly 100–180 microns (about 4.0–7.1 mils) on a flat panel
- Clear coat portion: roughly 38–70 microns, with most 2015-and-newer OEM finishes landing in the 40–60 micron range
- Edges, body lines, and crowns: commonly 25–50% thinner than the flat middle of the same panel
That last point kills more paint than anything else. A door skin can read 130 microns across the flat and 70 microns along the swage line two inches away. Compounding is not uniform — pads load up on raised edges and the heat concentrates there.
So the gauge's job is not to hand you a clear coat number. Its job is to let you (1) map a panel for consistency, (2) find repaints and filler, and (3) detect when you're taking too much off during a session.
Reading the map, not the number
Take at least eight to twelve readings per panel: four corners, the center, both edges, and any body line. Write them down. What you're looking for is the spread.
- Readings all within ±15 microns of each other → almost certainly factory paint, uniform, workable.
- One zone reading 200–350 microns → a respray or blend. Could have thick clear (good) or be a cheap single-stage job over the original (bad). Test spot carefully.
- Readings under ~90 microns total → treat as thin. Something has already been polished hard, or the panel came thin from the factory.
- Wild swings, 400+ microns, erratic → body filler underneath. Do not aggressively polish filler-backed panels; heat and cut behave unpredictably.
The clear coat budget
Here's the framework that actually guides decisions at the machine.
Industry guidance commonly cited by coating manufacturers and refinish trainers is to never take clear coat below roughly 40 microns total — below that, UV inhibitors in the clear become too sparse to protect the basecoat, and clear failure (hazing, peeling, delamination) accelerates. Some shops use 50 microns as a more conservative floor for cars they expect to keep a decade.
So the math looks like this:
Starting clear (say 60 µm) − safety floor (40 µm) = 20 µm of budget for the life of the car.
Twenty microns is less than it sounds. Real-world removal rates:
| Operation | Approx. clear removed | Notes |
|---|---|---|
| Finishing polish, soft pad, one pass | ~0.5–1 µm | Light enough to repeat several times over years |
| One-step polish (medium pad + polish) | ~1–3 µm | The sweet spot for most maintenance corrections |
| Compound pass, cutting pad, 2–3 passes | ~3–6 µm | A standard "one-step heavy" or light two-step |
| Full two-step correction (compound + polish) | ~5–10 µm | What most "90% correction" jobs actually cost |
| Wet sanding 2000–3000 grit + refine | ~10–20 µm | Specialist territory; measure before and after every panel |
Pro prep for a ceramic coating — a light polish to remove haze and get the surface bonding-ready — often costs only one to two microns. That's sustainable. A full multi-stage correction is not something you can do more than two or three times in a car's life.
The practical stop rules
- Stop when total film build drops 10 microns from where you started on that panel in a single session. That's a hard session cap for most work.
- Stop when total film build reads under 90 microns, period. You're guessing at the clear layer and the guess is no longer safe.
- Never machine-compound a raised edge or body line. Tape them off, or hand-polish with a fine polish and a microfiber applicator.
- Stop when the defect isn't improving after two careful passes. Deep scratches that catch a fingernail are through the clear. More cutting won't remove them — it will only thin the clear around them.
- Re-measure your test spot before you commit. Gauge the area, run your intended combo, wipe down, gauge again. That delta is your per-pass cost on this car.
How to choose
Substrate detection: Fe/NFe matters
A gauge that only reads ferrous substrates is useless on aluminum hoods, fenders, and doors — which are common on trucks, luxury sedans, and nearly every EV. Buy a dual-mode (Fe/NFe) gauge with automatic substrate detection so you aren't flipping modes mid-panel and misreading. All three gauges below handle both; the difference is in how cleanly they switch and how repeatable the aluminum readings are.
Accuracy and repeatability
Budget meters typically quote accuracy around ±2–3% plus a few microns. That's acceptable for mapping relative differences across a panel. What you really want is repeatability — press the probe on the same spot five times and get the same number. Pro units from Defelsko are built around that, with calibration foils and traceable standards. If you're billing customers or working on high-value cars, buy repeatability.
Probe design and ergonomics
Integral probes (sensor built into the body) are faster for one-handed sweeps. Separate cabled probes reach into door jambs, inside wheel arches, and around spoilers. A flat, wide probe tip sits poorly on tight curves; look for a V-grooved or small-radius tip if you work on curvy bodywork. Backlit display and auto-rotate matter more than you'd think when you're reading a rocker panel at ankle height.
Compound aggressiveness vs. finishing ability
The least clear coat is removed by the abrasive that cuts fast and stops. Modern diminishing or engineered abrasives (Meguiar's and Menzerna both do this well) deliver their cut in the first 20–30 seconds, then refine. Old-school crumbling compounds keep grinding as long as you keep the pad moving. On thin paint, pad choice carries more risk than compound choice — step down to a polishing or finishing foam before you step up the liquid.
Units: microns or mils
Everything in this guide is in microns (µm). 1 mil = 25.4 µm. Make sure your gauge displays both, or you'll be doing conversions on a phone with compound on your hands.
The picks
Defelsko PosiTest DFT Combo — best overall gauge
Prices last checked October 26, 2026. Amazon prices change frequently, so treat these as a guide and check the live price before you buy.
Defelsko PosiTest DFT Combo
Pro-grade automatic ferrous/non-ferrous coating gauge with real calibration traceability and repeatable readings.
Defelsko is the name refinish shops and marine inspectors default to, and the PosiTest DFT Combo is the entry point into that ecosystem. It auto-detects ferrous and non-ferrous substrates, reads in microns or mils, and — critically — comes with a calibration standard so you can verify it rather than trust it. Owner and trade feedback consistently praises the repeatability: the number you get on the third press matches the first. It gives up fancy features (no Bluetooth logging, no scan mode at this tier) and it costs meaningfully more than hobbyist meters. If you correct paint for money, or you own a car where a mistake means a four-figure respray, this is the one to buy.
Fowler 54-422-001 PosiTest-style Paint Meter — best mid-range gauge
Fowler 54-422-001 PosiTest-style Paint Meter
Reliable steel-and-aluminum readings in microns and mils without stepping up to full pro pricing.
Fowler's meter sits between hobby gear and professional instrumentation. It handles steel and aluminum automatically, switches between microns and mils, and reviewers report readings that track closely with pro units across the normal automotive range of 0–250 microns. It's a sensible buy for a serious enthusiast who corrects a few cars a year and wants more confidence than a sub-$50 meter provides. What you give up: it isn't as fast to settle on strongly curved surfaces, and the build is plasticky next to the Defelsko. For mapping panels and spotting repaints before a weekend correction, that's a fair trade.
VVV-Group VVV-30 Paint Thickness Gauge — best budget gauge
VVV-Group VVV-30 Paint Thickness Gauge
Inexpensive dual-substrate meter that's accurate enough to map a panel and spot repaints.
If the alternative is polishing blind, a budget gauge is a massive upgrade — and the VVV-30 is the one that keeps showing up in enthusiast recommendations. It reads both ferrous and non-ferrous substrates, displays microns and mils, and is accurate enough to reveal the things that matter most to an owner: that the rear quarter has been repainted, that the hood is thinner than the roof, that the edges are half the thickness of the flats. Absolute accuracy is looser than the pro units and it can be fussy on tight curves. Treat it as a relative tool — compare readings to each other, not to an absolute spec — and it earns its keep every session.
Meguiar's M110 Ultra Cut Compound — best cutting compound
Meguiar's M110 Ultra Cut Compound
Fast defect removal with a controlled, non-crumbly cut that finishes down cleanly on thin clear.
When you genuinely need to remove defects, M110 removes them efficiently and then finishes down far cleaner than its cut level suggests. That matters for your micron budget: a compound that cuts hard but hazes badly forces a second refinement step, and that second step costs clear coat too. M110 reduces the chance you need a full two-step. It's a body-shop-oriented product, so it's designed for machine use with a cutting or polishing foam and benefits from a proper wipe-down to evaluate. It's not the pick for a nervous first-timer on thin paint — use PF2500 for that — but for correcting real damage on healthy film build, it's the efficient choice.
Menzerna Power Finish PF2500 — best one-step polish for thin paint
Menzerna Power Finish PF2500
Removes light to moderate swirls and finishes LSP-ready, so one pass does the work of two.
PF2500 is the answer to "I have 15 microns of budget and I want this to look good for the next five years." It clears light to moderate swirls, holetown marks, and oxidation, then finishes to a near-LSP-ready gloss in the same pass — meaning roughly one to three microns spent instead of five to ten. On harder German clears it may leave a trace of haze that wants a finishing polish; on softer Japanese and American clears it typically finishes clean. It won't touch deep RIDS or sanding marks, and that's the point: on thin paint, the defects you can't remove are the ones you should leave alone.
Putting it together on a real car
- Wash and decontaminate the paint first. Gauges read through wax and clay lube inconsistently, and you can't evaluate defects through contamination.
- Map every panel. Record the numbers. Flag anything under 90 microns or anything wildly different from its neighbors.
- Pick your least aggressive combination and do a taped test spot on a flat, thick panel — usually the hood center or roof.
- Gauge the test spot before and after. Know your cost per pass.
- Decide the goal honestly. "95% correction" on a 10-year-old daily driver with 100-micron film build is not a goal, it's a repaint schedule.
- Tape all edges and body lines. Work the flats. Hand-finish the rest.
- Protect what's left — a ceramic coating or a durable sealant means fewer future corrections, which is the only real way to extend the budget.
FAQ
How many times can a car be paint corrected? With a typical 50-micron factory clear and a 40-micron floor, you have roughly 10 microns of budget. That's one serious two-step correction and a couple of light polishes — or three or four careful one-step corrections — over the life of the car. Light finishing polishes cost under a micron each and can be repeated more often.
Can a paint thickness gauge measure clear coat alone? Not at consumer prices. Affordable gauges read total film build. Instruments that separate layers (ultrasonic or advanced multi-layer eddy-current units) exist but are priced for refinish labs. Owners should use total film build as a proxy and track changes.
What total film build reading means "don't polish"? Under roughly 90 microns on a flat panel, be very cautious — light polish only, no compounding. Under about 75 microns, don't machine it at all. Also stop if you see a sudden thin spot adjacent to otherwise normal readings; that's usually a previously corrected or sanded area.
Does a ceramic coating require full paint correction? No. Coatings need a clean, bonded, defect-free-enough surface — often a single light polish removing one to two microns. Chasing perfection before coating is where owners spend clear coat they didn't need to spend.
Are cheap paint gauges accurate enough to be useful? Yes, for relative comparisons. A budget meter will reliably show you that a quarter panel reads 260 microns while the door reads 125 — that's a repaint, and that's actionable. Don't treat its absolute numbers as gospel, and don't make fine-margin decisions on thin paint with one.
Does wet sanding always mean a repaint later? Not always, but it dramatically shortens the budget. Removing 10–20 microns from a 50-micron clear leaves almost nothing in reserve. Wet sanding is justified for deep defects or orange peel on thick film build — measure every panel before and after, not just once at the start.
Get the best car care deals in your inbox
Join the GarageProof newsletter for hand-picked car care deals and new buying guides. No spam, unsubscribe anytime.
Related reads
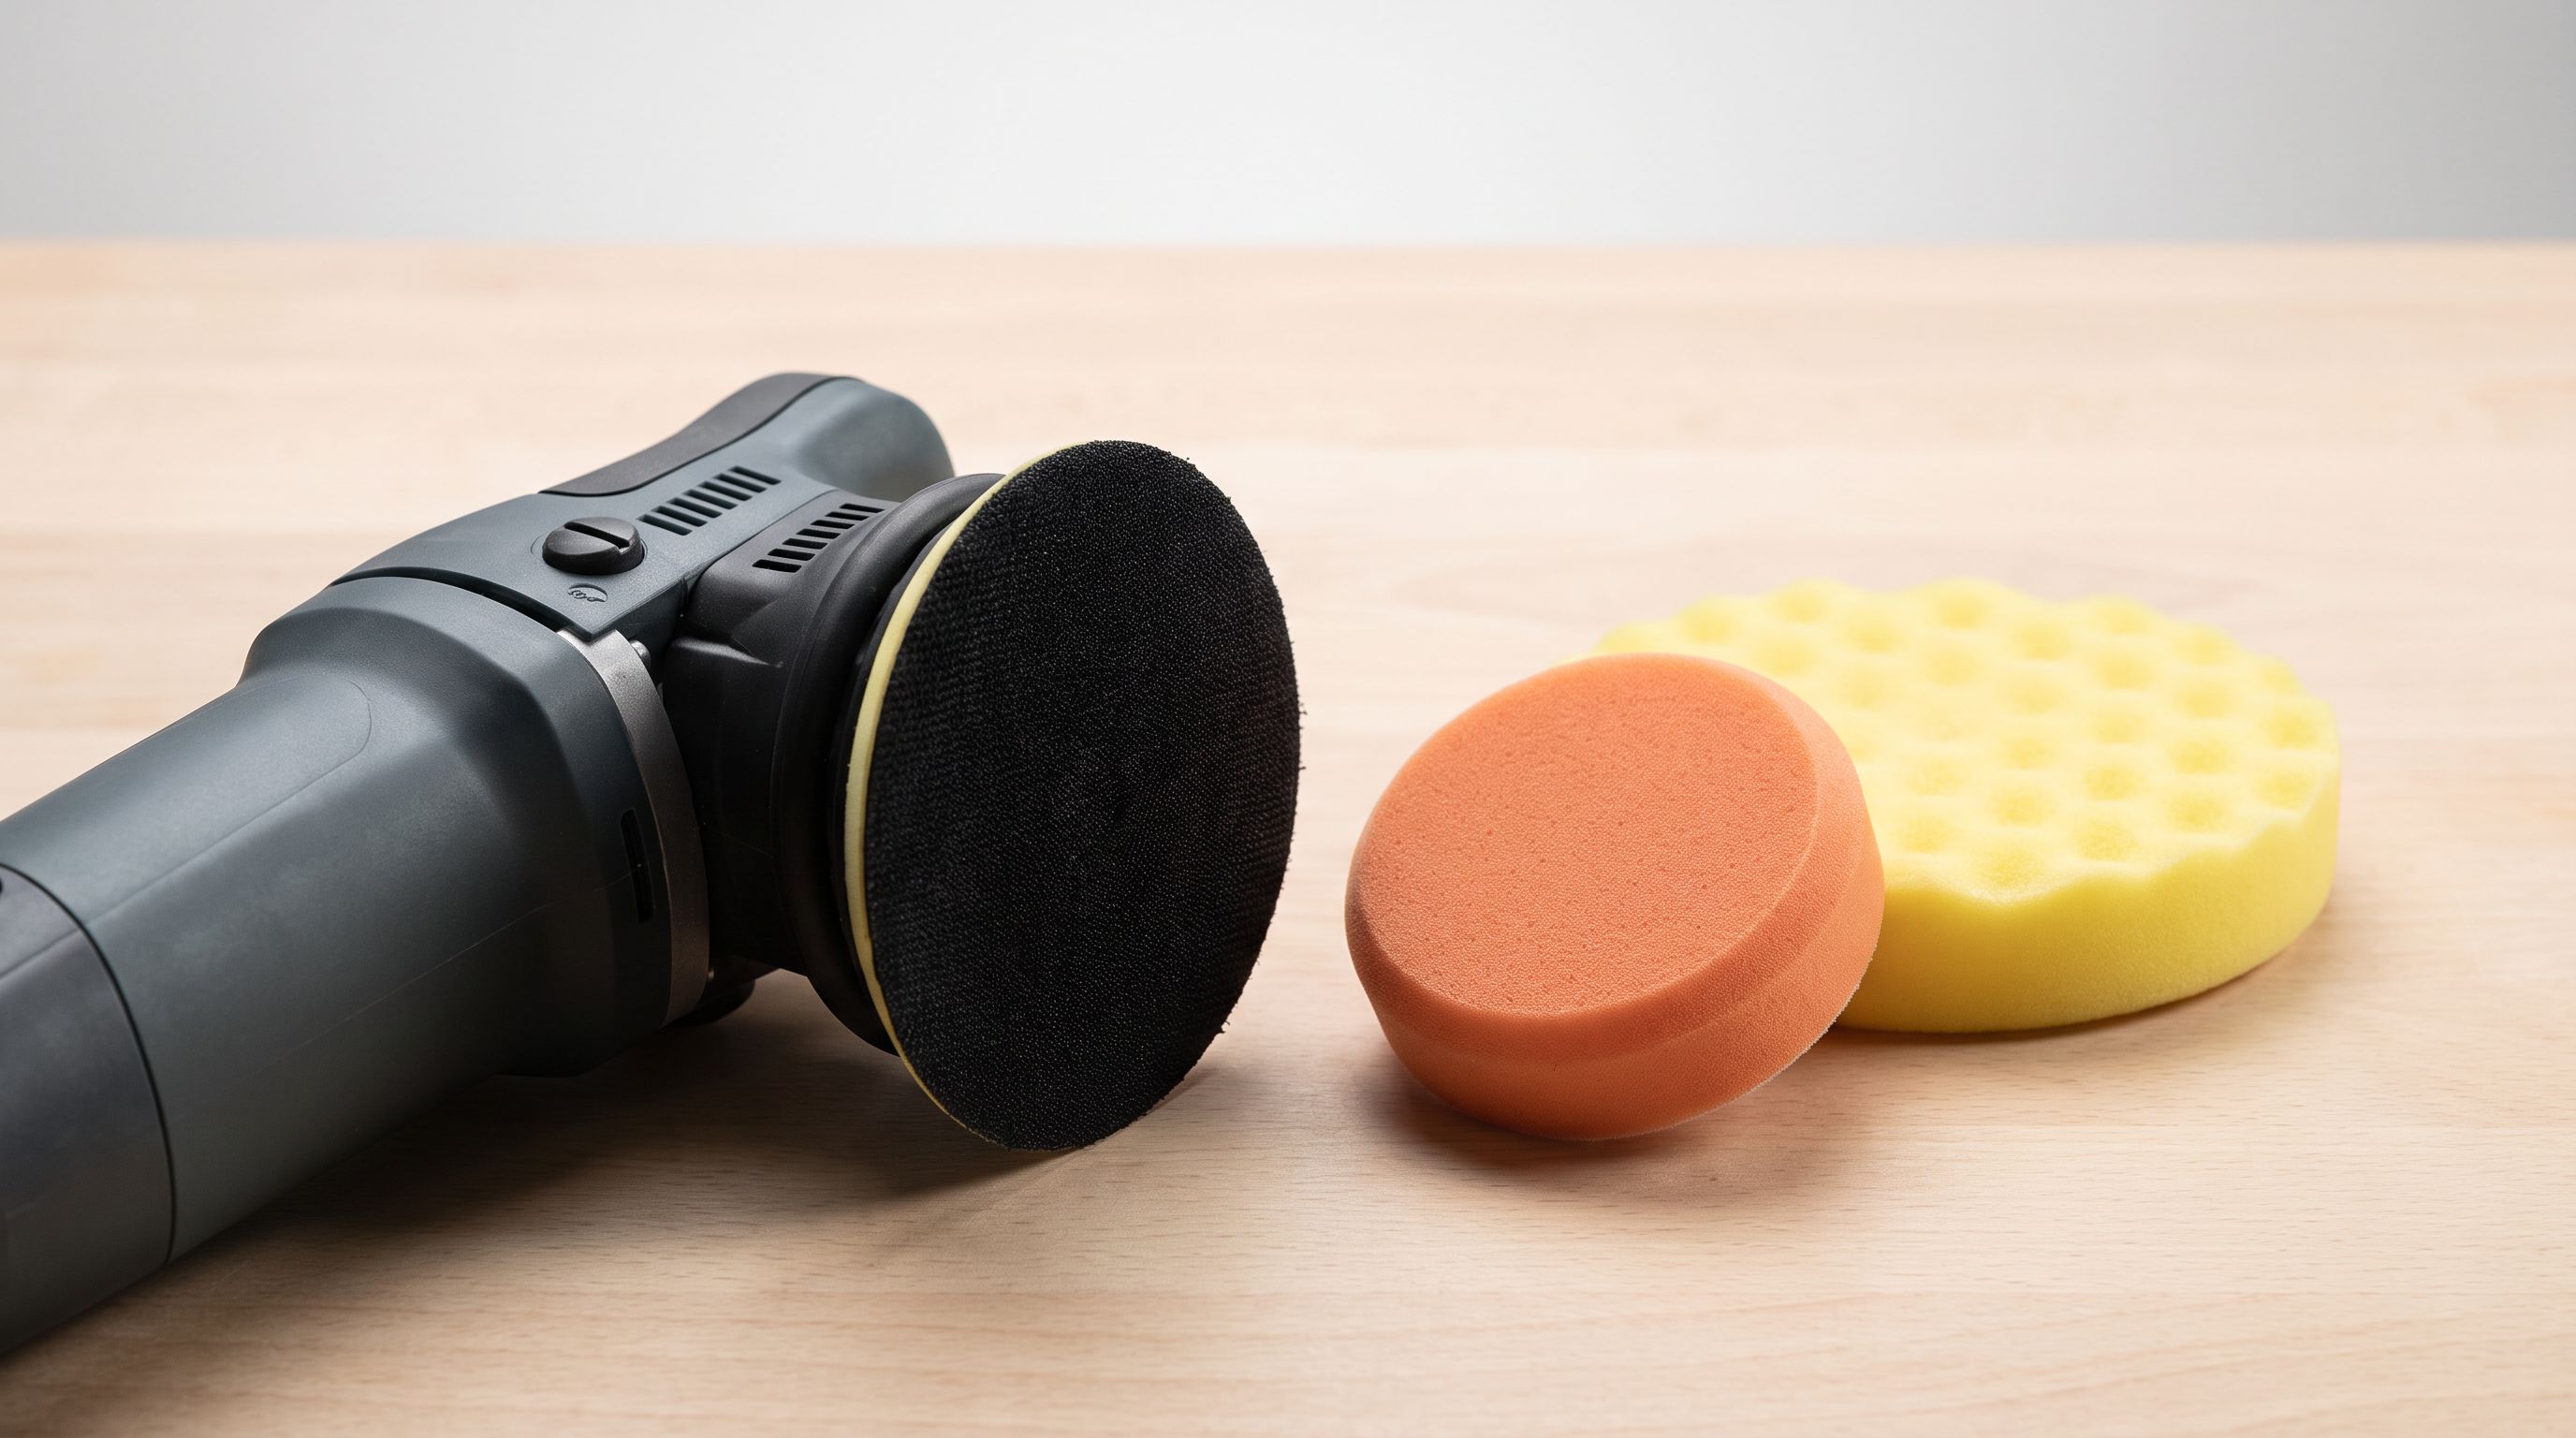
Polisher Backing Plate Size 2026: Stop Stalling on Curves
Polisher backing plate size guide for 2026: match plate diameter, thread spec, and pad overhang to your DA polisher so pads stop stalling on curves.
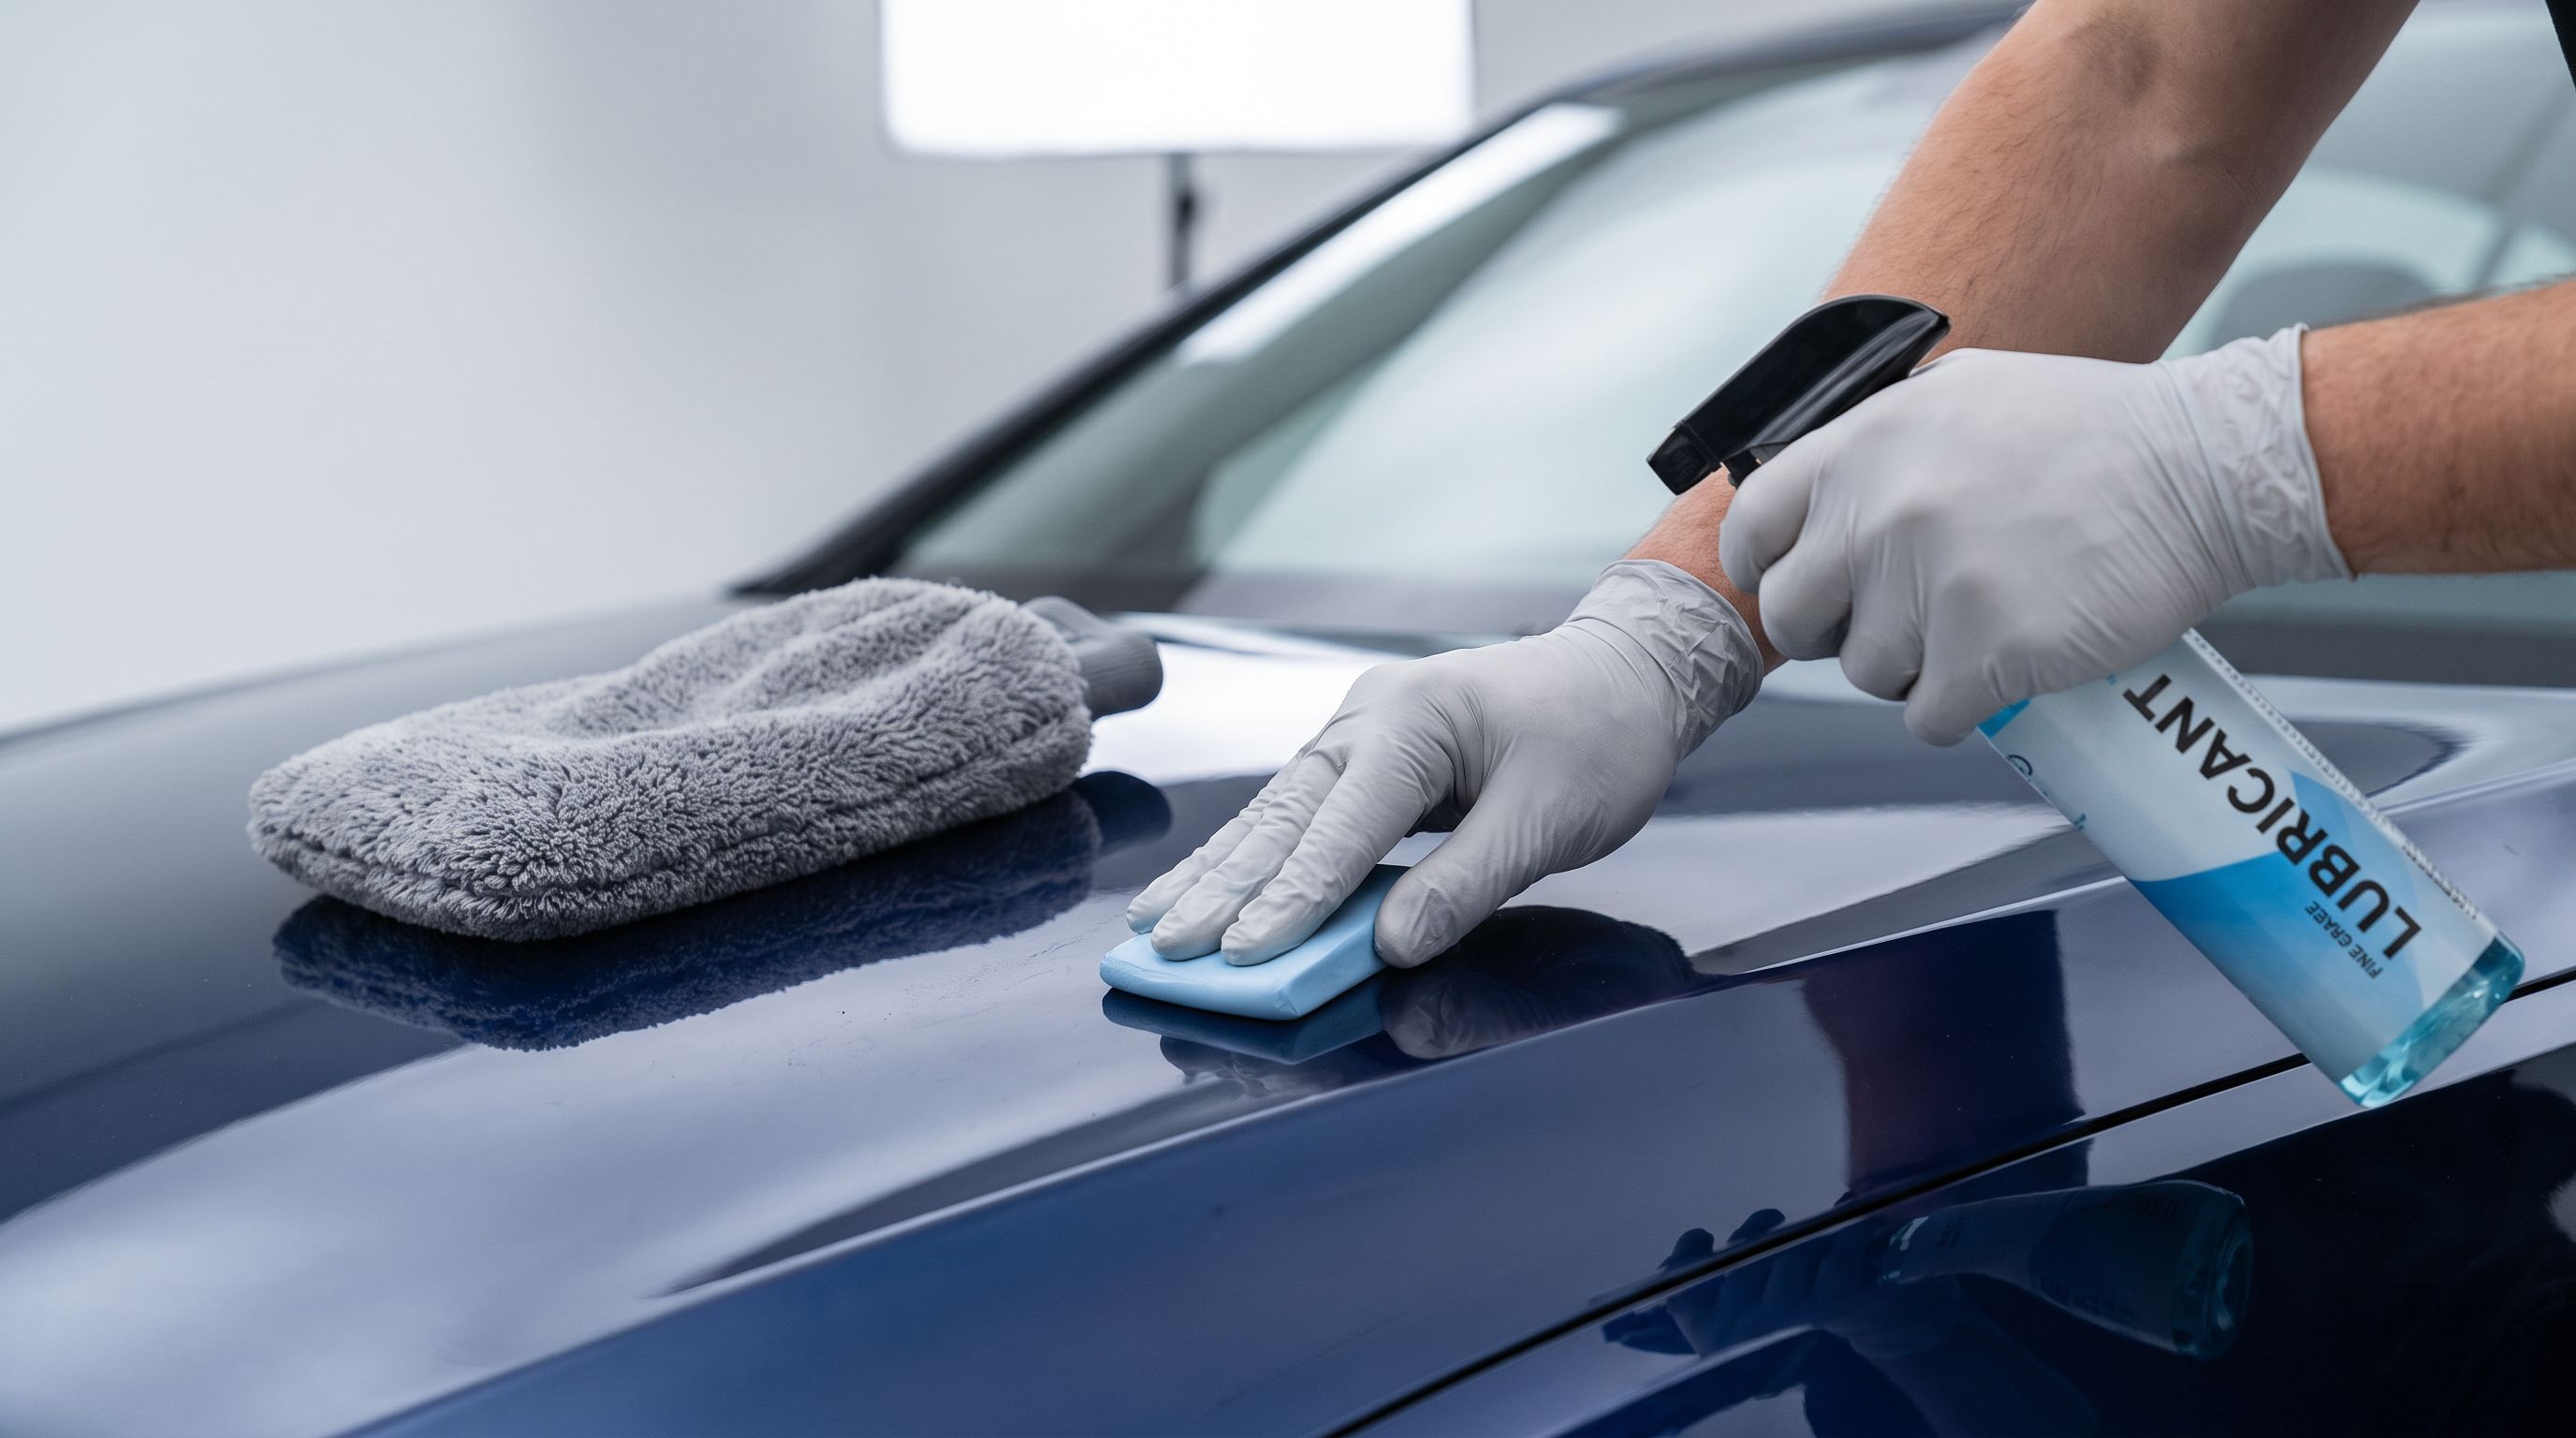
Clay Bar vs Clay Mitt in 2026: Which Marrs Paint Less?
Clay bar vs clay mitt in 2026: how grade, lube and clearcoat hardness affect marring, plus four decontamination picks for soft and hard paint.
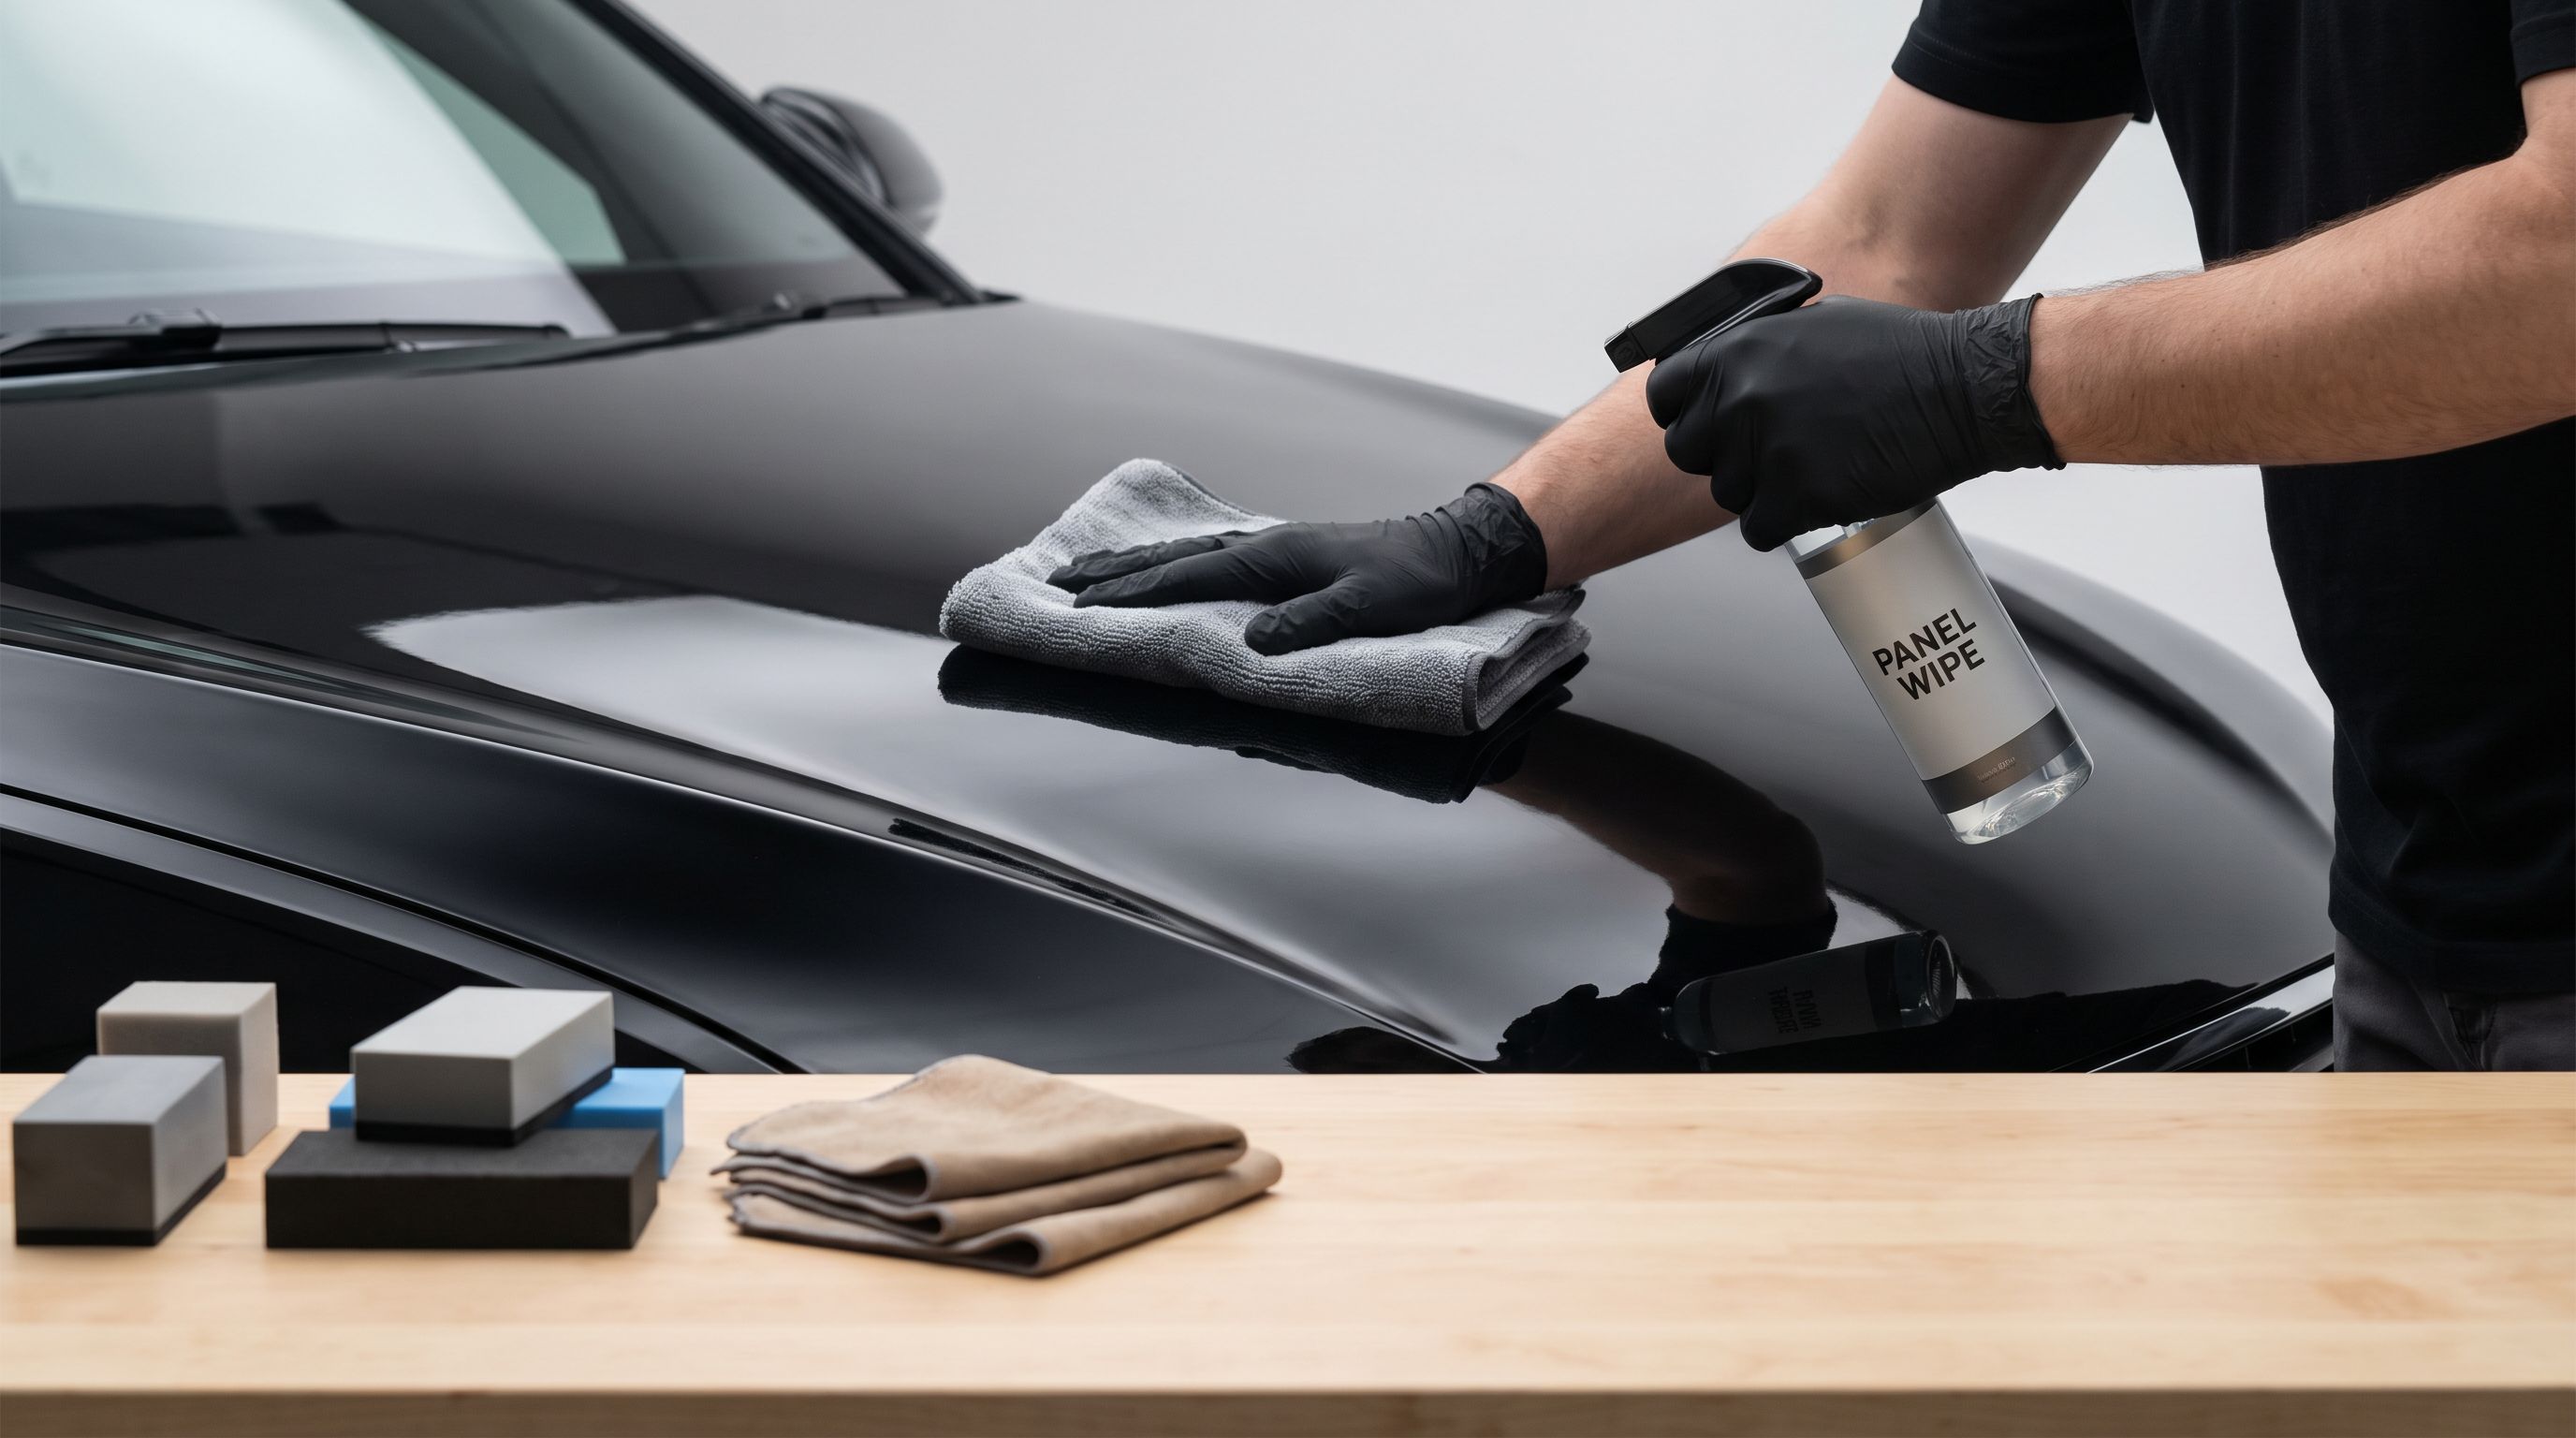
Ceramic Coating Prep Kit 2026: Why Coatings Fail at Step One
A ceramic coating prep kit decides whether your coating bonds or flakes. We compare iron removers, panel wipes and applicators for 2026, plus cure-time rules.