Headlight Aiming Tool Guide 2026: Fix a Bad LED Swap
LED bulbs in reflector housings scatter glare. Here's how to pick a headlight aiming tool in 2026, check your housing type, and re-aim a beam pattern properly.
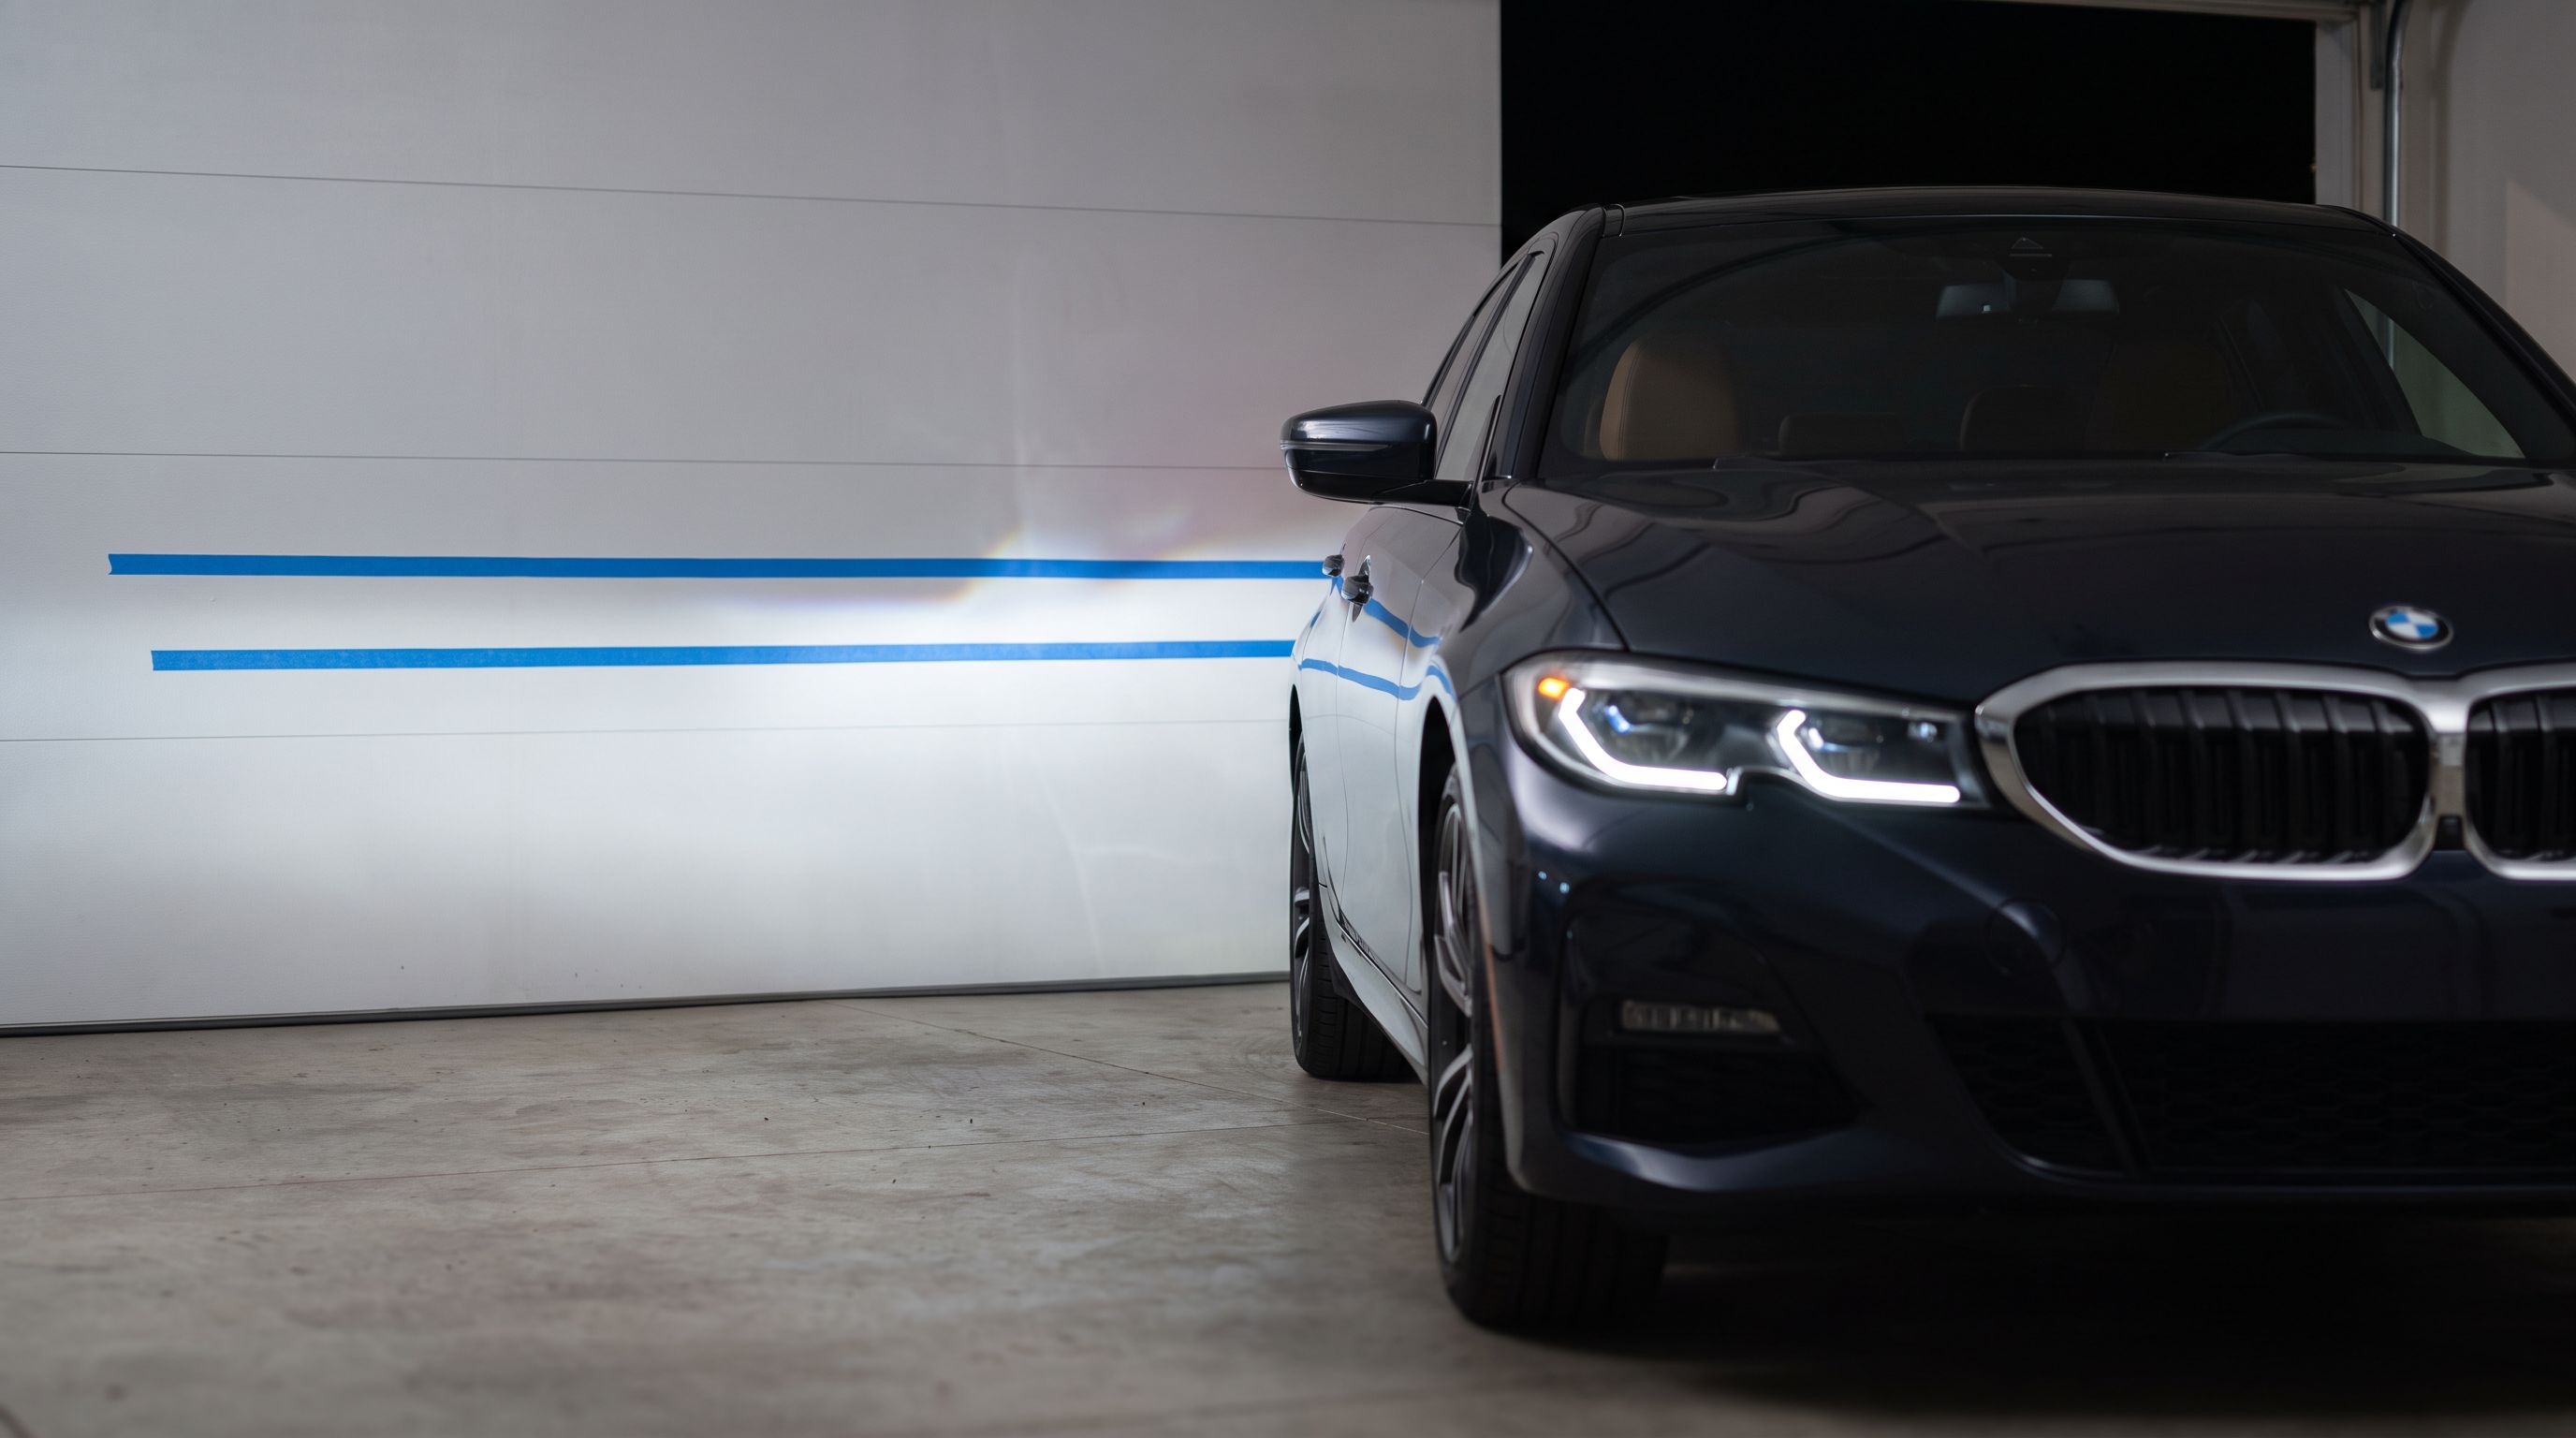
Reader-supported: we may earn a commission from links on this page, at no extra cost to you. It never affects our picks. Learn more.
You dropped a set of LED bulbs into your headlights, flicked them on in the driveway, and the wall lit up like a stadium. Brighter, sure. But a week later you're getting flashed by oncoming traffic, and the road 60 feet ahead somehow looks worse than it did on halogens.
That's not a defective bulb. That's a beam pattern problem — and in most cases, an aiming problem layered on top of it. This guide covers why LED retrofits throw off beam patterns, how to tell whether your housing can even use an LED properly, and which headlight aiming tool actually makes the fix repeatable.
The short version
- Best overall: Steck Manufacturing 71650 Headlight Aiming Tool
- Budget pick: Krisvie Headlight Aiming Wall Chart
- Best for measuring setup: Johnson Level & Tool 40-6184 Magnetic Digital Level
- Best projector-ready LED upgrade: Philips Ultinon Access LED
- Best adjuster access kit: ABN Headlight Adjustment Screwdriver Set
 Best projector-ready LED upgrade · Philips Ultinon Access LED — Check price on Amazon →
Why LED swaps wreck your beam pattern
A headlight housing isn't a flashlight. It's an optical system designed around one very specific light source: a glowing tungsten filament of a known size, in a known position, radiating in a known pattern.
Reflector housings are the problem child
In a reflector headlight, the parabolic bowl behind the bulb does all the work. Every facet of that reflector is computed to catch light from a filament sitting at an exact focal point and bounce it into a controlled pattern with a flat cutoff at the top.
Swap in an LED and you've changed three things at once:
- Emitter geometry. LED chips are flat rectangles mounted on opposite sides of a board. A halogen filament is a cylindrical coil. Light leaves them in fundamentally different distributions.
- Focal position. If the chips sit even a couple of millimetres off the original filament plane, the reflector throws light where it was never meant to go — usually upward, into oncoming eyes.
- Clocking. Rotate the bulb a few degrees and the cutoff tilts or the hotspot drifts sideways.
The result is the classic bad-retrofit signature: a huge wash of light everywhere, no defined cutoff, a dim or absent hotspot down the road, and savage glare for everyone else. More lumens, less usable light.
Projector housings are far more forgiving
A projector uses a shield (the cutoff shield) and a lens to form the beam. The bulb sits behind an elliptical reflector, light is collected, cut by the shield, and projected forward. Because the shield defines the cutoff mechanically, a well-designed LED with correctly positioned chips can produce a clean, legal-looking pattern.
"Can" is doing work in that sentence. The chips still need to sit where the filament sat, and the bulb still needs correct clocking. But a projector gives you a fighting chance; a reflector often does not.
What "projector-ready" actually means
There's no regulated definition, so treat marketing claims with suspicion. What you actually want:
- LED chips mounted on a thin board, tightly spaced, in the same plane the halogen filament occupied
- A bulb body that seats fully with the factory retaining clip or locking ring
- A base that lets you rotate and lock clocking so the chip plane sits horizontally
- No oversized heatsink or fan housing that prevents the dust cap from closing
The Philips Ultinon Access LED line is a reasonable starting point here because the chip placement is engineered to approximate filament position rather than just cramming in the biggest emitters possible. That said — and this matters — in most regions aftermarket LED bulbs in halogen housings are not road-legal, and many fail inspection. Check your local rules before you buy anything.
How to identify your housing in 30 seconds
Look straight into the headlight with the car off:
- See a clear or fluted bowl with a visible chrome/silvered reflector and a bulb in the middle? Reflector.
- See a round lens, roughly 2–3 inches across, like a small glass eyeball set into the housing? Projector.
- See both? Many vehicles run projector low beams and reflector high beams, or vice versa. Note which is which.
If you have reflector low beams, the honest answer is that a quality halogen bulb or a full housing/projector retrofit will outperform a drop-in LED. No aiming tool fixes a fundamentally scattered pattern.
Aiming is non-negotiable after any bulb change
Even with a good projector-ready LED, the vertical cutoff position almost always shifts slightly — different emitter height, different thermal expansion, sometimes a different seating depth. And if your car has never been aimed since it left the factory, there's a decent chance it drifted years ago from a curb strike, a fender bender, or sagging springs.
Proper aiming is also the single biggest comfort upgrade most people never do. Correctly aimed halogens beat badly aimed LEDs on real-world visibility almost every time.
Comparison table
| Tool | Type | Best for | Needs a flat surface? | Main limitation |
|---|---|---|---|---|
| Steck 71650 | Floor-standing optical aimer | Repeatable DIY aiming anywhere | Level floor, not a wall | Larger storage footprint |
| Krisvie Aiming Wall Chart | Printed vinyl target | Garage-wall method on a budget | Yes — flat wall + level floor | Only as accurate as your measuring |
| Johnson 40-6184 | Digital magnetic level | Checking floor slope and vehicle attitude | No | Not an aimer; a measurement aid |
| ABN Screwdriver Set | Long-reach adjuster drivers | Reaching buried adjustment screws | No | Doesn't tell you where to aim |
| Tape + marker method | DIY | One-off quick correction | Yes | Hard to repeat consistently |
The picks
Steck Manufacturing 71650 — best overall
Prices last checked November 9, 2026. Amazon prices change frequently, so treat these as a guide and check the live price before you buy.
Steck Manufacturing 71650 Headlight Aiming Tool
Reusable floor-standing target that gives you a repeatable aiming reference without needing a perfect wall.
Steck's aimer is a floor-standing target you position a set distance in front of each headlight, removing the need for a perfectly flat wall at the right distance — a real problem in a two-car garage with shelving down one side. You set the reference height off the bulb centre, then adjust until the cutoff lands on the marked line.
It suits anyone who aims headlights more than once: people with multiple vehicles, trailer and truck owners, or anyone who swaps bulbs seasonally. What it gives up is portability and price-tier simplicity — it's a bulkier object than a sheet of vinyl, and it still assumes a reasonably level floor. It also won't compensate for a vehicle that's sitting nose-down from a loaded trunk.
Krisvie Headlight Aiming Wall Chart — budget pick
Krisvie Headlight Aiming Wall Chart
Outdoor-grade vinyl aiming diagram with pre-printed cutoff markings for consistent garage-wall alignment.
This is the wall-chart approach done properly: an outdoor-grade vinyl diagram with pre-printed horizontal and vertical reference markings so you're not freehanding painter's tape every time. Hang it at the correct height on a garage wall or shop door, park at the specified distance, and adjust the cutoff to the printed line.
It's ideal for a one-car household doing a single LED swap or an annual check. The limitation is honest: a chart can't correct for a sloped driveway, and your accuracy is only as good as your measuring tape work. Pair it with a level and you're genuinely close to shop results.
Johnson Level & Tool 40-6184 — best for measuring setup

Johnson Level & Tool 40-6184 Magnetic Digital Level
Digital angle finder that catches floor slope and body sag before you ever touch an adjuster screw.
Not an aimer — a magnetic digital level that tells you the truth about your workspace and your car. Set it on the garage floor where the front wheels sit, then where the rear wheels sit, and you'll know whether your floor slopes toward a drain (most do). That slope translates directly into aiming error, and knowing it lets you compensate on the target.
It also catches body attitude: worn rear springs, a loaded bed, or a half-empty fuel tank all tilt the headlights. Use it on a flat body panel front and rear. The downside is obvious — it adds a step and costs money for something you'll use for five minutes, then use again on every other project in the garage.
Philips Ultinon Access LED — best projector-ready LED upgrade
Philips Ultinon Access LED
Compact, tightly-spaced LED chips from a major lighting brand that mimic halogen filament position in projectors.
If you've confirmed you have projector low beams and you still want LED, this is the sane direction: a bulb from an established lighting manufacturer with compact, closely-spaced chips engineered to sit near factory filament position, rather than a no-name bulb with huge emitters and a fan the size of a shot glass.
It suits drivers who want a cleaner, whiter output with a cutoff that stays defined. What it gives up: it isn't a glare-free miracle, it won't rescue a reflector housing, and in most jurisdictions aftermarket LED bulbs in halogen-rated housings are not road-legal. Verify fitment by bulb type (H11, 9005, H7 and so on) for your exact year, make and model before ordering.
ABN Headlight Adjustment Screwdriver Set — best adjuster access kit
ABN Headlight Adjustment Screwdriver Set
Long reach Torx and Phillips drivers for buried adjuster screws behind tight bumper and grille gaps.
Aiming goes sideways fast when you can't reach the adjuster. Many modern vehicles bury the vertical screw behind the headlight assembly with maybe three inches of clearance to the bumper beam, and the head is often a Torx or an odd-sized Phillips rather than a hex. A long-reach set with multiple bit profiles saves you from pulling the whole bumper cover.
It suits anyone working on a car from roughly the last 15 years. The obvious gap: it's an access tool, not a measuring tool. It tells you nothing about where the beam should land — pair it with the Steck 71650 or the wall chart.
How to choose
Reflector or projector — check before you buy anything
This is the first decision, not an afterthought. Reflector low beams plus drop-in LED usually equals scattered light and glare regardless of how carefully you aim. If that's your situation, budget for a quality halogen or a proper projector retrofit housing instead, and spend your money on the aiming tool to make the halogens work properly.
Wall-based vs. free-standing aimers
Wall charts are cheap and accurate if you have a flat wall, a level floor, and the correct measured distance (commonly 25 feet, though specs vary — check your owner's manual). Free-standing optical aimers like the Steck 71650 let you work in a driveway or a cluttered shop and give more consistent repeat results. Pick based on your space, not your enthusiasm.
Adjuster access on your specific vehicle
Before buying, pop the hood and find your adjusters. Some cars have both vertical and horizontal screws; many modern vehicles have vertical only. Note the drive type and depth. If it's a deep Torx, you need the long-reach set. If the adjusters are seized or the plastic gears are stripped — common on older vehicles — you may need the housing out anyway.
Setup conditions you can actually control
Half the accuracy in headlight aiming comes from preparation, not the tool: correct tire pressures, normal fuel load, driver-weight ballast in the seat, no cargo in the trunk, and a bounce on each corner to settle the suspension. A digital level like the Johnson 40-6184 closes the loop by quantifying floor slope so you can offset the target height accordingly.
The basic aiming procedure
- Park on level ground, nose square to a flat wall at the distance specified in your owner's manual (25 feet is common).
- Set tire pressures, add driver-weight ballast, empty the cargo area, and bounce the suspension.
- Measure from the ground to the centre of each low-beam bulb. Mark that height on the wall as a horizontal line.
- Mark vertical centrelines for each headlight and the vehicle centreline.
- Turn on low beams only. Cover one headlight while aiming the other.
- Set the cutoff so the flat part sits slightly below the bulb-centre line — typically about two inches lower at 25 feet, but follow your manual.
- The step-up (the rise in the cutoff on the passenger side in left-hand-drive markets) should fall on the right of the beam, not toward oncoming traffic.
- Repeat for the other side, then road-test on a dark road.
If after careful aiming you still have no visible cutoff and light is scattering everywhere, the bulb is wrong for the housing. Aiming cannot fix optics.
FAQ
Do LED bulbs always need re-aiming? Yes. Any change in light source position or emitter geometry changes where the cutoff falls. Re-aim after every bulb change, even same-type replacements.
Can I aim headlights without a dedicated tool? You can, using painter's tape, a measuring tape, a marker and a level on a flat wall. A dedicated chart or aimer mainly buys you repeatability and saves setup time — worth it if you'll do this more than once.
Why do my LEDs look bright but light the road poorly? Classic reflector-retrofit symptom. Light is being thrown wide and upward instead of concentrated into a hotspot down the road. Your eyes also constrict in response to the glare, reducing distance vision.
How do I know my aim is too high? If oncoming drivers flash you regularly, if road signs glow brilliantly but the road surface doesn't, or if there's a bright band on the wall above bulb height at 25 feet — aim is high.
Are aftermarket LED bulbs legal? In most markets, LED bulbs fitted into housings certified for halogen are not approved for road use, and many fail safety inspection. Projector housings don't change the legal status. Check your local regulations.
Does floor slope really matter? Significantly. A garage floor sloping an inch over the car's length introduces measurable vertical error at 25 feet. Measure it with a digital level and offset your target line.
Get the best car care deals in your inbox
Join the GarageProof newsletter for hand-picked car care deals and new buying guides. No spam, unsubscribe anytime.
Related reads
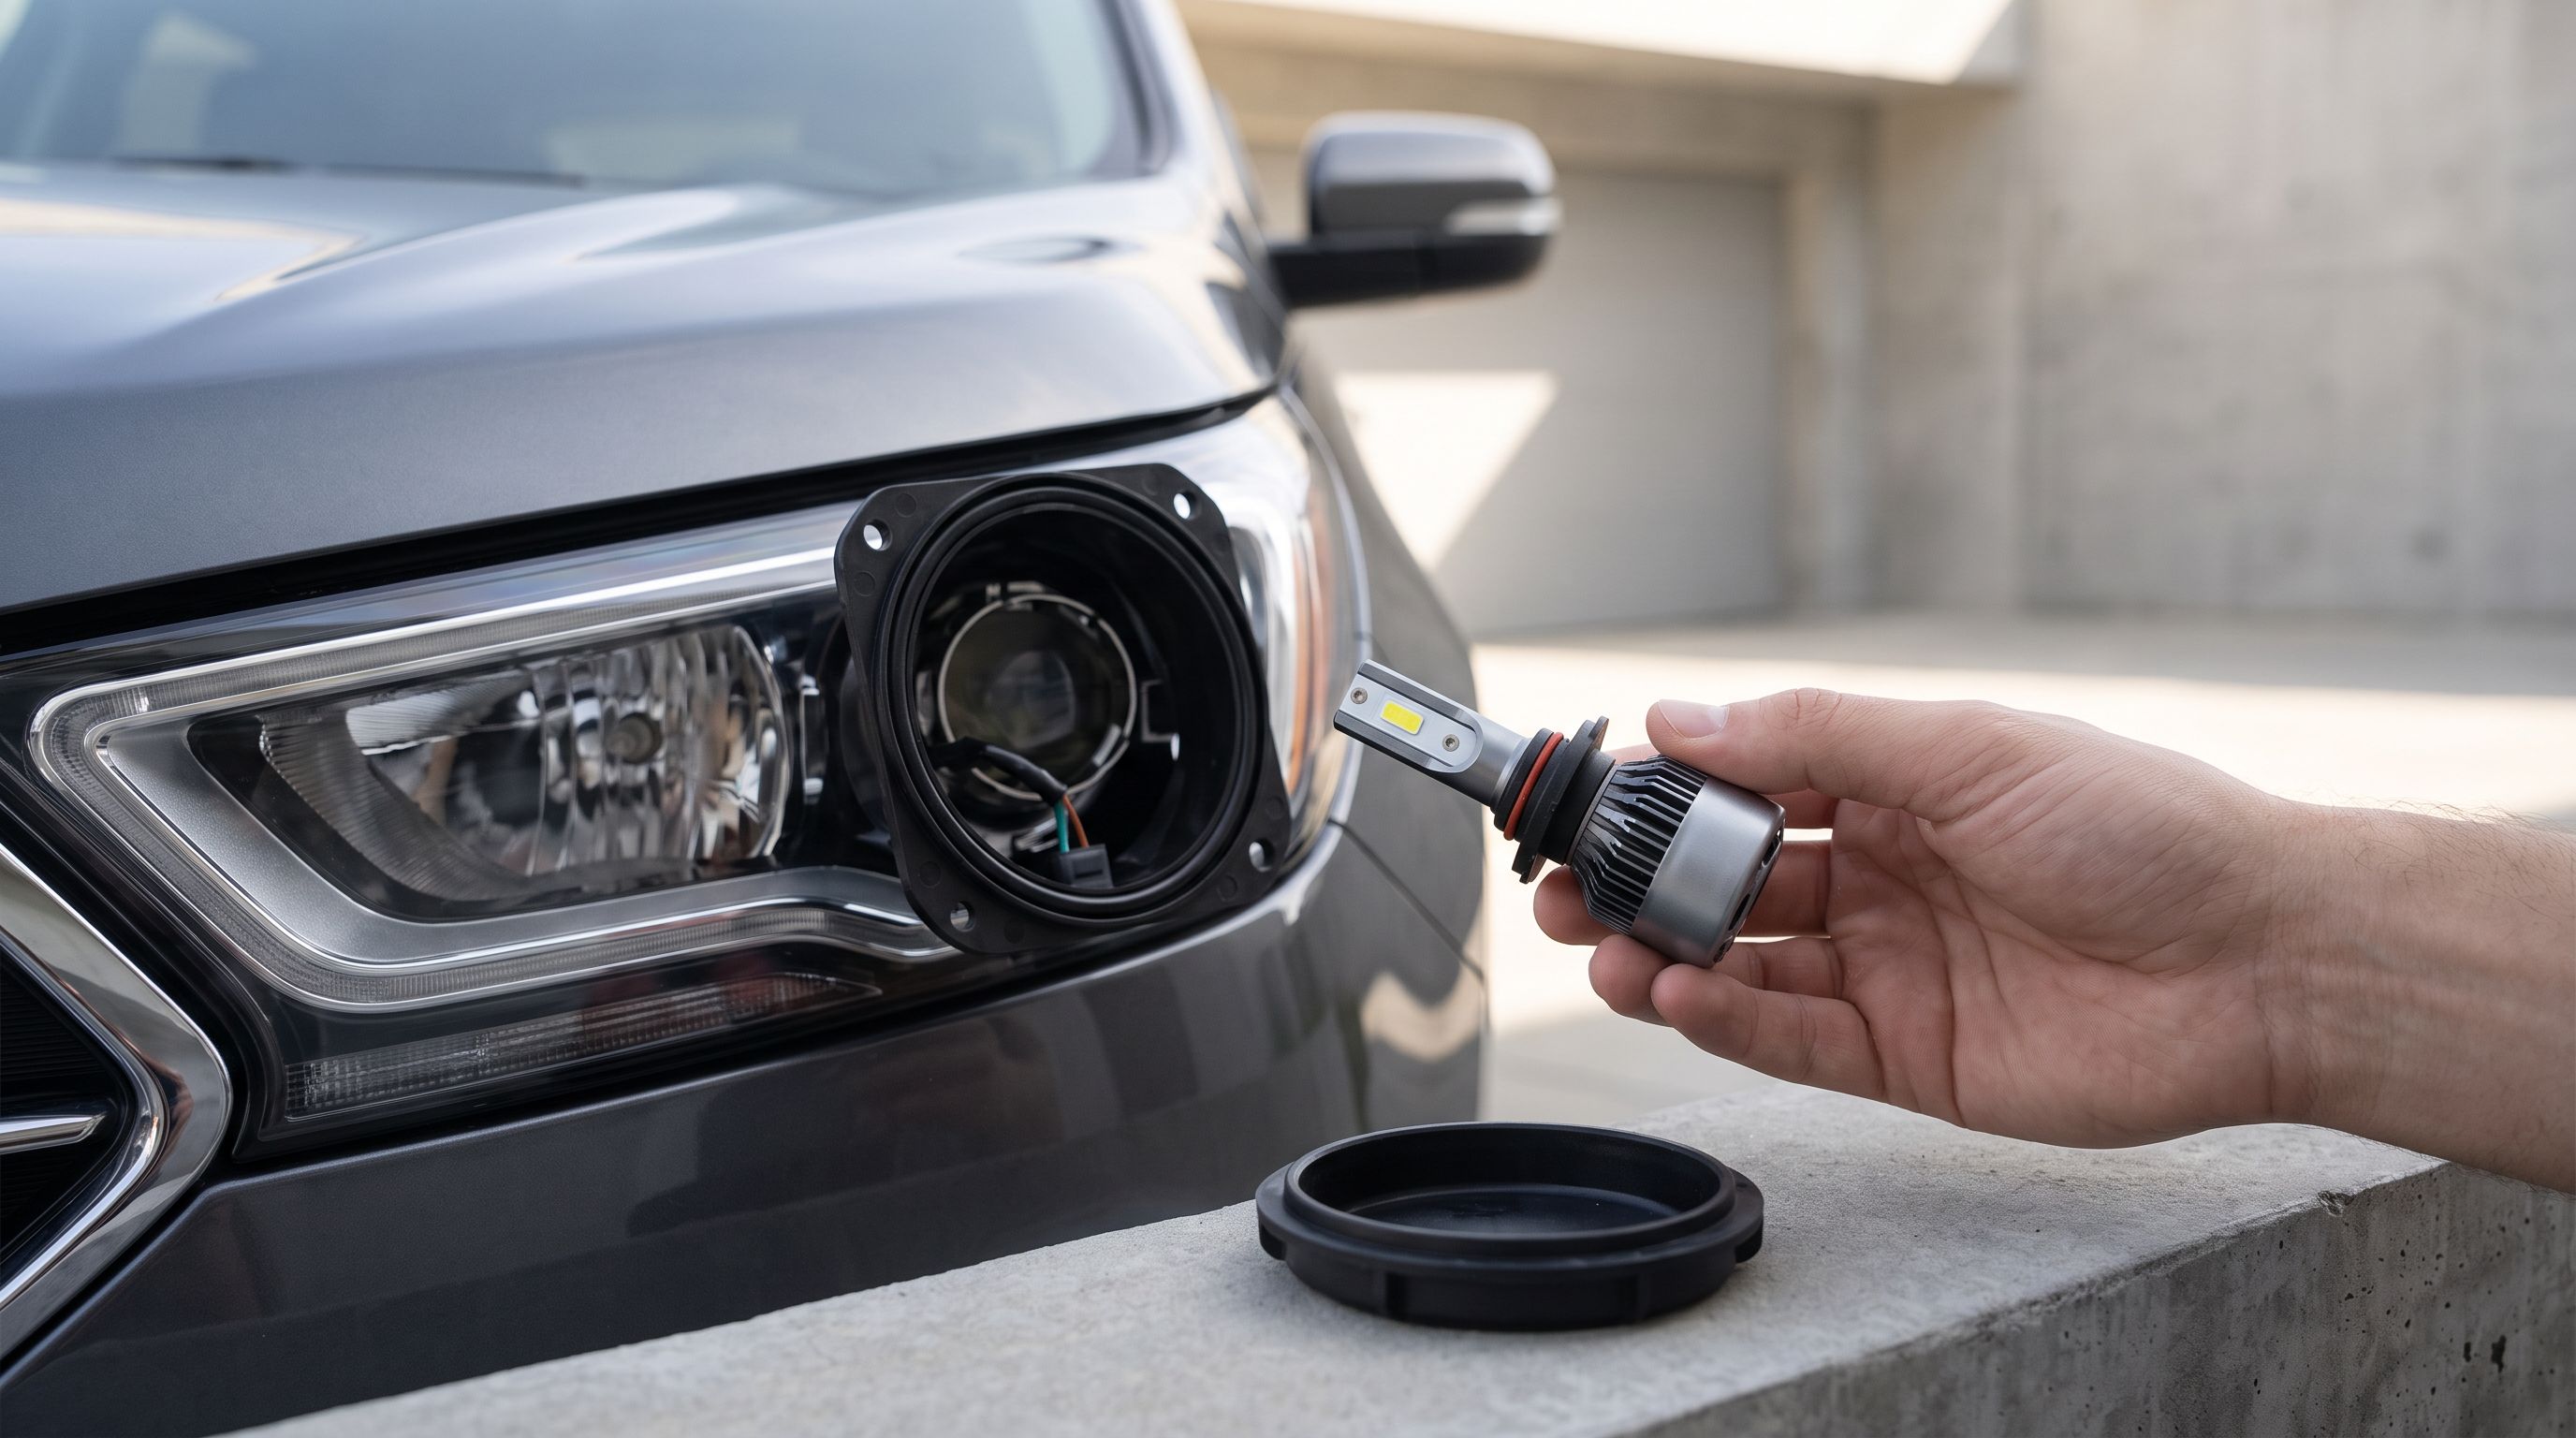
LED Headlight Bulbs 2026: Will They Fit Your Housing?
A fitment-first guide to LED headlight bulbs for cars in 2026: bulb-size lookup, projector vs reflector housings, CANbus errors and heat-sink clearance.
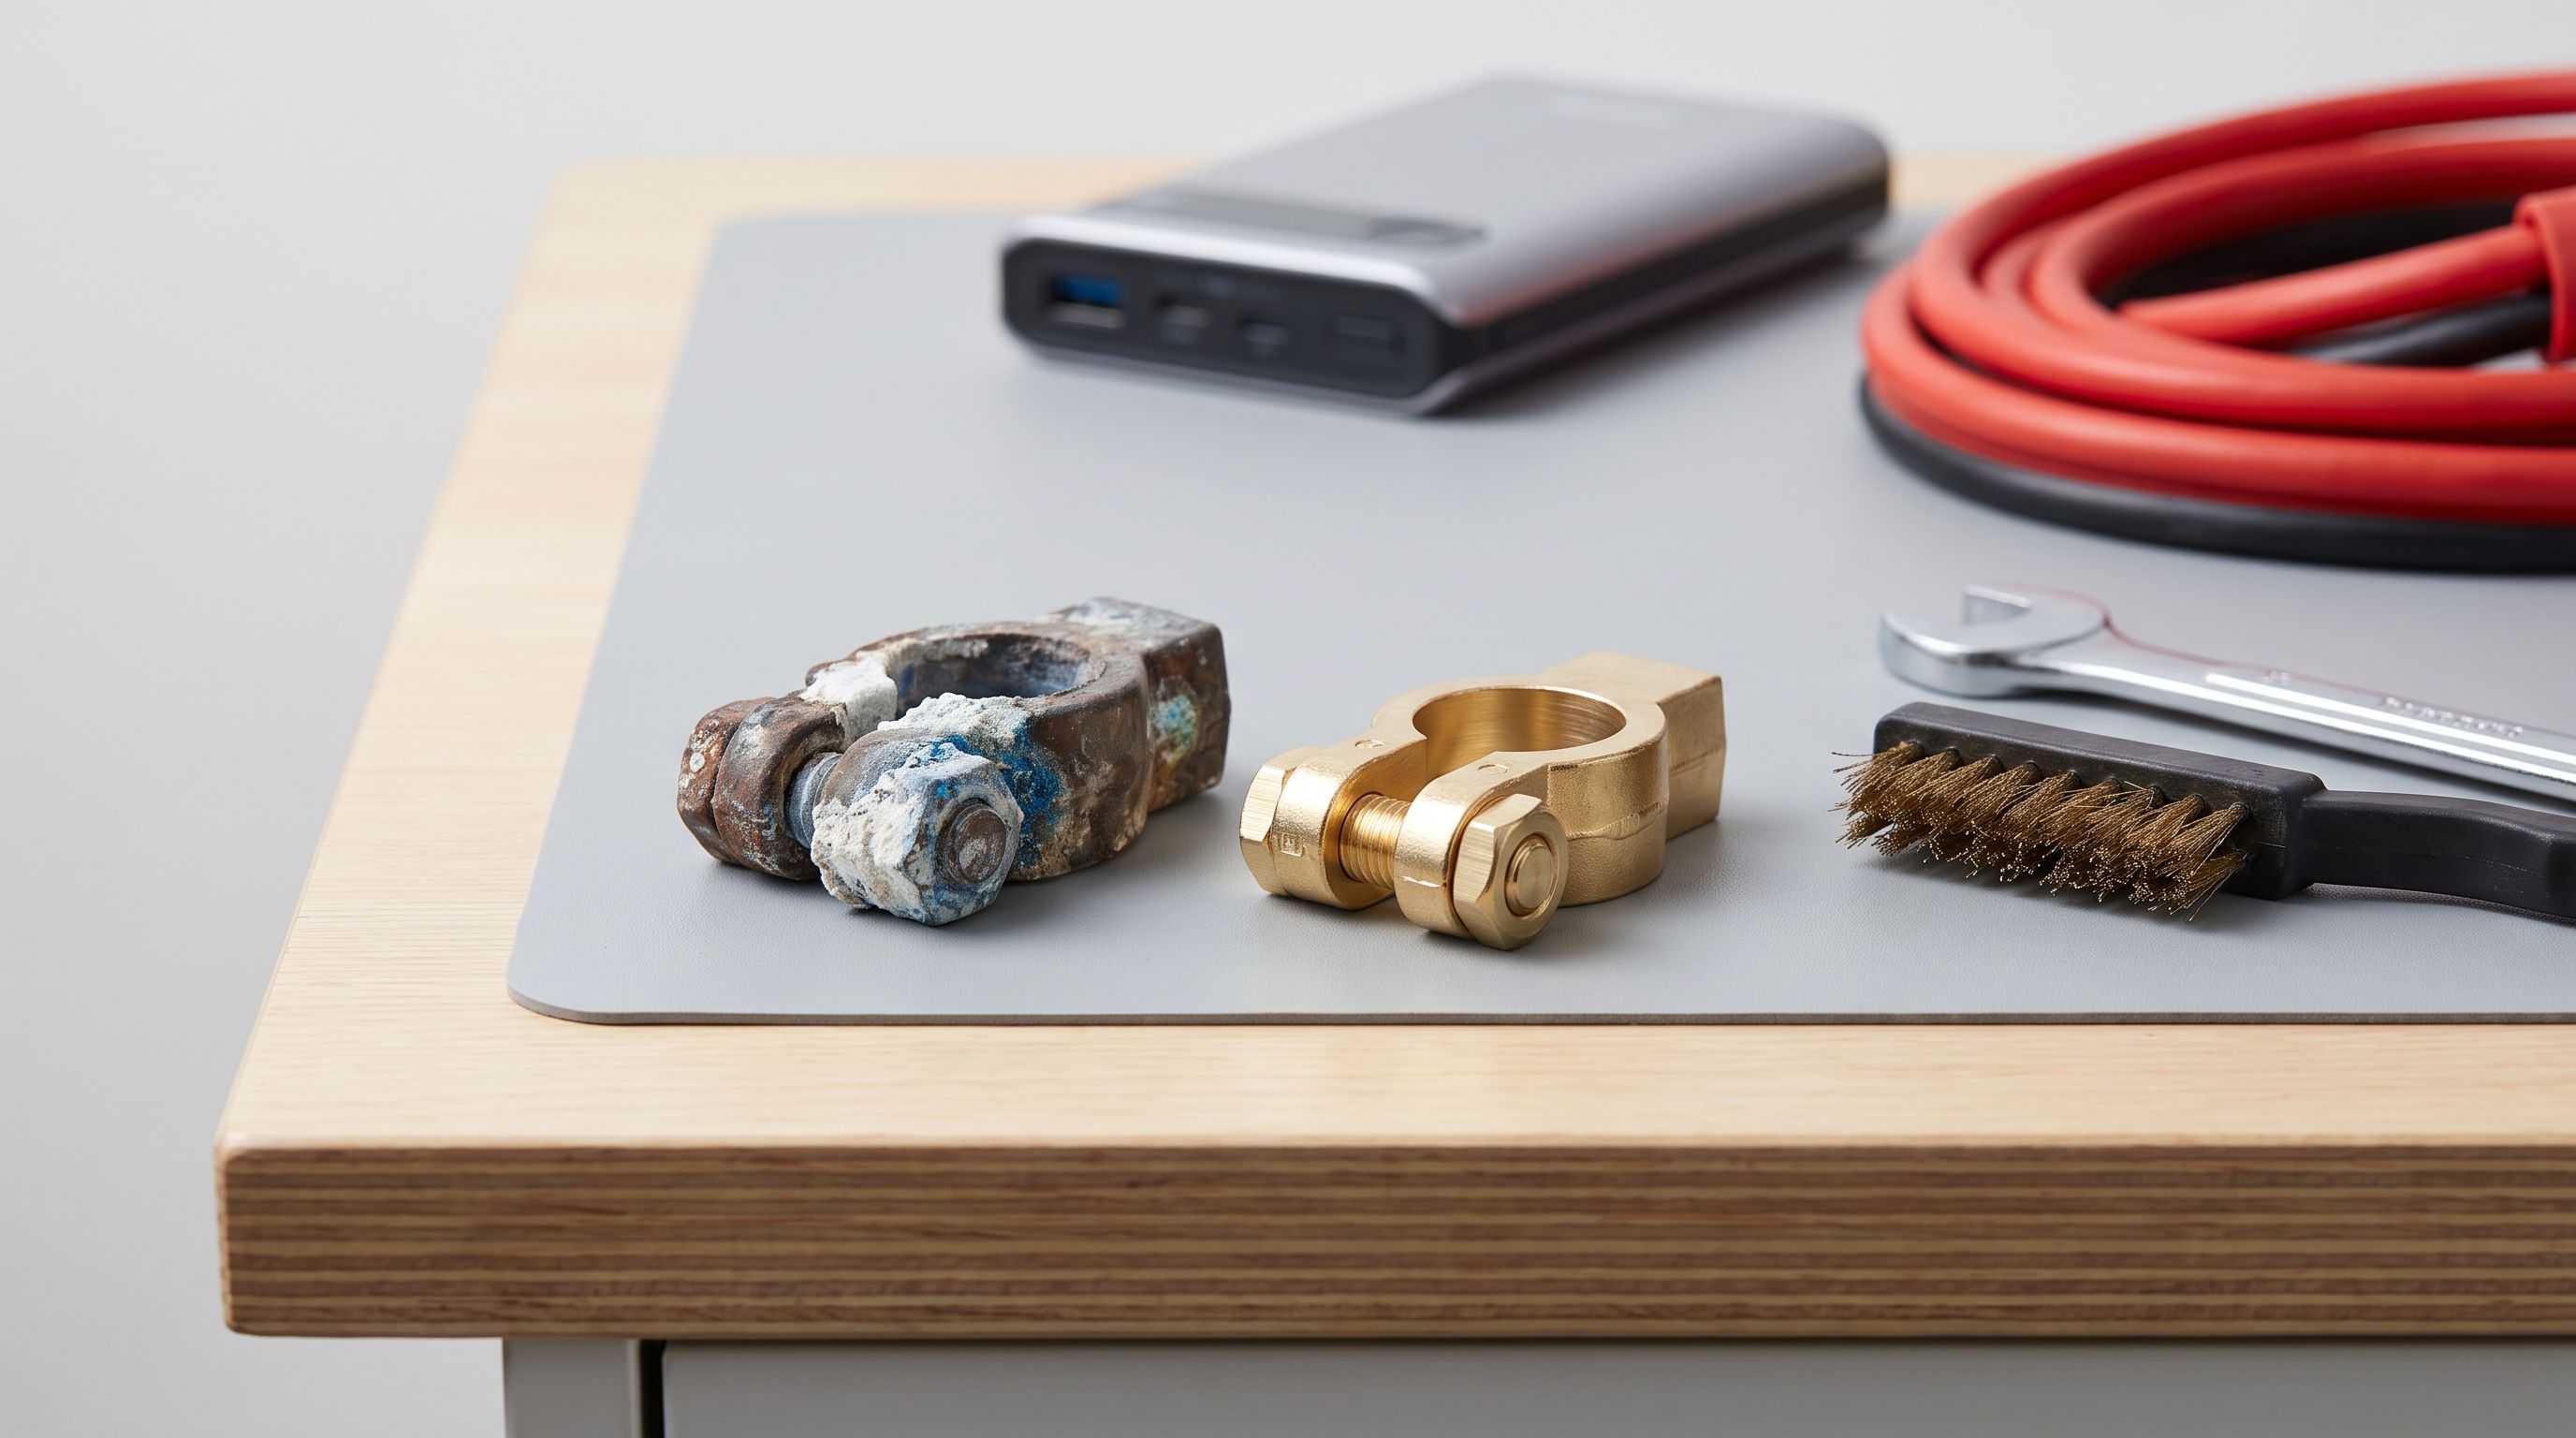
Battery Terminal Replacement 2026: Top Post vs Side Post
Battery terminal replacement in 2026: how to match top-post, side-post and GM stud fitments, size cable gauge correctly, and which clamp kits are worth buying.
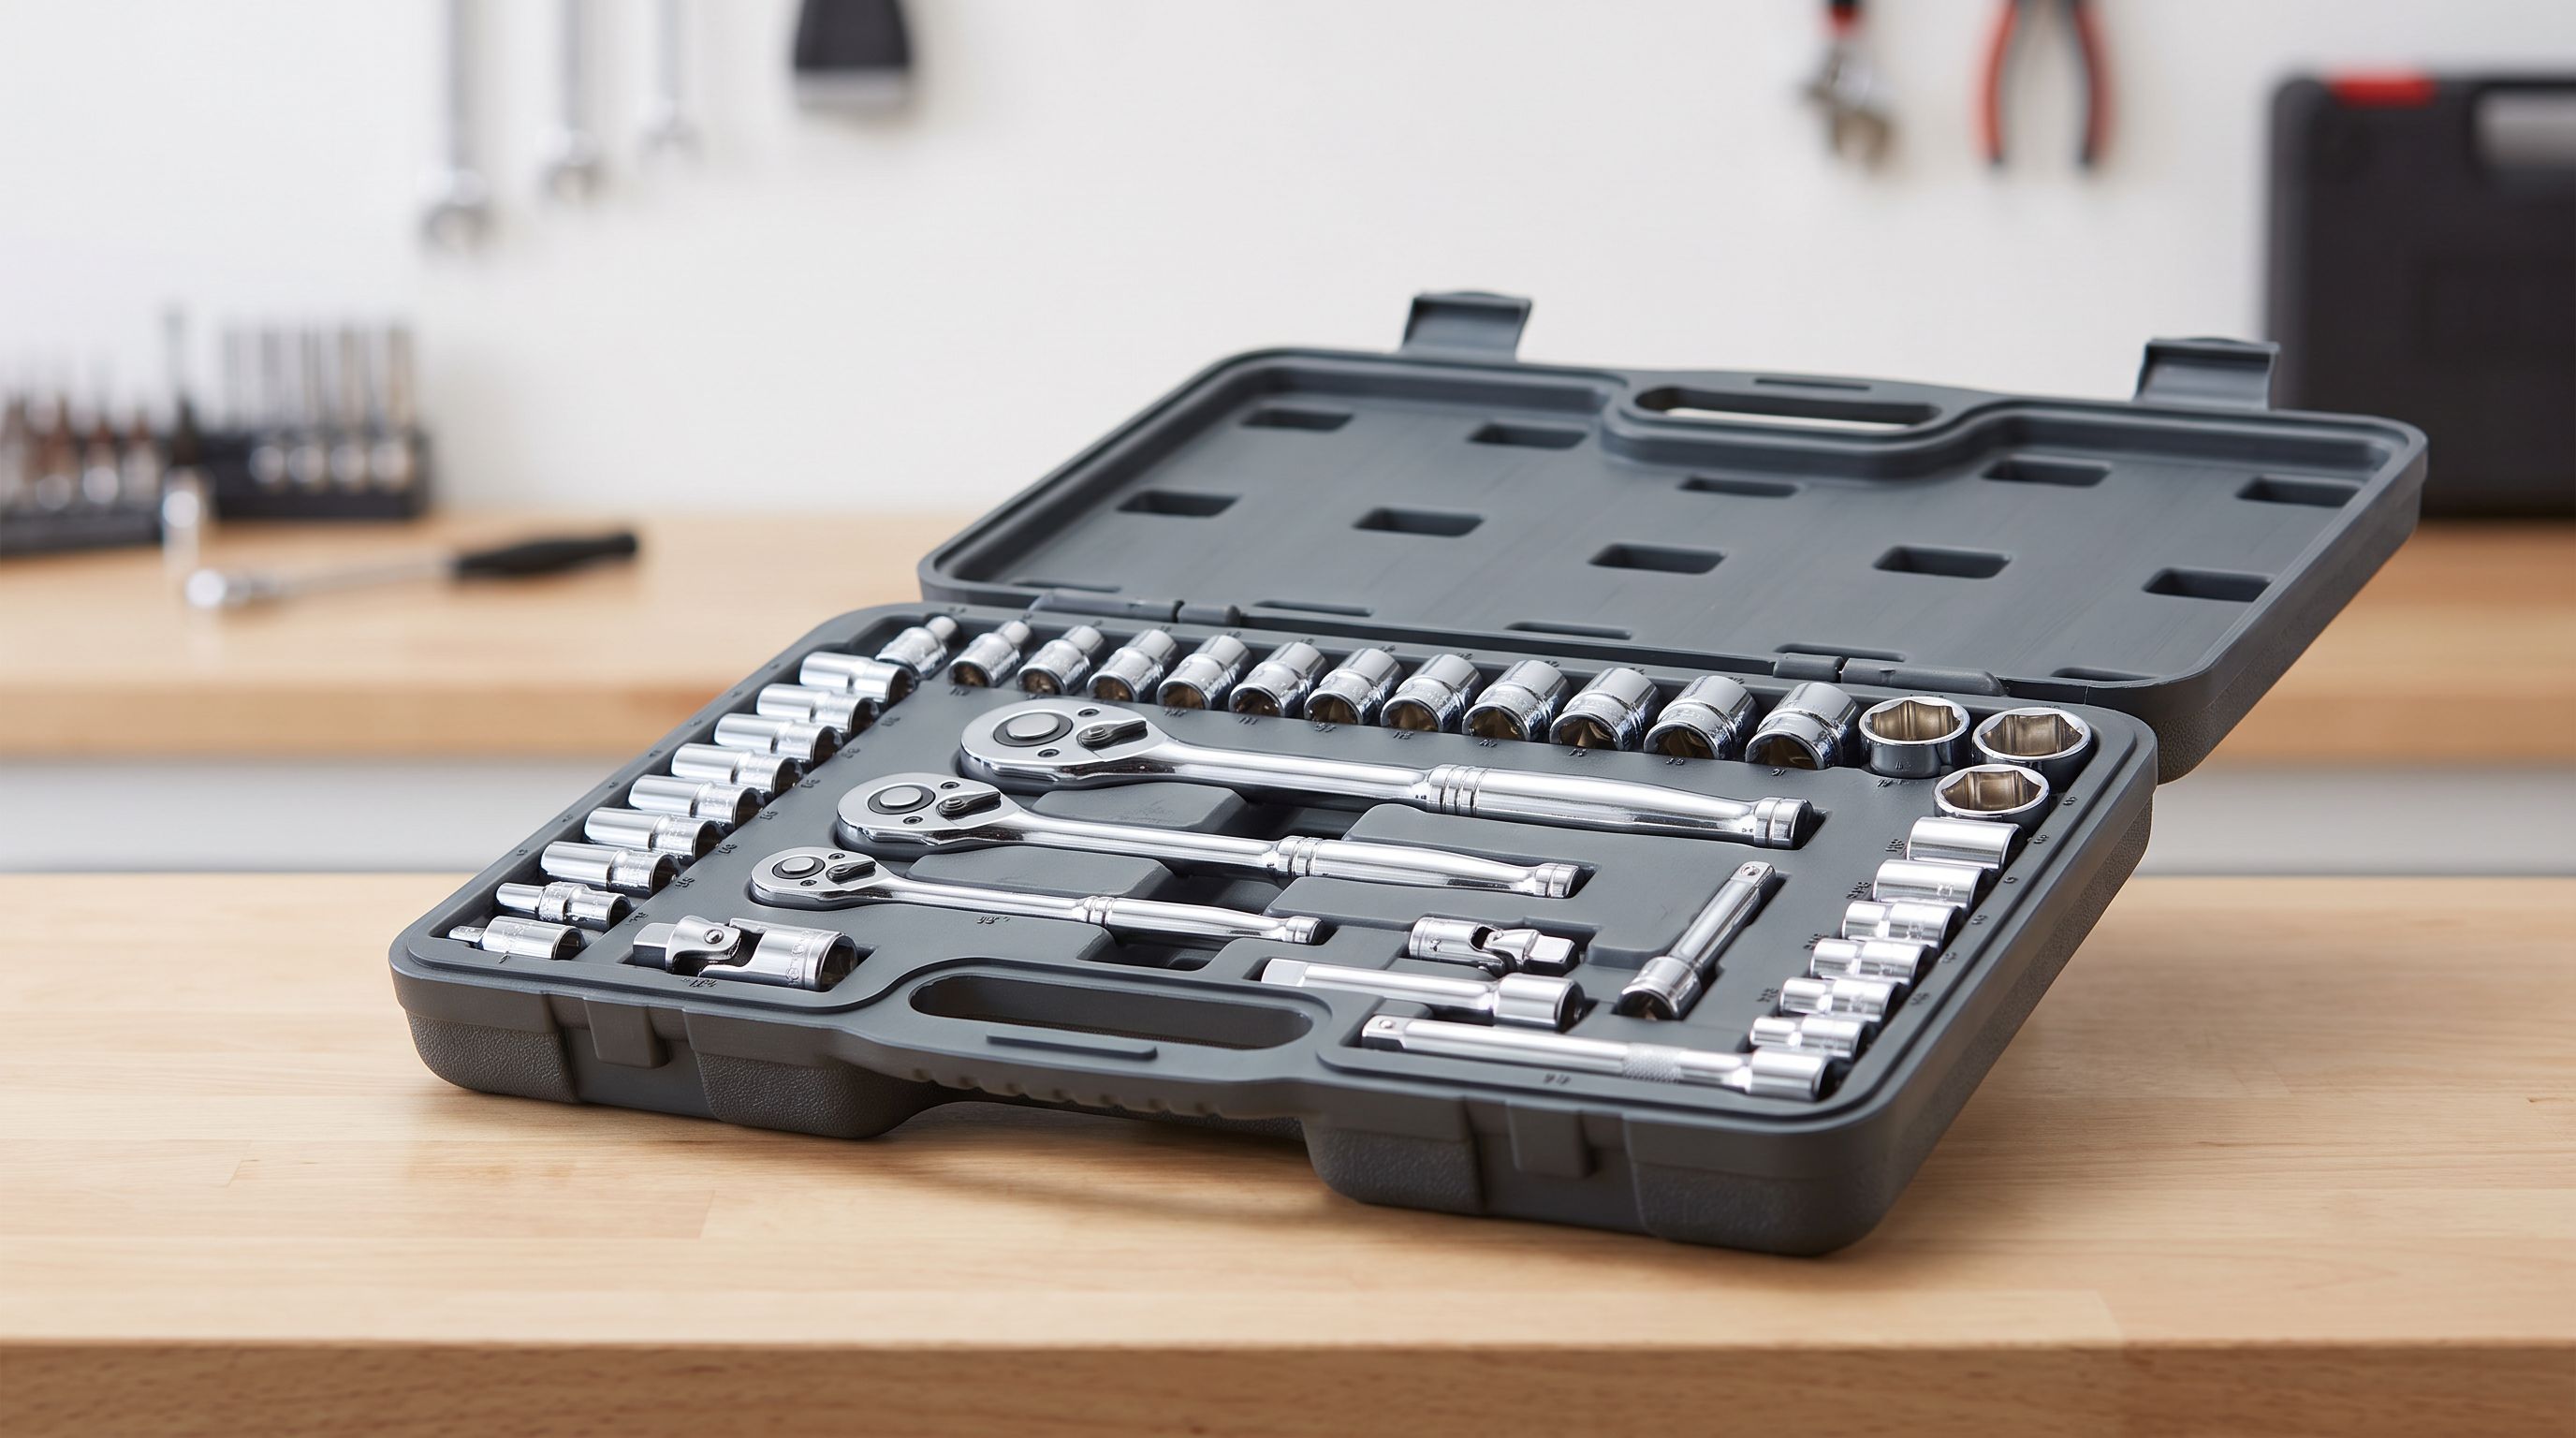
Socket Set Buying Guide 2026: 6-Point vs 12-Point, SAE vs Metric
A spec-led 2026 socket set buying guide: 6-point vs 12-point, shallow vs deep, 1/4-3/8-1/2 drive sizes and SAE/metric coverage so you only buy one set.