EV Charger Pedestal Mount 2026: Fit It Before You Dig
Compare EV charger pedestal mounts for 2026 by bolt pattern, charger compatibility, cable reach and footing depth — confirm your Level 2 unit fits before you pour concrete.
Reader-supported: we may earn a commission from links on this page, at no extra cost to you. It never affects our picks. Learn more.
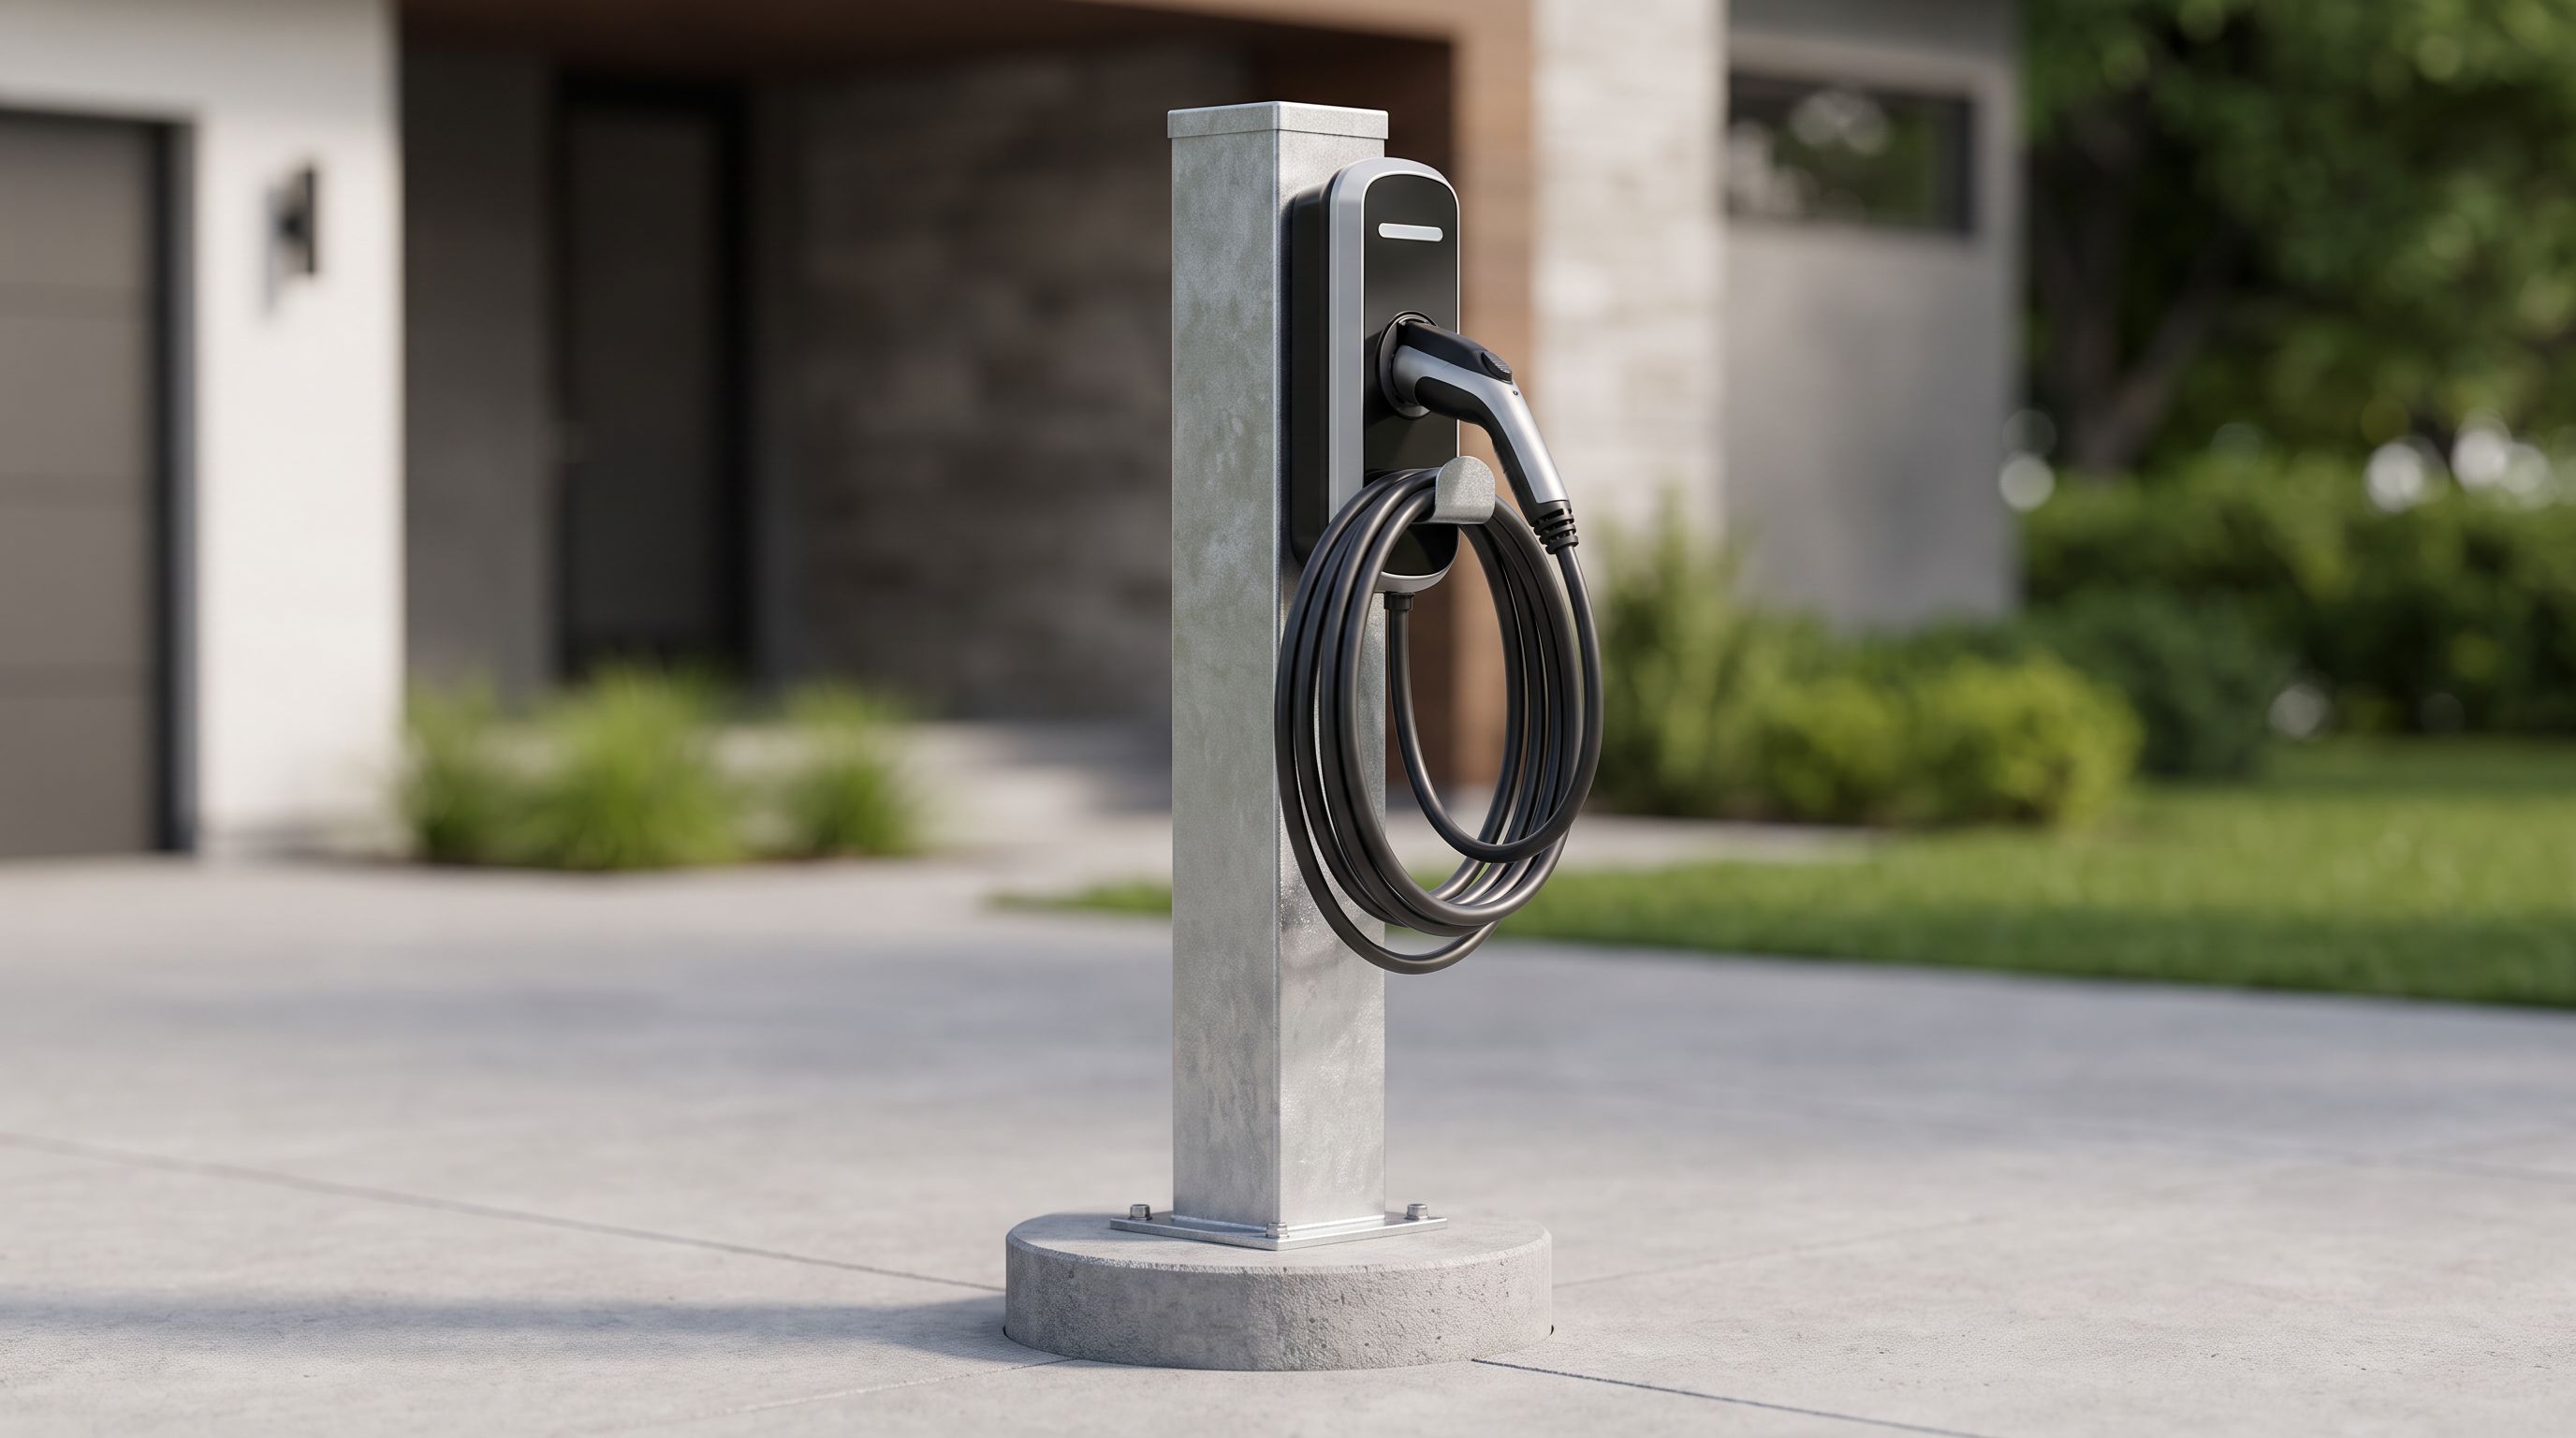
Wall-mounted Level 2 chargers are easy — find a stud, drill, done. Driveways are harder. If your parking spot isn't next to a wall, or the wall is on the wrong side of the car, a pedestal puts the charger where the car actually sits. But a pedestal is a one-shot decision: you pour a footing, run conduit, and then discover your charger's mounting holes don't line up with the top plate.
This guide is about avoiding that. We compared the pedestal and post mounts most commonly paired with home Level 2 chargers in 2026, focusing on the three things that actually decide whether the install works: bolt pattern and backplate compatibility, cable reach from the pedestal to your charge port, and footing depth for your frost line. GarageProof researches and compares products using manufacturer specs, installer documentation and verified owner feedback — we don't physically test units.
The short version
- Best overall: ClipperCreek / Enphase Universal Pedestal Mount
- Best for Tesla Wall Connector: Tesla Wall Connector Pedestal
- Best single-charger steel post: EVoCharge Charging Station Pedestal
- Best dual-charger option: JuiceBox Charging Station Pedestal
- Best turnkey kit pick: Autel MaxiCharger Home Pedestal
 Best turnkey kit pick · Autel MaxiCharger Home Pedestal — Check price on Amazon →
 Best dual-charger option · JuiceBox Charging Station Pedestal — Check price on Amazon →
 Best for Tesla Wall Connector · Tesla Wall Connector Pedestal — Check price on Amazon →
Why pedestal fitment goes wrong
Level 2 chargers mount in one of three ways, and the differences matter more than the pictures suggest.
Keyhole/hanger brackets. Many units (Emporia, Grizzl-E, several Autel models) ship with a separate steel backplate that screws to the wall; the charger then hooks on and locks with a screw or two. On a pedestal, the backplate has to bolt to the top plate — which means the pedestal needs holes in the right places, or a flat plate you can drill yourself.
Four-corner bolt patterns. Some chargers bolt directly through the enclosure. These are easy to mount but completely unforgiving about hole spacing.
Proprietary mounts. Tesla's Wall Connector uses its own wall bracket with a specific conduit knockout layout. Generic pedestals can be made to work, but a matched pedestal removes the drilling and the gasket guesswork.
The second failure point is conduit entry. A pedestal is a hollow post; your feeder cable comes up inside it and exits at the top. If the charger's wiring entry is on the back (most are) and the pedestal's exit hole doesn't line up with it, you end up with an exposed loop of conduit or an improvised weatherhead. Look at the top-plate drawing in the installation manual before you buy, not after.
How to choose
1. Match the bolt pattern — or choose a universal plate
The single most useful question: does the pedestal come with a pre-drilled universal top plate or a charger-specific backplate?
Universal plates (the ClipperCreek / Enphase style, and most of the aftermarket steel posts) have a grid or slot pattern that covers common spacings, plus enough flat material that an installer can drill a new pair of holes if needed. That's the safe default when your charger brand doesn't sell its own pedestal.
Charger-specific pedestals — Tesla's, Autel's, JuiceBox's — are drilled exactly for that family of units. They're the lowest-risk option if you've already chosen your charger and the manufacturer offers one. The trade-off is lock-in: if you later swap to a different brand, you may be drilling.
Before ordering, pull two PDFs: the charger's installation manual (find the mounting template page with hole spacing in inches or mm) and the pedestal's spec sheet (find the top plate dimensions and hole layout). If either is missing, treat the combination as unverified.
2. Measure cable reach from the pedestal, not from the wall
Level 2 charge cables are typically 18 to 25 feet. That sounds generous until you account for the vertical run.
A pedestal puts the charger roughly 40–48 inches above grade. The cable leaves the handle holster, drops, crosses the pavement, and rises to your charge port — which could be front-left (BMW, most Hyundai/Kia), front-right (Nissan Leaf), rear-left (Ford, most Teslas in NACS layout), or rear-right (Chevrolet Bolt, many Audi and VW models). Rear-quarter ports on a vehicle backed in on the far side of a two-car driveway can eat 20 feet easily.
Practical method: park the car exactly where it'll live, run a tape measure (or a length of rope) from the proposed pedestal location, along the ground, to the charge port, then add 3 feet of slack for the holster drop and strain relief. If that number exceeds your charger's cable length minus 2 feet, move the pedestal or pick a longer-cabled charger. Don't plan on stretching a cable taut — it kills the strain relief over a few winters.
Also consider which side of the car you'll park on in future. A pedestal placed centrally between two bays serves both; a pedestal tight against a fence line serves one.
3. Footing depth, frost line and mounting method
There are two legitimate ways to set a pedestal:
- Direct-bury / sleeve-in-concrete: the post sits in a poured footing, typically 12–18 inches of diameter, with depth driven by your local frost line. Northern US and Canadian installs often need 36–48 inches; mild climates may need far less. Your local building department publishes the number — use it, not a forum post.
- Surface-mount on an existing slab: a flanged base bolts to cured concrete with wedge or epoxy anchors. Much faster, no digging, but the slab needs real thickness (installers generally want 4 inches minimum, more for anchor pull-out strength) and it leaves the conduit exiting through a core-drilled hole.
Confirm which style your chosen pedestal supports. Some posts are sold bare-bottom for burial; others include a welded base flange. A few offer both configurations — read the model number carefully.
Also check total height above grade. Pedestals are commonly sold around 4 feet and around 5 feet. Accessibility guidance for public installs pushes the operable part of the charger into a reachable band; for a home driveway, a connector holster around chest height is comfortable and keeps the cable off the ground. A 5-foot post is helpful if you expect snow accumulation.
4. Material, finish and the salt problem
Galvanized steel and powder-coated steel are the norm; aluminum appears on some premium posts. In road-salt regions, the vulnerable spot is the bottom 6 inches at the concrete interface, where water wicks and salt concentrates. Favor hot-dip galvanizing or a thick powder coat, and ask whether the base flange is stainless or plated. A pedestal that rusts at the footing in year four is a demolition job.
5. Cable management is not optional
A 25-foot cable lying in a driveway gets driven over, frozen into ice, and dragged across grit. Look for a pedestal with an integrated cable hook or wrap arm, or plan to add one. Some pedestals include a holster bracket; others assume the charger's own holster is enough. For long cables, a separate wall-style hook mounted on the post keeps the loop up and off the ground.
Comparison table
| Mount | Best for | Top plate / fitment | Typical config | Watch for |
|---|---|---|---|---|
| ClipperCreek / Enphase Universal Pedestal Mount | Most home installs, mixed brands | Universal drilled plate, drillable steel | Single charger, burial or anchored | Verify your charger's backplate spacing against the plate drawing |
| Tesla Wall Connector Pedestal | Tesla Gen 3 Wall Connector owners | Matched backplate + conduit path | Single unit, concrete footing | Tesla-specific; limited use if you switch brands |
| EVoCharge Charging Station Pedestal | Clean single-charger driveway post | Brand-matched, with generic drilling possible | Single charger, internal wire routing | Confirm base style (bury vs. flange) before ordering |
| JuiceBox Charging Station Pedestal | Two-EV households | Drilled for back-to-back mounting | Dual charger, taller post | Two chargers means two circuits — check panel capacity first |
| Autel MaxiCharger Home Pedestal | Autel MaxiCharger owners wanting zero guesswork | Factory-matched hardware | Single charger | Match the pedestal to your specific MaxiCharger model/generation |
The picks
ClipperCreek / Enphase Universal Pedestal Mount — best overall
Prices last checked October 21, 2026. Amazon prices change frequently, so treat these as a guide and check the live price before you buy.
ClipperCreek / Enphase Universal Pedestal Mount
Steel pedestal with a drilled universal top plate that accepts most common Level 2 bolt patterns.
This is the default recommendation for anyone who hasn't locked in a charger brand, or who wants the option to swap units later. The appeal is the top plate: it's drilled to accept common Level 2 backplate patterns and there's enough flat steel for an installer to add holes if yours is unusual. Build quality is the sturdy, utilitarian kind you'd expect from gear with commercial roots, and the hollow post routes feeder conduit cleanly.
What it gives up: it's a generic solution, so you may still be drilling, and the hardware kit may not include fasteners sized for your charger's backplate. Confirm height and base configuration — bury versus flange — against your site before ordering.
Tesla Wall Connector Pedestal — best for Tesla Wall Connector

Tesla Wall Connector Pedestal
Factory-matched pedestal with the correct backplate and conduit path for Gen 3 Wall Connectors.
If you've chosen the Gen 3 Wall Connector, the matched pedestal is the shortest path to a clean install. The backplate mounting and conduit entry are designed for the unit, which removes the two biggest sources of pedestal grief: hole alignment and an ugly external conduit loop. Aesthetically it's the tidiest option here, and it keeps the charger's weather sealing intact rather than relying on an improvised gasket.
The compromise is obvious: it's built around one charger family. If you later move to a different brand — or sell the house to someone who does — the pedestal is less transferable. Also confirm your Wall Connector generation, as mounting details have changed across revisions.
EVoCharge Charging Station Pedestal — best single-charger steel post
EVoCharge Charging Station Pedestal
Powder-coated steel post sized for one EVSE, with internal wire routing and a bolt-down base.
A straightforward powder-coated steel post for a single EVSE, with internal wire routing and a bolt-down base. It suits people who want a purposeful-looking driveway installation without specifying a commercial product. The internal routing matters more than it sounds: keeping the feeder inside the post protects it from UV, string trimmers and impact, and it's what makes the finished install look deliberate rather than improvised.
Give-ups: it's sized for one charger, so a second EV later means a second pedestal or a rethink. And like all brand-adjacent posts, you should verify the top plate against your specific charger's mounting template rather than assuming compatibility from the product photos.
JuiceBox Charging Station Pedestal — best dual-charger option

JuiceBox Charging Station Pedestal
Taller pedestal rated to carry two units back to back for two-car driveways.
Two-EV households are the hardest pedestal problem, because a single charger and a shared cable means shuffling cars. A dual-capable pedestal mounts two units back to back on one footing, so each bay gets its own cable. That's one hole to dig, one conduit trench, and a tidier result than two separate posts.
The honest caveat has nothing to do with the pedestal: two Level 2 chargers means two circuits (or load-sharing hardware), and most older residential panels can't absorb that without a load calculation or a service upgrade. Sort the electrical feasibility first — the mount is the easy part. Taller posts also want a correspondingly deeper, wider footing.
Autel MaxiCharger Home Pedestal — best turnkey kit pick

Autel MaxiCharger Home Pedestal
Matched pedestal and hardware for Autel MaxiCharger units, cutting fitment guesswork to near zero.
If you already own or have ordered an Autel MaxiCharger, the matched pedestal is the low-risk route. Factory hardware means the backplate lines up, the conduit knockout lines up, and the finished unit sits at a sensible working height. For a DIY-friendly owner working with a licensed electrician on the circuit side, that's a meaningful reduction in on-site improvisation.
The limitation is scope: it's tied to the MaxiCharger line, and Autel has released multiple generations and connector variants (J1772 and NACS). Match the pedestal to your exact model before buying, and double-check whether the kit includes anchors for slab mounting or expects a poured footing.
Before you dig: a quick checklist
- Call 811 (or your national equivalent) for underground utility locates. Non-negotiable, and free in the US.
- Confirm the frost depth with your local building department, and whether a permit is required for the footing as well as the circuit.
- Print the charger's mounting template and physically hold it against the pedestal's top plate drawing.
- Rope-measure the cable run from the proposed location to the charge port with the car parked where it'll live.
- Plan conduit size with your electrician — upsizing conduit now is free; re-trenching later isn't.
- Decide on cable management before the install, not after the first winter.
FAQ
Can I mount any Level 2 charger on any pedestal? No. Fitment depends on the charger's backplate bolt pattern and its wiring entry location. Universal pedestals cover many common units and can usually be drilled for the rest, but you should verify hole spacing from the charger's installation manual against the pedestal's top plate before buying.
How deep does an EV charger pedestal footing need to be? It depends on your local frost line, which your building department publishes. Cold-climate installs frequently call for 36–48 inches; mild climates can be considerably shallower. Surface-mounting to an existing slab avoids digging entirely, but the slab needs adequate thickness for the anchors.
How tall should the pedestal be? Roughly 4 to 5 feet above grade is typical. Taller posts keep the connector and cable above snow and make the holster easier to reach; shorter posts are less visually intrusive. Choose based on snow load and who in the household will be plugging in.
Do I need a longer cable for a pedestal install? Often, yes. The vertical drop from a pedestal-mounted holster plus the crossing distance to a rear-quarter charge port can consume more cable than a wall mount beside the car. Measure the actual path with the car parked in position and leave slack.
Is a pedestal install something I can do myself? The footing, post setting and charger mounting are within reach of a competent DIYer. The 240V circuit, conduit run and final connection should be done or inspected by a licensed electrician, and most jurisdictions require a permit for the circuit regardless of who does the digging.
Get the best car care deals in your inbox
Join the GarageProof newsletter for hand-picked car care deals and new buying guides. No spam, unsubscribe anytime.
Related reads
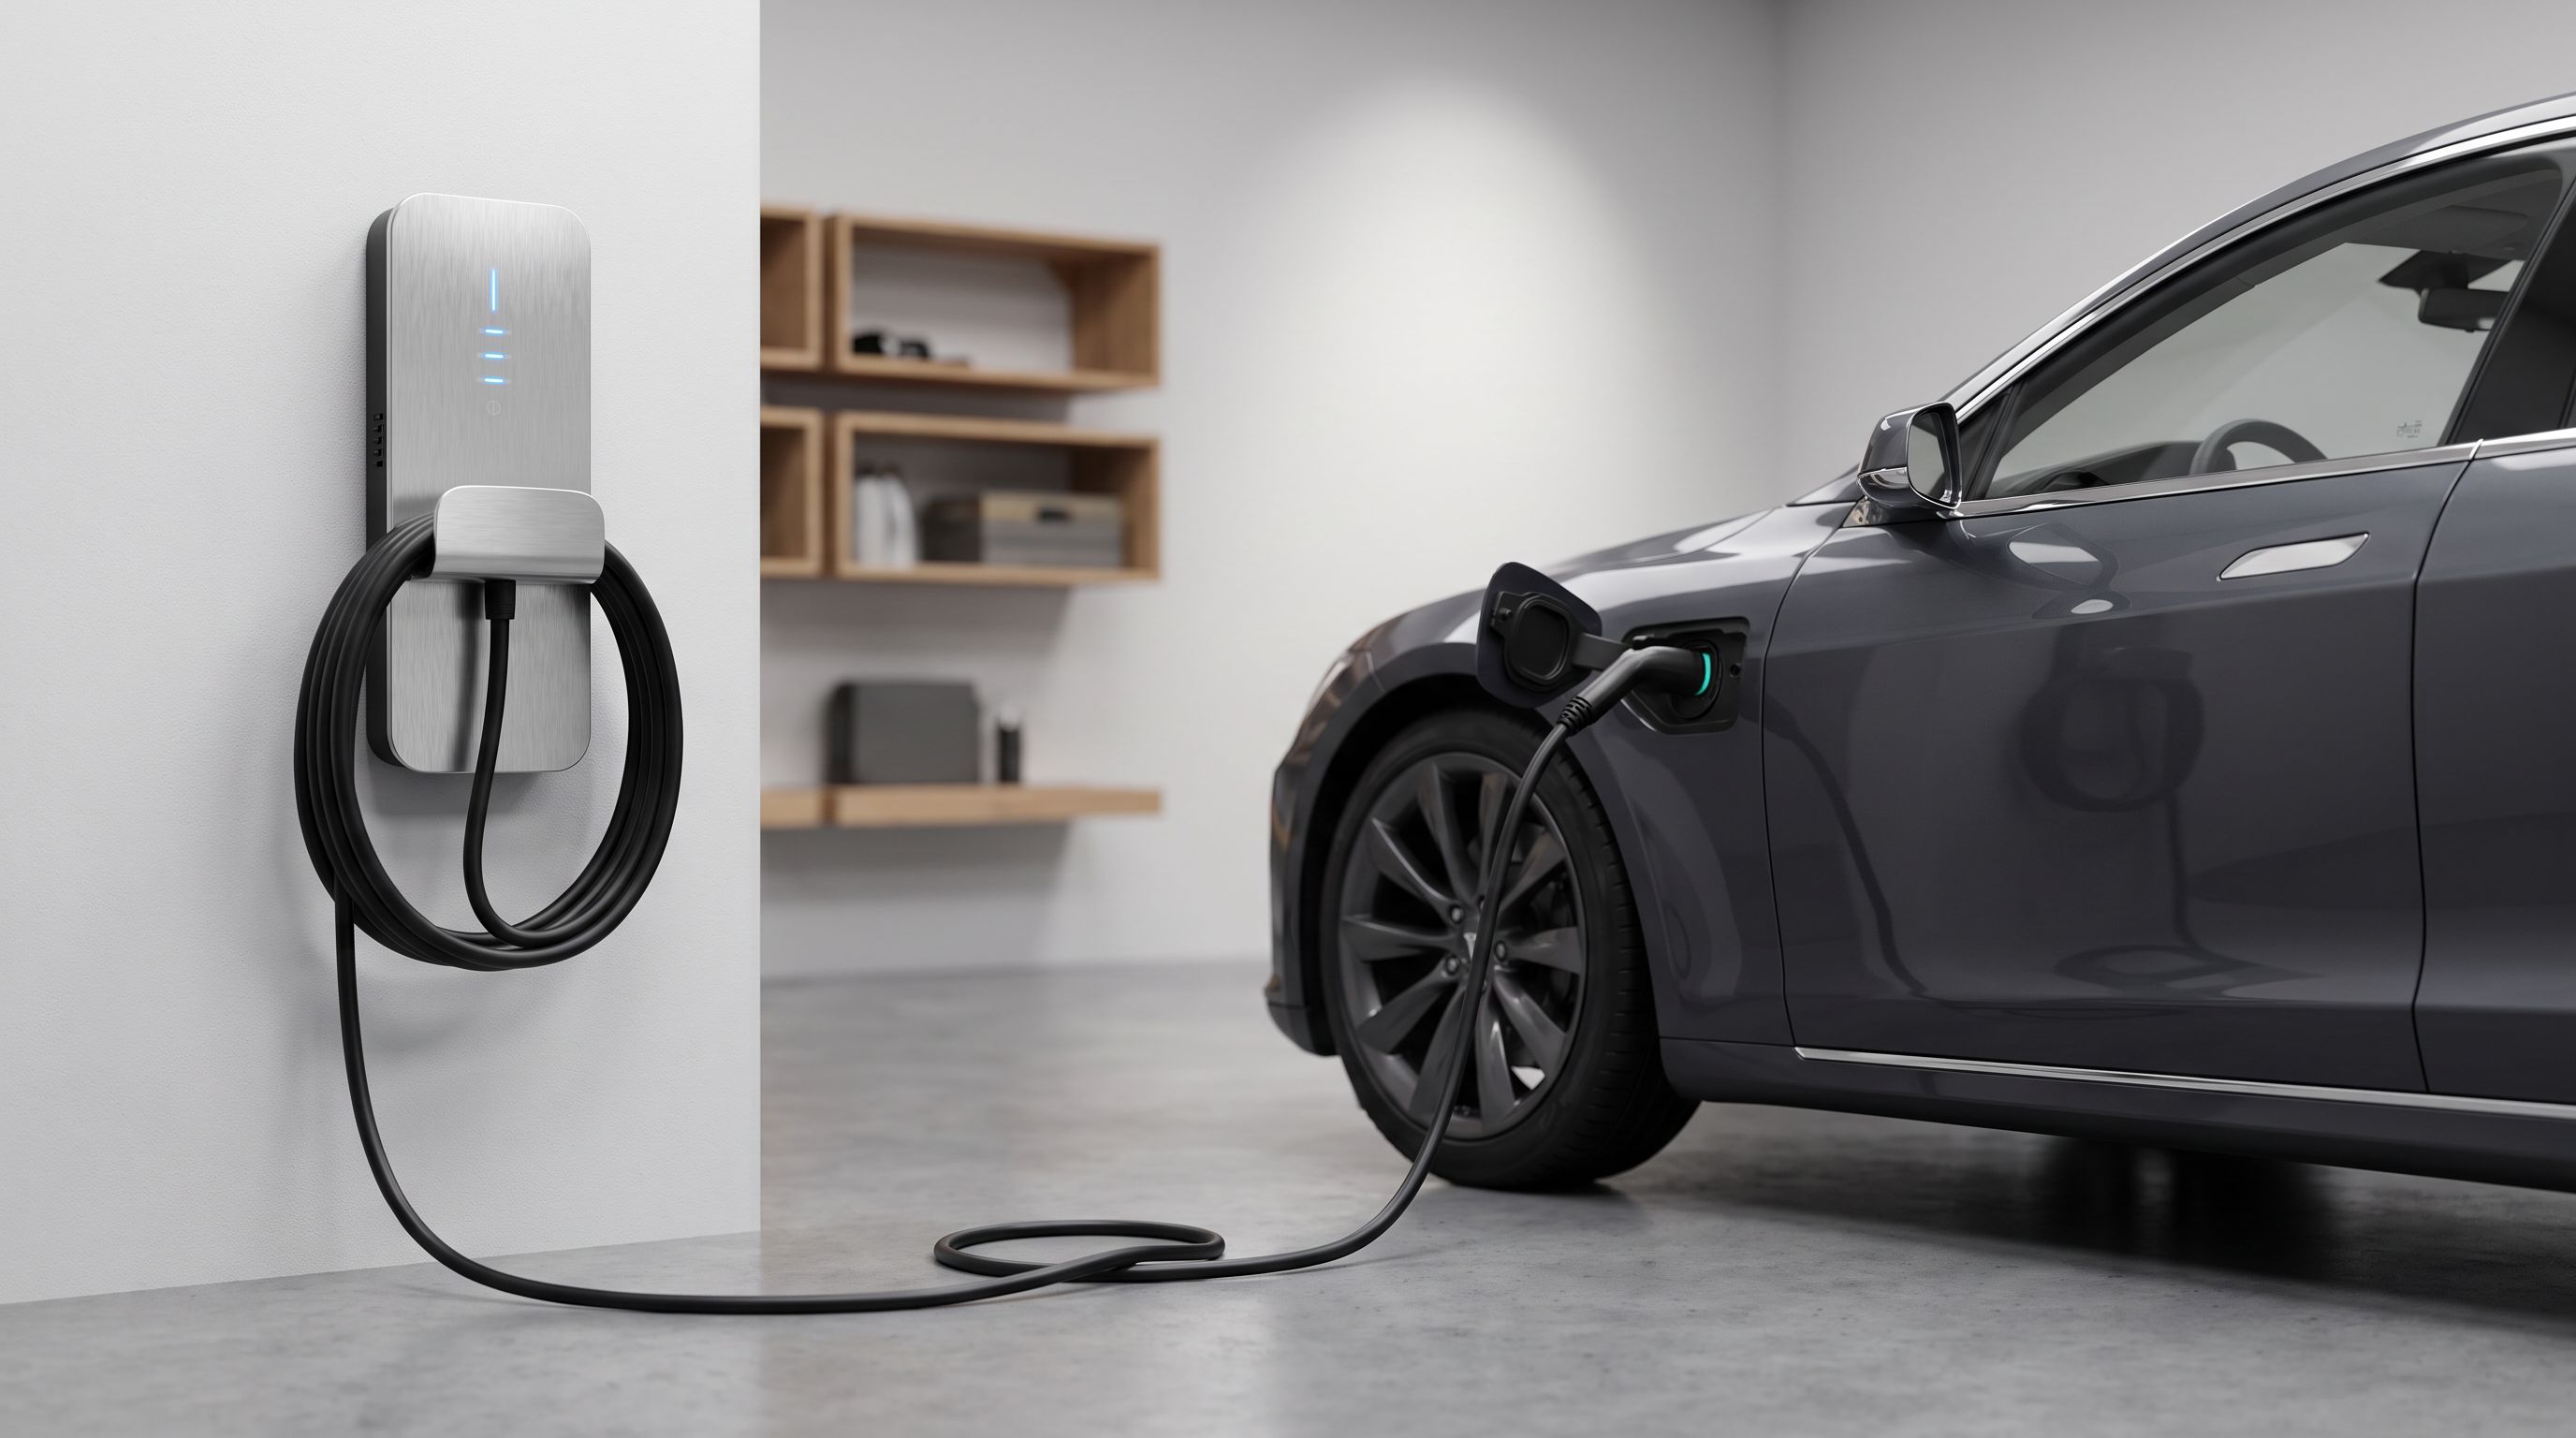
Level 2 EV Charger Cable Length in 2026: 25ft Without Sag
Level 2 EV charger cable length explained for 2026: why 25 ft is the ceiling, what gauge really matters, and how to match reach to your charge port side.
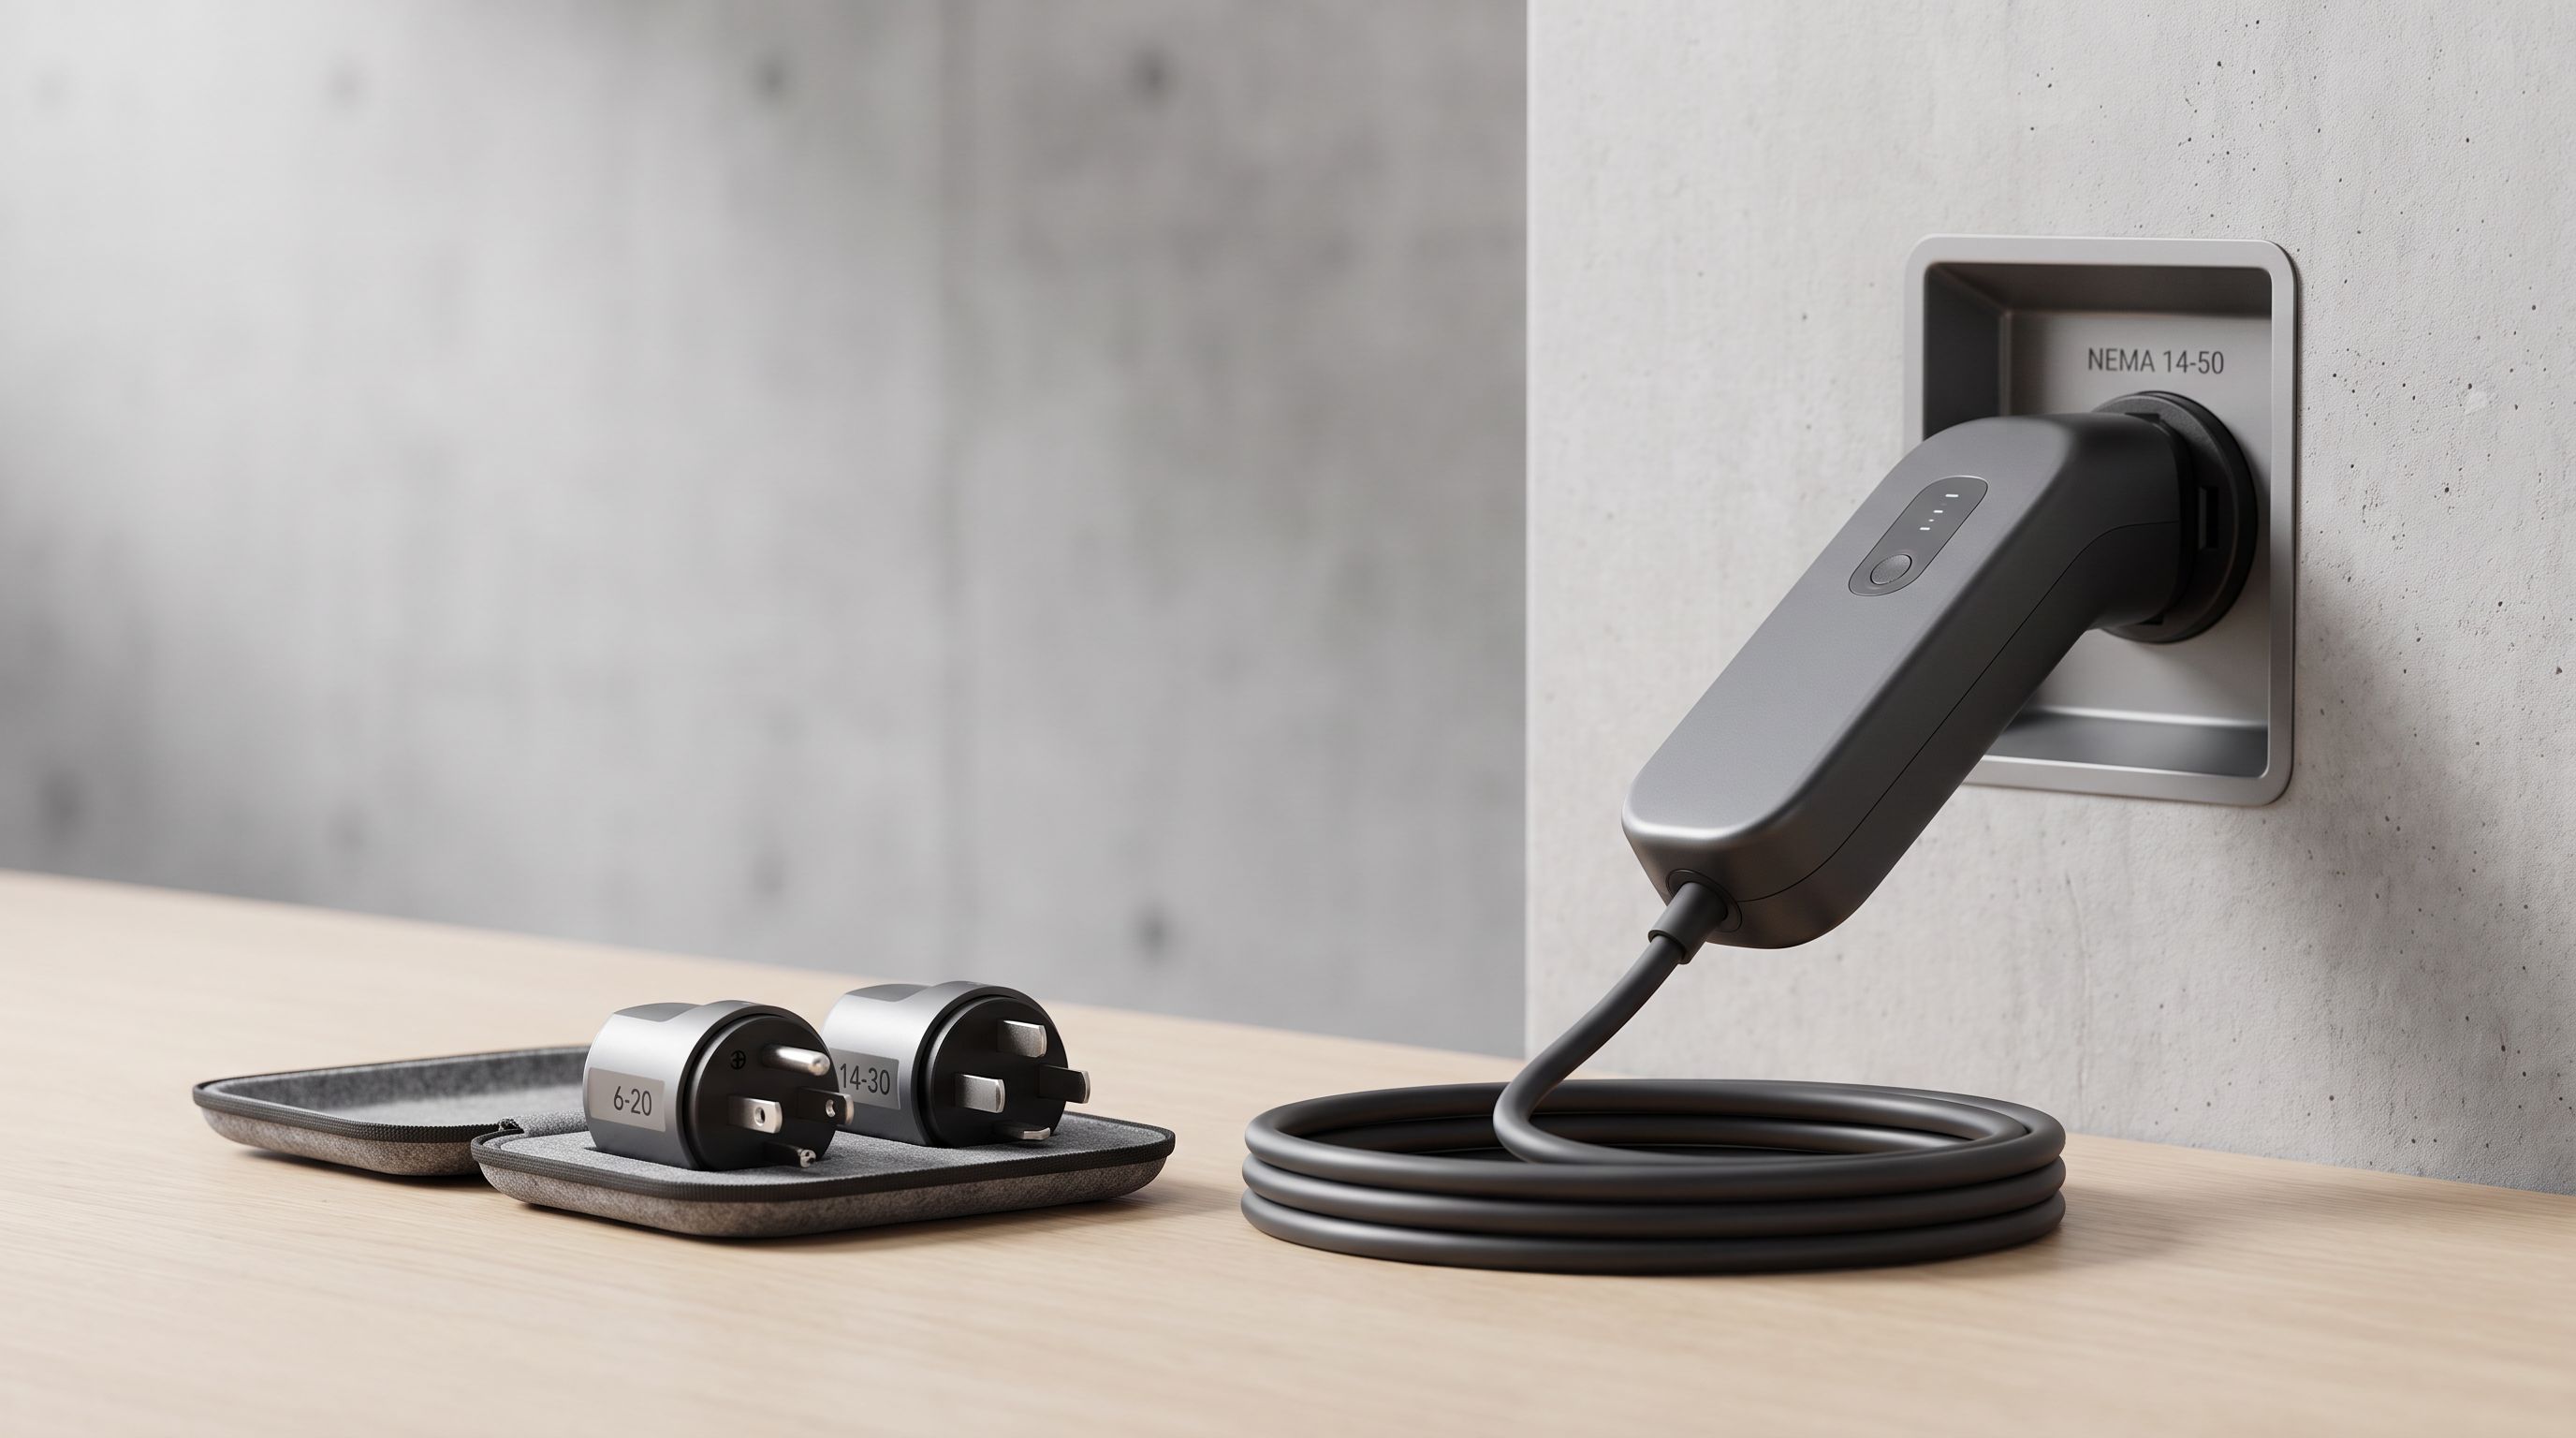
Portable EV Charger NEMA 14-50 vs 6-20: What to Buy in 2026
Portable EV charger NEMA 14-50 vs 6-20 explained for 2026: match plug tails and amperage to your real outlet, plus picks that ship swappable adapters.
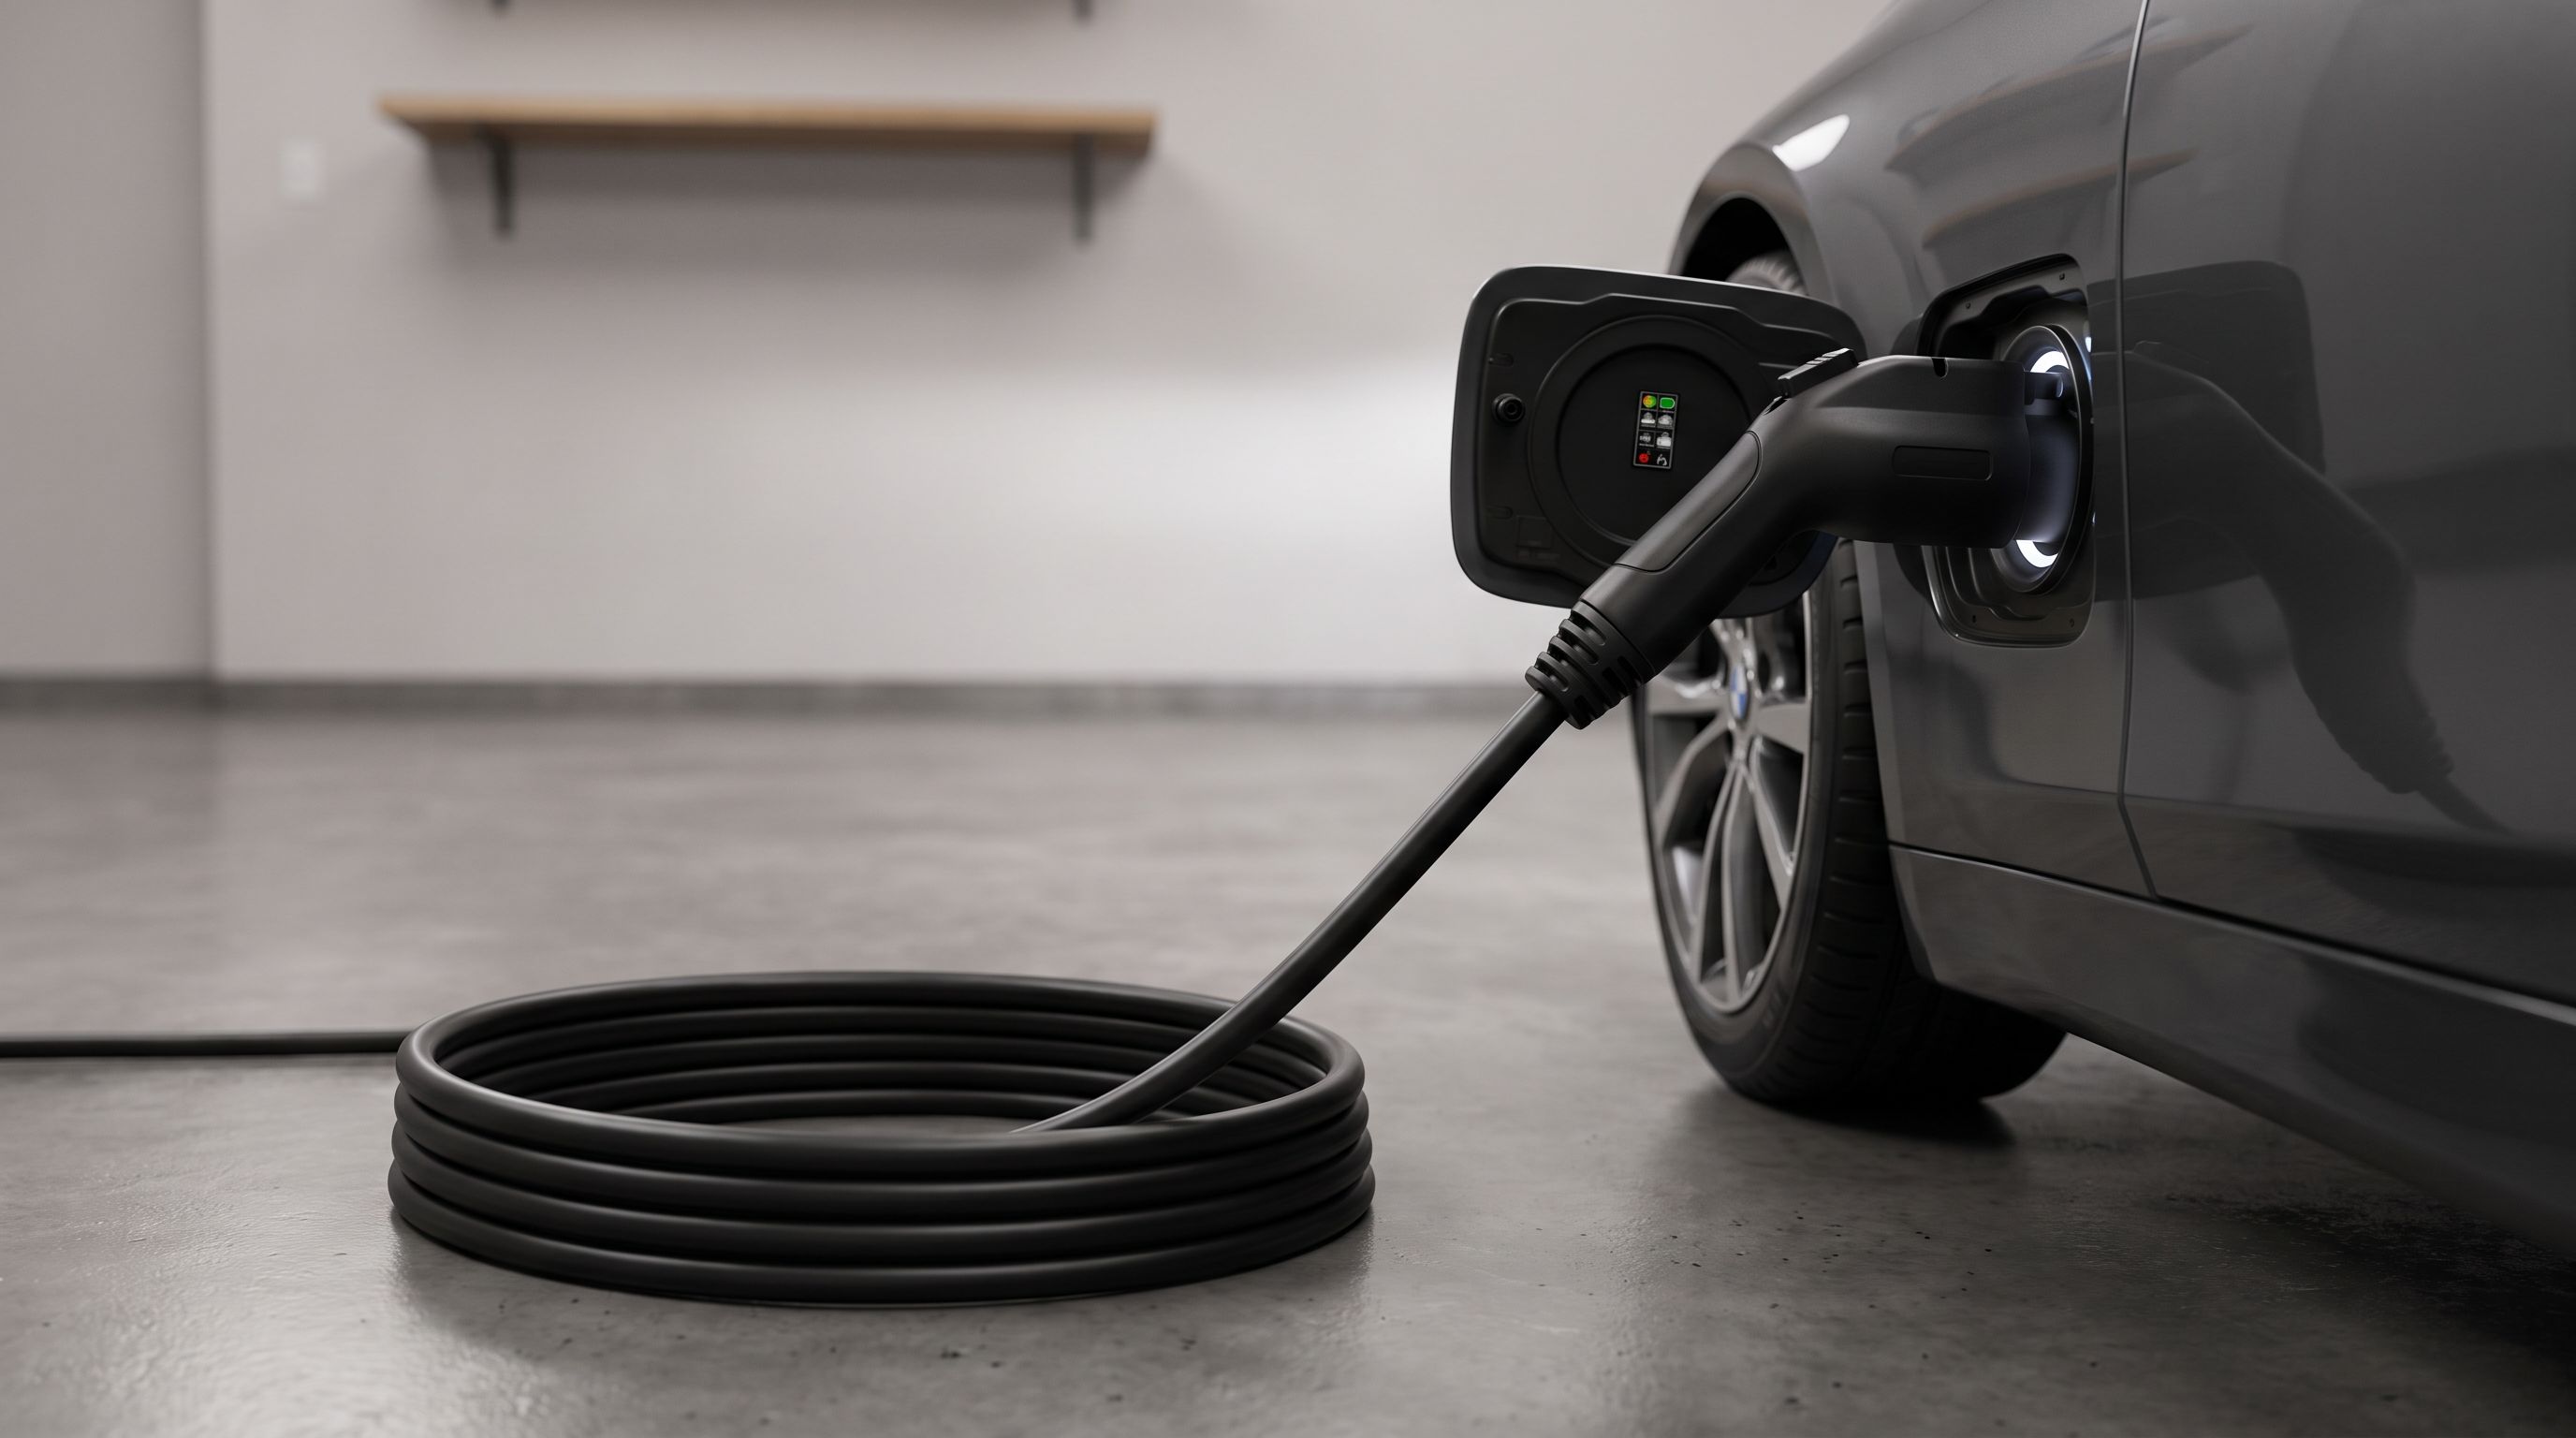
EV Charging Cable Extension 2026: What's Actually Safe
Most EV charging cable extensions aren't code-compliant. Here's what NEC and automakers actually say, plus safer ways to add reach in 2026.